You cannot factory reset an Android phone without erasing the information stored locally on it. What you can do is back up your important data, verify that the backup works, perform the reset, and restore the information afterward. Before proceeding, save your photos, messages, contacts, files, app data, authentication accounts, and other irreplaceable information. Do ...
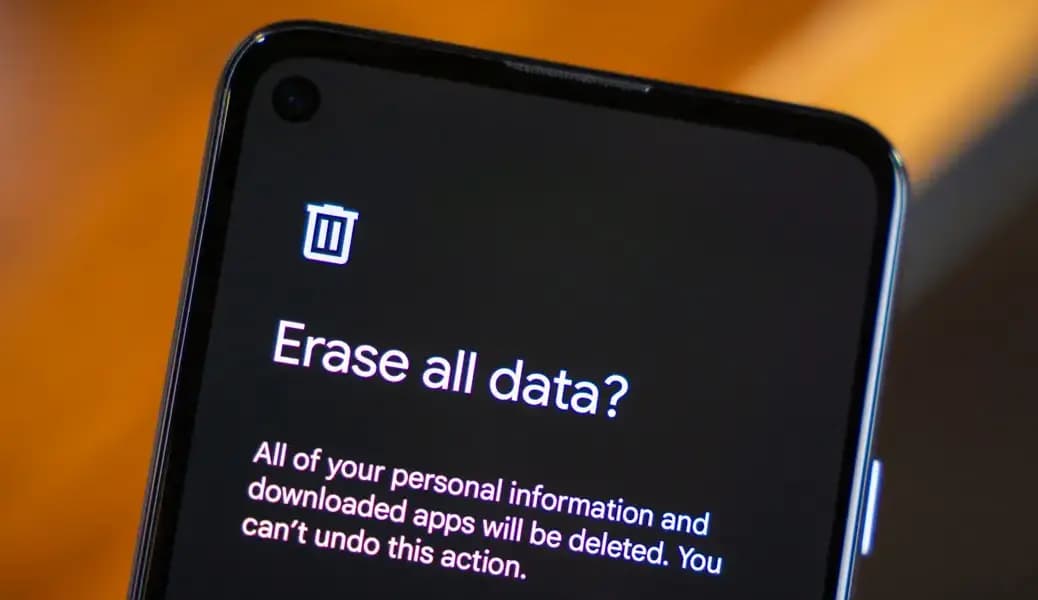
You cannot factory reset an Android phone without erasing the information stored locally on it. What you can do is back up your important data, verify that the backup works, perform the reset, and restore the information afterward.
Before proceeding, save your photos, messages, contacts, files, app data, authentication accounts, and other irreplaceable information. Do not rely on a single Android backup switch: some apps and locally stored files require their own backup or manual export.
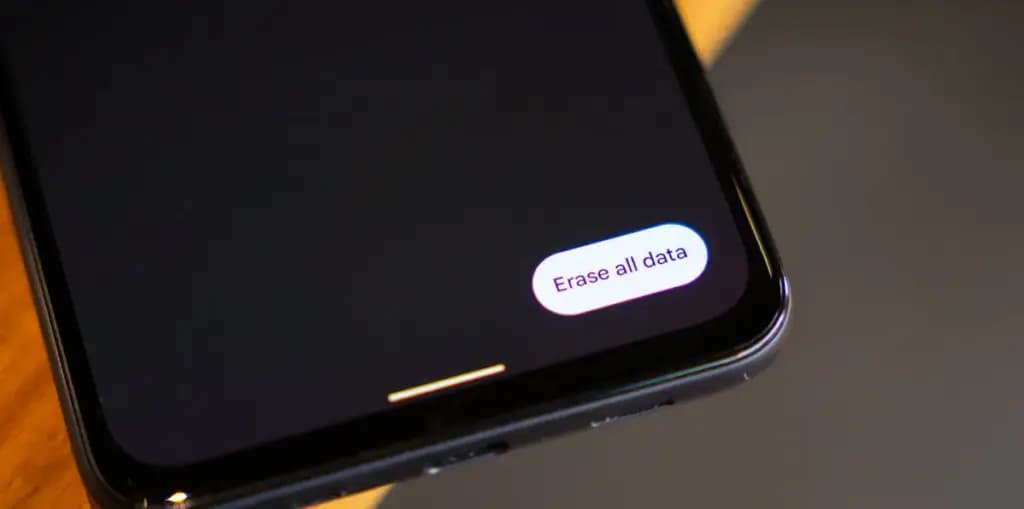
A factory reset returns the phone’s software to its original state and removes the personal information stored in its internal storage.
According to Google’s factory-reset documentation, the process erases the phone’s data and uninstalls its apps. Information already stored in your Google Account can be restored afterward, but not every app backs up all of its settings and data.
A factory reset normally removes:
The reset does not delete information already stored independently in Google Drive, Google Photos, Gmail, another cloud service, or an external backup. However, deleting content manually from a synchronized app before the reset could also remove its cloud copy.
A microSD card may not be erased automatically, depending on the phone and the reset option selected. Never assume this protects the card. Remove it before resetting the phone if you want to keep its contents untouched.
A factory reset is useful when you need to erase a phone before selling or giving it away. It can also serve as a last troubleshooting step for persistent software problems.
Common reasons include:
If you are resetting the device only because something is not working, try less destructive solutions first. Restart the phone, install available Android and app updates, free some storage, remove recently installed apps, or test the phone in Safe Mode.
Samsung Galaxy devices also provide options such as Reset all settings, Reset mobile network settings, and Reset Wi-Fi and Bluetooth settings. These can resolve certain problems without deleting personal files or installed apps, as explained in Samsung’s official reset guide.
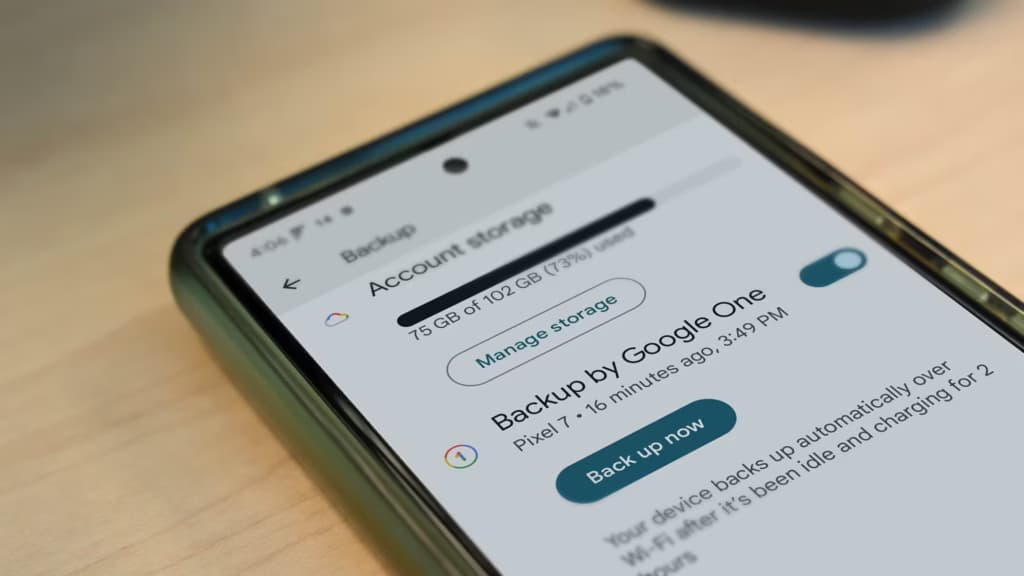
Android can back up several categories of data to your Google Account. The exact coverage depends on the phone, Android version, app, and backup settings.
Google says an Android device backup can include:
Not all apps participate fully in Android’s backup system. An app may be reinstalled after the reset without recovering its locally stored files, active login, preferences, or history.
Review the backup contents rather than treating the presence of a recent backup date as proof that everything is protected.
After the reset, Android may ask for information belonging to a Google Account that was previously registered on the phone. This security system helps prevent someone from erasing a stolen device and setting it up as their own.
Before resetting:
If you recently changed your Google Account password, Google recommends waiting 24 hours before performing a factory reset.
This verification is particularly important when using Recovery Mode. Resetting a phone with its buttons does not necessarily remove its ownership protection. You may still need the previous Google Account during setup.
The location of Android’s backup controls can vary slightly between devices. On many current phones, use the following path:
Google notes that a backup can take up to 24 hours. Keep the phone connected to Wi-Fi and power until the process finishes.
Under Backup details, review which information is included. Depending on the phone, you may see separate entries for apps, messages, call history, contacts, and device settings.
Our complete guide to backing up an Android phone covers these options in more detail.
Device backup and Google Photos backup are related but separate systems. Do not assume that enabling Android backup automatically uploads every image folder.
To check Google Photos:
Google Photos normally backs up the camera folder, but media created by other apps may be stored elsewhere. Open Back up device folders and review folders containing screenshots, downloaded images, or media from messaging and editing apps.
Google’s Photos backup instructions explain how to select additional device folders.
For stronger verification, open photos.google.com on a computer or another device. Sign in with the same account and check several recent photos and videos. Pay attention to media captured on the day of the reset, since those files are the most likely to still be waiting for upload.
If Google Account storage is full, new media may not be backed up. Free storage or copy the files to another safe location before continuing.
Android’s device backup does not cover every file in internal storage. Important documents may be sitting in folders that are not synchronized with any cloud service.
Use the Files app or your phone manufacturer’s file manager to inspect:
Copy important files to Google Drive, another cloud-storage provider, a computer, a USB drive, or a microSD card.
After copying them, open a few files from the destination. Seeing filenames in a folder is not enough if the upload or transfer was interrupted.
If you intend to replace the phone after resetting it, the steps in our guide to transferring everything to a new Android phone can help you prepare the new device.
Contacts saved to your Google Account should synchronize again after you sign in. Contacts stored only on the phone, SIM, or a different account need separate attention.
Open the Contacts app and review which account is being used. You can also visit Google Contacts from another device to confirm that important entries appear there.
Check for contacts associated with:
If necessary, export contacts as a .vcf file and save that file somewhere other than the phone being erased.
Apply the same check to calendars. Events stored under a Google Calendar account should return through synchronization. Device-only calendars or calendars belonging to another provider may require export, synchronization, or another account login.
Android backup can include SMS, MMS, and call history. RCS messages can be included when Google Messages is being used, according to Google’s Android backup documentation.
Run a fresh device backup and review the backup details. If your messages are especially important, consider using an additional reputable export method supported by your messaging app.
Messaging services such as WhatsApp, Signal, Telegram, and manufacturer-specific platforms do not all use Android backup in the same way. Open each important app and check its own backup, transfer, or account-sync settings.
Do not assume an app’s messages are protected simply because the application itself appears in the Android backup list.
Some of the most important information on a phone belongs to apps that use their own security or backup systems.
Review these categories individually:
An authenticator app may offer cloud synchronization, an account transfer, or an export function. Complete that process and test the destination before resetting the phone.
For accounts that use recovery codes, make sure the codes are stored safely outside the device. Losing both the authenticator database and the recovery method can make an account difficult to access.
Password managers normally synchronize through an account, but verify the vault on another device or browser first. Also confirm that you know the master password and have access to any required second factor.
Banking and payment apps may require registration again after the reset. Make sure the phone number and email address used for verification remain accessible.
A physical SIM is separate from the phone’s internal storage and is not normally erased by an Android factory reset. Still, remove it before selling, mailing, or giving away the device.
An eSIM requires more care. Some reset screens provide an option to erase downloaded SIMs, while others may handle eSIM profiles differently. Read the confirmation screen and consult your carrier before deleting an eSIM you still need.
Digital wallets may also contain items that require separate action. Payment cards can generally be added again, but transit passes, access credentials, tickets, or other stored items may follow different rules.
Google says that on Android 15 and later, a wallet can use Android functionality that reminds users to back up supported transit cards containing funds before a reset. Availability depends on the wallet provider, so check the wallet itself rather than assuming every item is covered.
The safest approach is to verify data from a second device. A backup status displayed on the phone is useful, but access to the actual content is stronger evidence.
Before resetting, confirm that you can access:
For irreplaceable files, keep two independent copies. For example, save documents to both a computer and cloud storage.
Google says a factory reset can take up to an hour and recommends charging the phone to at least 70%.
Before starting:
Do not begin the reset while the phone is installing a system update or still uploading important data.
On a Google Pixel, the standard Settings path is:
Menu names can change between Android releases, so use the Settings search function for “factory reset” if the option is not where expected.
Resetting through Settings is preferable when the phone is functioning normally. It provides a clear summary of what will be erased and can handle account checks before the process begins.
Samsung’s current instructions use this path on supported Galaxy devices:
Samsung warns that an encrypted microSD card should be decrypted before resetting. Otherwise, the phone may no longer be able to read the card afterward.
Available screens can vary by carrier, software version, and device model.
Motorola, OnePlus, Xiaomi, Nothing, Sony, and other manufacturers place the factory-reset option in slightly different menus.
Common locations include:
Search Settings for factory reset, erase all data, or reset phone. If the result remains unclear, use the manufacturer’s official support instructions for the exact model.
Do not choose a reset option based solely on a similar phone’s instructions. Some reset menus also contain less destructive options for network settings, app preferences, accessibility settings, or all system settings.
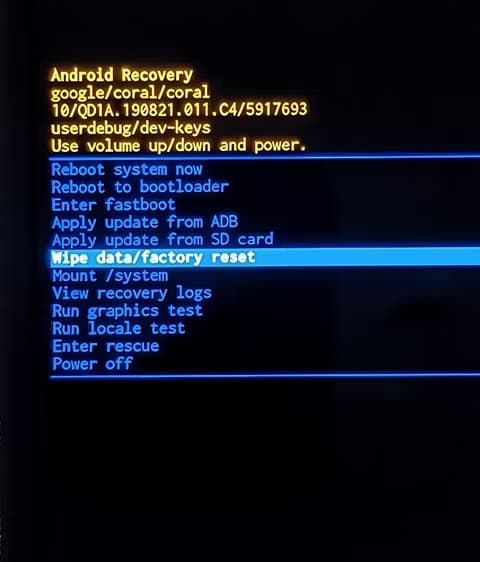
Some Android phones can be reset through Recovery Mode using a combination of the power and volume buttons. The button combination and recovery steps vary by manufacturer and model.
A recovery reset still erases the phone. It does not provide a way to rescue locally stored data first.
If the phone is not responding, try these options before using Recovery Mode:
If the phone’s display or internal storage has failed, recovering files that were never backed up may not be possible. A repair that restores access without replacing or erasing the storage may be worth considering when the data is valuable.
When the phone restarts, it should display the initial Android setup screen.
To restore the backup:
Google says the full restoration process can take up to 24 hours. Apps, messages, and settings may appear gradually rather than all at once.
Photos and videos stored in Google Photos should be accessible through the Photos app without being downloaded back to the phone immediately. Other files stored in Drive or another cloud service remain available through the relevant app.
Google also warns that a backup created on a newer Android version cannot be restored fully to a phone running an older version.
The correct choice depends on why you are resetting the phone.
If you plan to keep using the phone, you can normally leave the Google Account connected and sign back in after the reset.
If you are selling, trading in, returning, or giving away the device, remove your Google Account before resetting. Google says removing the account turns off device protection, commonly known as Factory Reset Protection.
To remove it:
Remove other manufacturer accounts, such as a Samsung account, as well. Then perform the factory reset from Settings.
This helps prevent the next owner from being asked for your previous credentials during setup.
No. A factory reset is specifically designed to erase locally stored apps, accounts, settings, and personal data. Preventing loss requires backing up the information somewhere outside the phone and restoring it afterward.
No. Android backup can save supported apps and app data, messages, call history, contacts, and settings, but not all apps back up all information. Local downloads, app exports, authentication data, and other files may need separate protection.
A reset deletes local copies stored on the phone. Photos and videos that completed their Google Photos backup remain in the Google Account and can be viewed again after signing in. Verify that Google Photos says Backup complete before resetting.
A factory reset does not normally erase a physical SIM. An eSIM may be handled separately, and the reset screen may offer an option to erase downloaded SIMs. Check the confirmation screen and your carrier’s instructions.
Not necessarily. The result depends on the phone and the options selected. Remove the card before resetting if you want to prevent accidental erasure or encryption problems.
Locally stored data is generally not recoverable through normal Android tools after a completed factory reset. Sign in to your cloud accounts to check whether the information was synchronized before the reset.
Device protection helps prevent unauthorized use after a phone is reset. If a protected device is erased, Android may require the previous screen lock or Google Account credentials during setup.
No. A settings reset can return selected system preferences to their defaults without deleting personal files or apps. A factory reset erases the phone’s personal data and installed applications.
A safe factory reset is less about the reset button and more about the preparation before it.
Run a fresh Android backup, wait for Google Photos to report that its backup is complete, copy local files separately, and verify security-sensitive apps one by one. Test your Google Account password from another device and keep independent copies of anything irreplaceable.
Only begin the factory reset after confirming that the information exists somewhere other than the Android phone you are about to erase.

Robert Haba is the founder and editor-in-chief of Droid Tools. A lifelong gadget enthusiast with over a decade following the Android ecosystem, he built this publication to cut through the noise and give readers honest, real-world coverage of the tech they actually use.

Track the Google Pixel update schedule, including seven-year lifespans for newer models, quarterly patch shifts, and dual Android OS release windows.

Google explained how to manage Android time zones as Canadian regions end seasonal time changes, offering steps for automatic and manual clock adjustments.

Quick Share for Windows transfers files from Android to your PC over Wi-Fi at rates up to 100MB/s, bypassing email and third-party cloud uploads.

Overnight charging exposes phone batteries to sustained high voltage and heat. Learn how Google Pixel and Samsung Galaxy settings stop cell degradation.
The next story loads as you reach the end. You can also load it using the button.


Comments & Discussions
Join the conversation! We use Disqus to handle comments. Click the button below to load the comment section.