Moving to a new Android phone is easiest during its initial setup. Turn on the new device, choose to copy data from an Android phone, connect the two devices with a cable or pair them wirelessly, and select what you want to transfer. Android can copy most apps, photos, videos, contacts, messages, call history, and ...
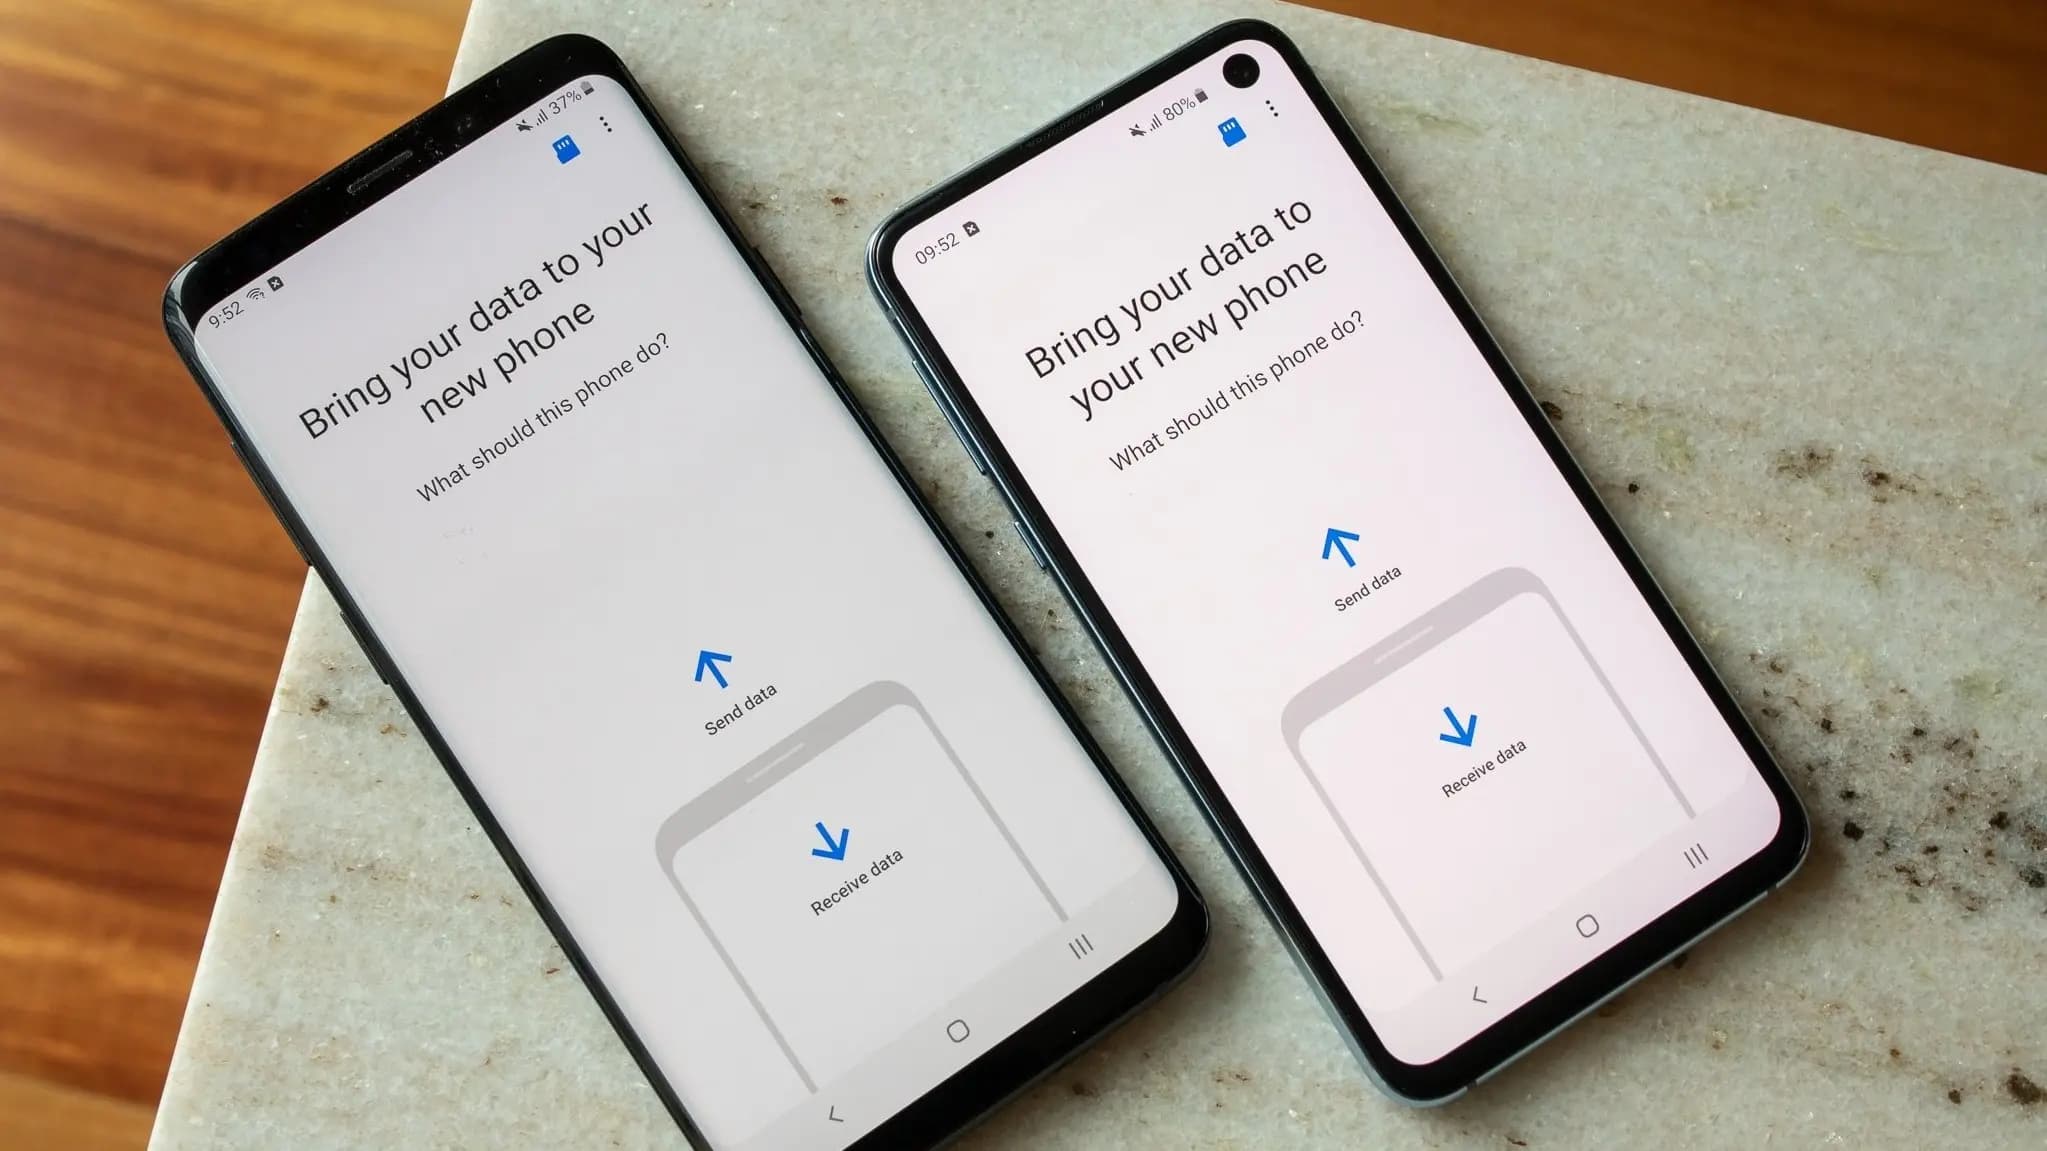
Moving to a new Android phone is easiest during its initial setup. Turn on the new device, choose to copy data from an Android phone, connect the two devices with a cable or pair them wirelessly, and select what you want to transfer. Android can copy most apps, photos, videos, contacts, messages, call history, and settings.
It cannot transfer absolutely everything, however. Downloads, hidden media, some app data, non-Google accounts, ringtones, and certain settings may need to be moved manually. Keep your old phone intact until you have checked the new one carefully.
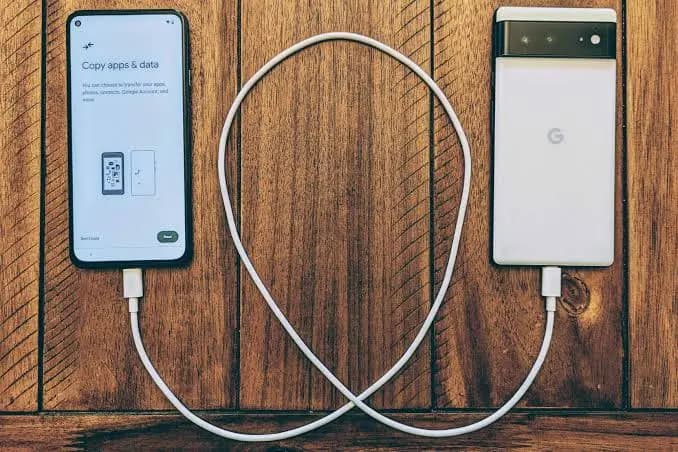
Preparing both phones first can prevent interruptions halfway through the transfer. You should have:
Set aside enough time as well. According to Google’s Android transfer instructions, copying data can take anywhere from a few minutes to several hours, depending on how much content you have and the transfer method being used.
Sign in to your Google Account on the old device and create a current backup before starting. Our guide to backing up an Android phone explains how to protect your contacts, messages, photos, device settings, and other supported information.
A backup matters even when both phones are working. If the direct transfer fails, it gives you another way to restore your information.
Android can copy most of the information people use every day. The exact results can vary by phone, Android version, manufacturer, and individual app.
Google says the standard setup process can transfer:
The transfer process may reinstall your apps from Google Play instead of copying each installation directly. Some apps may therefore continue downloading in the background after the main setup appears to be complete.
Synced information may also return separately. For example, contacts, calendars, email, and photos associated with your Google Account can reappear once synchronization finishes.
“Transfer everything” is a convenient description, but it is not completely literal. Google identifies several categories that may not be copied during Android setup.
| Usually transferred | May require manual action |
|---|---|
| Google Play apps | Apps installed outside Google Play |
| Supported app data | Data from apps that do not use Android backup |
| Photos and videos in recognized folders | Media stored in hidden folders |
| Phone and SIM contacts | Contacts synced through non-Google services |
| Text and multimedia messages | Certain app-specific messages |
| Most device settings | Some manufacturer-specific settings |
| Wallpaper | Ringtones |
| Call history | Downloaded files such as PDFs |
| Google Account data | Non-Google accounts and their data |
Downloads deserve special attention. Files such as PDFs, documents, ZIP archives, and saved attachments may still exist only in the old phone’s Downloads folder after the transfer.
Apps can also behave differently. An app may be installed on the new phone without bringing over its local data or active login. Banking apps, password managers, workplace services, and authentication apps may require you to sign in again or complete their own migration process.
Do not assume that an app icon proves its contents were transferred.
Google recommends using a cable when one is available, although wired and wireless transfers support the same categories of data. A cable can be especially useful when moving a large photo or video library.
Connect the new device to power if possible, turn it on, and follow the initial prompts. Select your language and connect to Wi-Fi or a mobile network.
You may also be prompted to insert a physical SIM or download an eSIM. Carrier procedures vary, so the mobile service step may happen during setup or afterward.
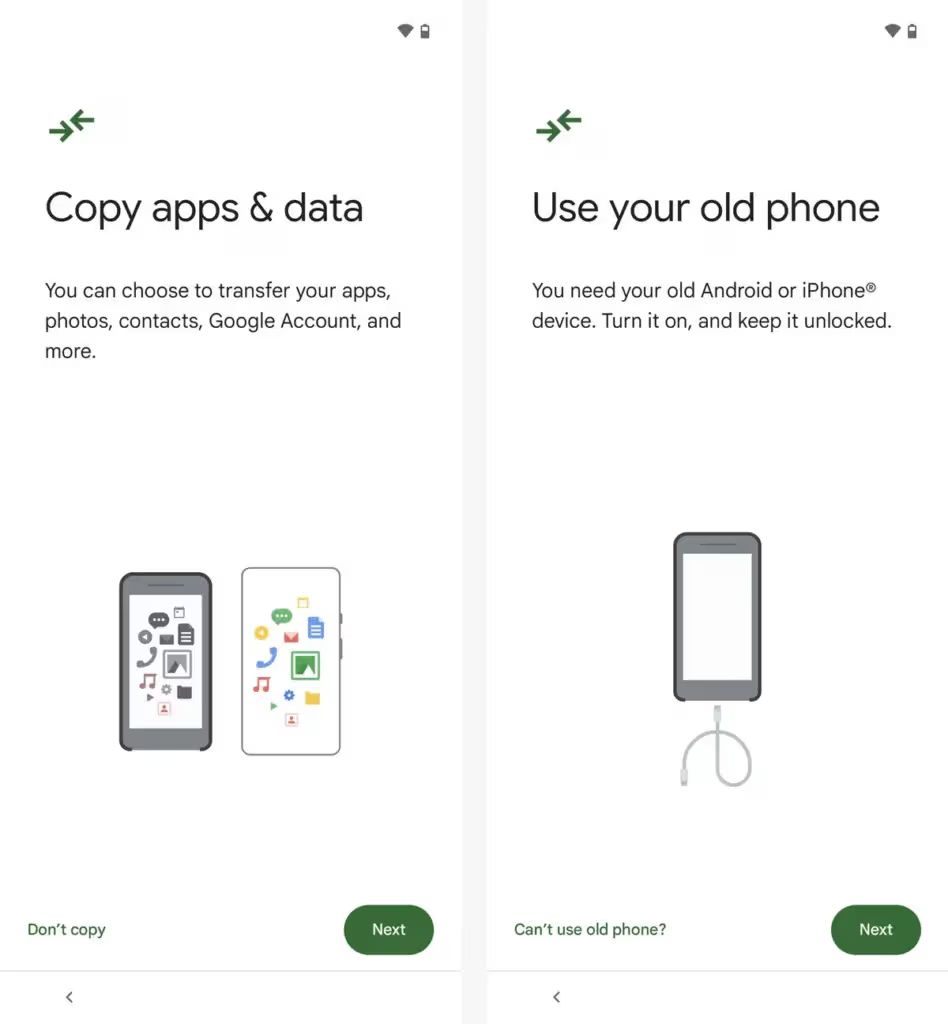
When Android asks whether you want to copy apps and data, select the option to continue.
Do not skip this screen if you want to use Android’s built-in transfer process. Google says the transfer is intended to be performed during initial setup, and the same option may not remain available after setup is finished.
Use a compatible USB cable to connect the old phone to the new one. If their ports do not match, use an appropriate adapter.
Unlock the old phone and approve the connection if prompted. The phones may take a moment to recognize each other.
If the cable is incompatible or the connection repeatedly fails, return to the setup screen and choose the wireless option instead.
Enter your old phone’s PIN, password, or pattern when asked. Android uses this step to verify that you are authorized to copy the device’s information.
You may also be asked to sign in to your Google Account. Using the same account can make the transfer more complete and restore synced information afterward.
Android should display the available data categories. Review the list rather than accepting it without checking.
Depending on the devices, you may be able to select:
If the new phone has less storage than the old one, deselect files or apps you no longer need. Pay particular attention to large videos and offline media.
Tap Copy or the equivalent button shown by the setup assistant. Keep the phones connected, unlocked when required, and preferably plugged into power.
The new phone should display a copying progress screen. The old device will indicate when its part of the process is complete.
You may be able to continue setting up the new phone while some apps and data finish downloading. Avoid disconnecting the cable until Android confirms that it is safe to do so.
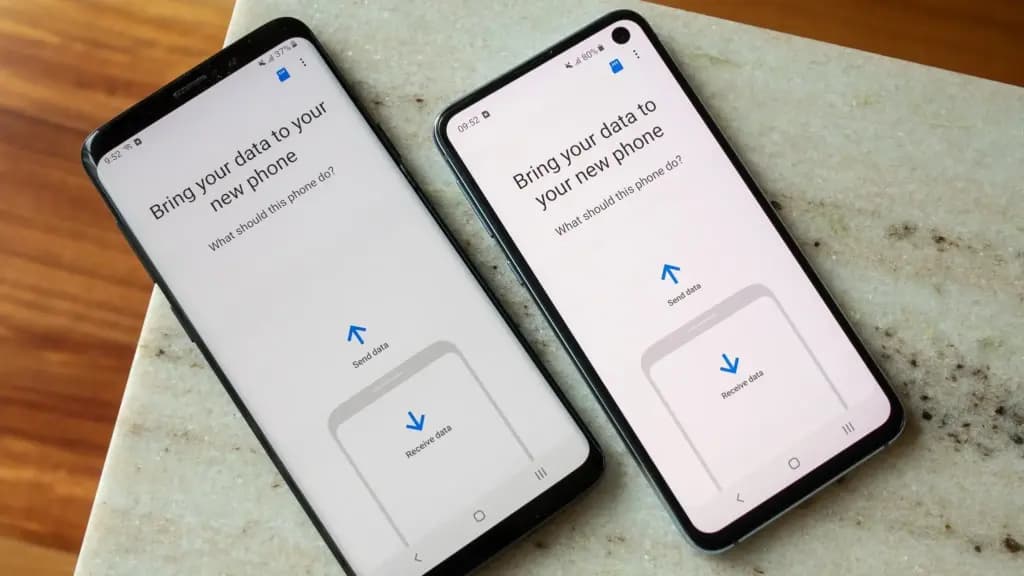
A wireless transfer is useful when you do not have the right cable or adapter. Google says cable and wireless methods support the same types of data, although the time required can vary.
Turn on the new device, connect it to Wi-Fi, and begin the setup process.
When prompted to use another device, choose Android device. The exact wording may differ between phone brands.
Keep the old phone nearby, unlocked, and connected to Wi-Fi. A setup notification may appear automatically.
Follow the instructions displayed on both devices. The new phone may show a QR code that must be scanned using the old phone.
Confirm that the matching devices are being connected, then enter the old phone’s PIN, password, or pattern when requested.
This process can also copy Google Accounts and saved Wi-Fi credentials to the new phone.
Review the available apps and data, then select what you want to transfer. Start the copy and leave both phones close together.
Avoid changing Wi-Fi networks or restarting either device while the transfer is in progress. For a large media library, keeping both phones connected to chargers is a sensible precaution.
A direct transfer is not always possible. Your old phone may be lost, damaged, stolen, or unable to turn on. In that case, Android can restore supported information from a previous backup associated with your Google Account.
During setup:
Only information included in the most recent backup can be restored. Files that existed exclusively in local storage will not return through your Google Account.
A cloud restore can also take time after setup. Apps may download from Google Play in stages, while photos, contacts, email, and other synchronized content may appear separately.
Transferring personal data and activating mobile service are related but separate tasks.
For a physical SIM, turn off the phones if required by their manufacturers, remove the SIM from the old device, and insert it into the new one. Make sure the SIM size and carrier support are compatible with the new phone.
An eSIM may need to be downloaded or transferred through the carrier’s app, website, QR code, or customer support process. Do not delete the eSIM from the old phone until the new device has successfully connected to the mobile network.
After activation, check that the new phone can:
Dual-SIM users should also verify which line is assigned to calls, messages, and mobile data.
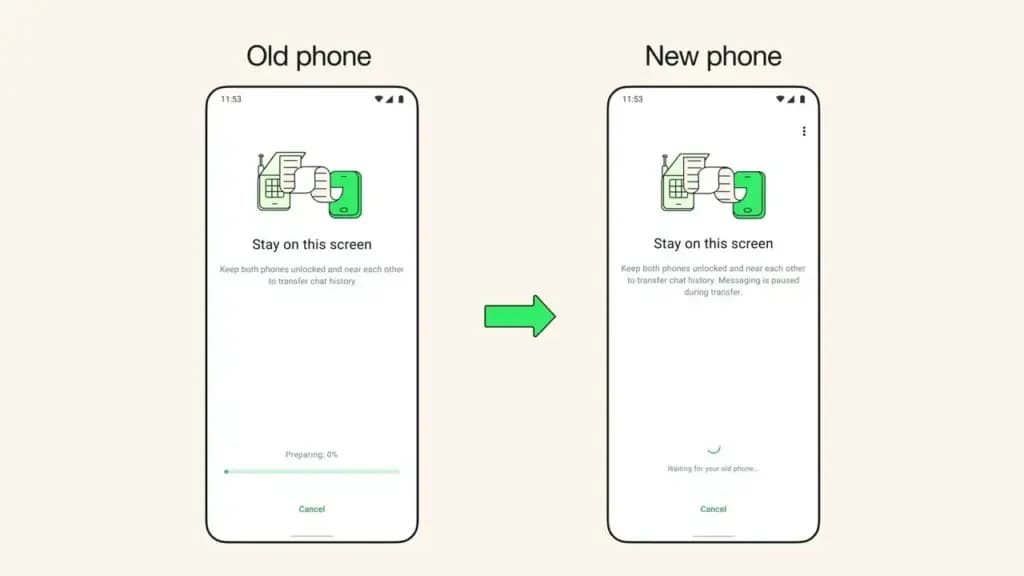
Installing WhatsApp on the new device does not by itself guarantee that all conversations will appear.
Google’s transfer documentation says WhatsApp chats and data can be restored from the cloud after you sign in and open the app on the new phone. The necessary backup must first exist on the old device.
Before switching phones, open WhatsApp on the old device and confirm that its latest backup has completed. On the new phone, install or open WhatsApp, verify the correct phone number, and follow the app’s restoration instructions.
Do not erase the old phone until you have opened several conversations and checked that recent messages and important media are present.
Once Android reports that copying is complete, compare the two devices. A careful review is more reliable than assuming every category worked.
Check the following:
Also check cloud services individually. A photo visible on the old phone may be stored only locally, while a document that appears missing may simply be waiting for its cloud app to finish syncing.
Android’s built-in copy process is designed primarily for initial setup. Google warns that the option may no longer be available after the setup process is completed.
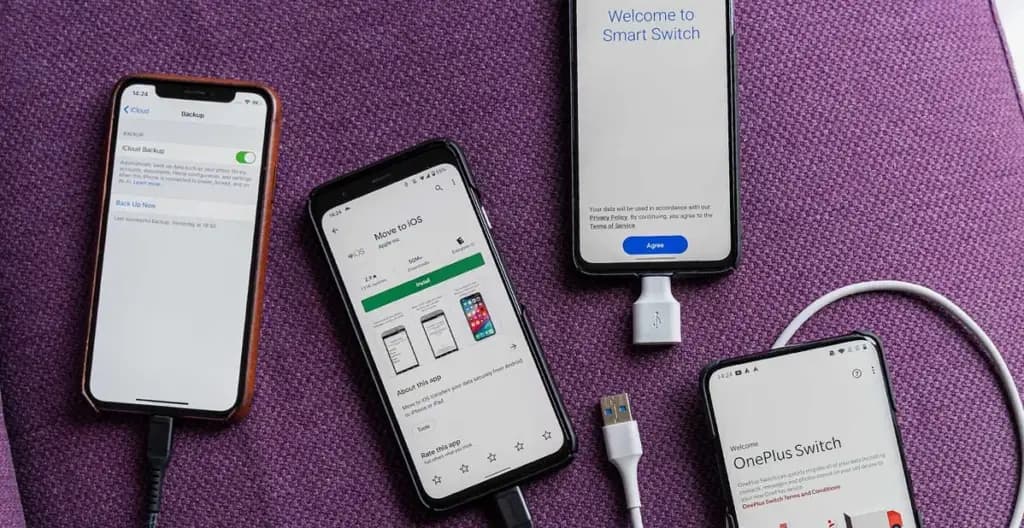
If you have already skipped it, possible alternatives include:
Do not factory-reset the new phone merely to restart the transfer unless you have first protected anything already stored on it. A reset will erase the new device’s current contents.
Unlock both devices and reconnect the cable. Check that it supports data transfer, since some USB cables are designed only for charging.
Try another compatible cable or adapter if available. Otherwise, return to setup and choose wireless transfer.
Keep both phones close to the Wi-Fi router and connected to power. Make sure neither device switches networks or activates a battery-saving mode that interrupts the process.
Restarting the transfer may be necessary if the connection is lost.
Return to the data-selection screen and deselect large apps, photos, videos, or music. Move nonessential files to cloud storage or a computer before trying again.
The app may not support Android backup, or its information may be associated with another account. Open the app and check its own sign-in, backup, restore, or device-transfer options.
Managed devices can restrict which accounts, apps, and files may be transferred. Contact the organization’s administrator before attempting to move protected business or school information.
Erase the old phone only after confirming that the new device contains everything you need. Google’s switching guide specifically recommends checking the transfer before resetting, recycling, or trading in the previous device.
Keep the old phone for at least long enough to verify:
Once those checks are complete, remove your accounts and perform a factory reset from the old phone’s settings. A factory reset deletes locally stored personal information and prepares the device for sale, trade-in, recycling, or another owner.
The easiest method is Android’s built-in copy process during initial setup. Connect the phones with a USB cable or pair them wirelessly, authenticate the old device, and select the data you want to move.
Google recommends using a cable when possible, but states that cable and wireless transfers support the same data. A wired connection may be more practical for large photo and video collections.
It may take a few minutes or several hours. The total time depends on how much data you are copying, the transfer method, the connection speed, and how quickly the new phone can reinstall apps.
Not necessarily. Some app data transfers, but individual apps can require a new login, identity check, or separate restore process. Verify banking, authentication, workplace, messaging, and password-management apps before erasing the old phone.
Yes, provided a usable Google Account backup exists. During new-phone setup, choose the option to restore without the old device, sign in to the relevant Google Account, and select its most recent backup.
Google says downloads such as PDFs are not copied by the standard transfer process. Check the Downloads folder on the old phone and move important files manually.
The built-in transfer option may not remain available after initial setup. You can still restore synchronized data, reinstall apps, use a manufacturer’s transfer tool, or copy files manually.
No. Your files and your mobile service are handled separately. Move the physical SIM or complete your carrier’s eSIM activation process, then test calls, messages, and mobile data.
For the smoothest move, back up the old phone first, perform the built-in transfer during the new phone’s initial setup, and then inspect the result manually. Move downloads and unsupported app data separately, activate the SIM or eSIM, and confirm that critical accounts work.
Only factory-reset the old device after every important photo, document, conversation, login method, and account has been verified on the new Android phone.
Ring Indoor Cam 2K

Robert Haba is the founder and editor-in-chief of Droid Tools. A lifelong gadget enthusiast with over a decade following the Android ecosystem, he built this publication to cut through the noise and give readers honest, real-world coverage of the tech they actually use.

Track the Google Pixel update schedule, including seven-year lifespans for newer models, quarterly patch shifts, and dual Android OS release windows.

Google explained how to manage Android time zones as Canadian regions end seasonal time changes, offering steps for automatic and manual clock adjustments.

Quick Share for Windows transfers files from Android to your PC over Wi-Fi at rates up to 100MB/s, bypassing email and third-party cloud uploads.

Overnight charging exposes phone batteries to sustained high voltage and heat. Learn how Google Pixel and Samsung Galaxy settings stop cell degradation.
The next story loads as you reach the end. You can also load it using the button.


Comments & Discussions
Join the conversation! We use Disqus to handle comments. Click the button below to load the comment section.