Please note that rooting your Android phone can be a complex and potentially risky process. Before proceeding, it’s important to research thoroughly, understand the risks and potential consequences, and proceed at your own risk. Also, the information I provide in this article may not apply to all Android devices, as different manufacturers may have different procedures and requirements for rooting. With that in mind, let’s dive in:
What is rooting and why would you want to do it?

Rooting is the process of gaining access to the root directory of an Android device. This allows you to have administrative privileges on your phone, which can give you more control over your device and the ability to customize it to your liking. For example, you can install custom ROMs, remove pre-installed apps, tweak settings that are not available in the default user interface, and much more.
However, rooting also comes with some risks. It can void your warranty, make your phone less secure, and even brick your device if you don’t follow the instructions carefully. Therefore, it’s important to proceed with caution and do your research before attempting to root your Android phone.
Step-by-step guide to rooting your Android phone
Check your phone’s compatibility
Before you start rooting, make sure your Android device is compatible with the rooting method you want to use. Different phones have different hardware and software configurations, so not all rooting methods work on all devices. To check compatibility, you can search online for your phone’s model number and the specific rooting method you want to use.
Backup your data
Rooting can potentially erase all the data on your phone, so it’s important to back up your data first. You can use your phone’s built-in backup feature, or use a third-party backup app to backup your data to an external device or cloud storage.
Enable developer options

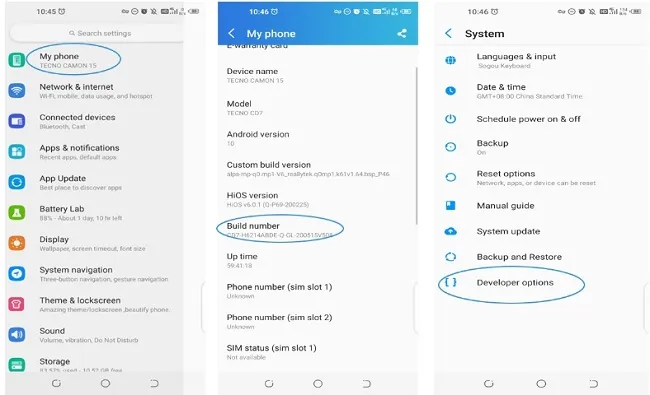
To root your phone, you need to enable developer options on your Android device. To do this, go to “Settings”, then “About phone”, then tap “Build number” seven times. This will enable developer options on your phone.
Enable USB debugging

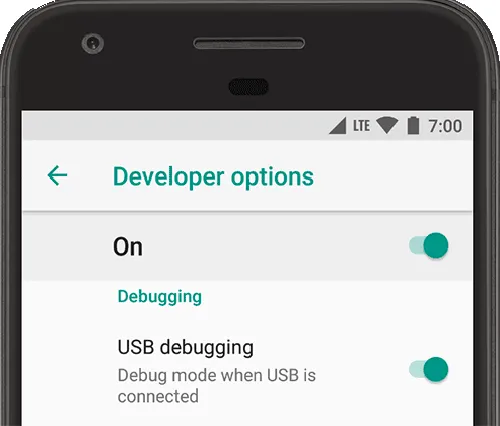
Once you’ve enabled developer options, you need to enable USB debugging on your Android device. To do this, go to “Settings”, then “Developer options”, then toggle on “USB debugging”.
Download and install the rooting software
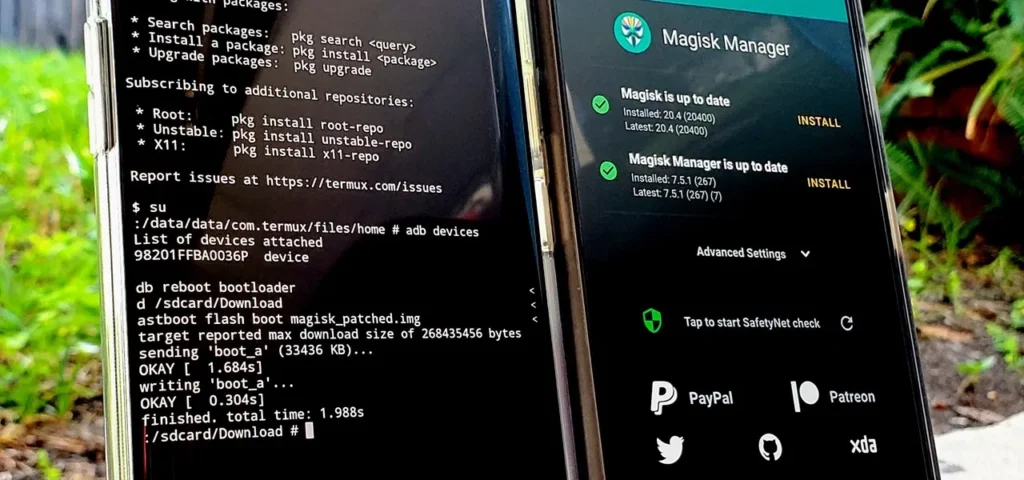
There are many rooting software options available online, such as KingRoot, Magisk, and SuperSU. Choose the one that’s compatible with your phone and download it from a trusted source. Once you’ve downloaded the software, install it on your computer.
Connect your phone to your computer
Connect your Android device to your computer using a USB cable. Make sure your phone is in “USB debugging” mode.
Root your phone
Launch the rooting software on your computer and follow the instructions carefully. The rooting process may take a few minutes, and your phone may restart several times during the process. Be patient and don’t disconnect your phone from your computer until the process is complete.
Verify root access

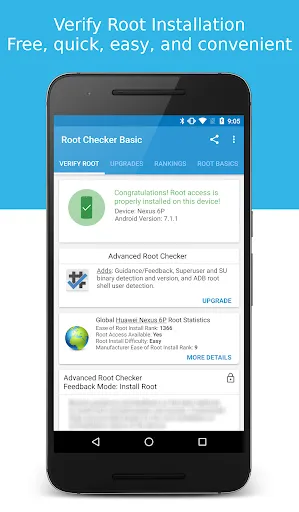
Once the rooting process is complete, you can verify that your phone is rooted by installing a root checker app from the Google Play Store. If the app confirms that your phone is rooted, congratulations! You now have administrative privileges on your Android device.
Conclusion
In conclusion, rooting your Android phone in 2023 can give you more control over your device and the ability to customize it to your liking. However, it’s important to proceed with caution and do your research before attempting to root your phone. By following the step-by-step guide above, you can root your Android phone safely and enjoy the benefits of administrative privileges on your device.


