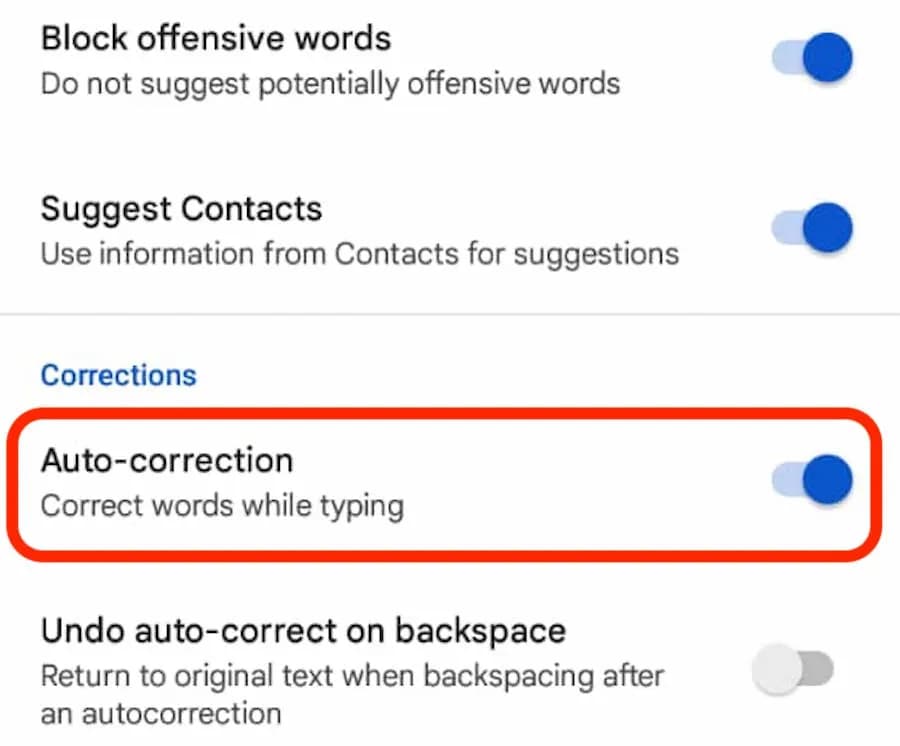

Autocorrect on Android devices may be both a benefit and a burden. It will spare you an embarrassing typo in a communication to your boss by a minute. Then, you’ll be embarrassed as you text a family member something utterly improper.
It’s time you regained initiative. Continue reading to find out how to enable autocorrect on your Android device as well as how to disable it once more. In order to assist you get the autocorrect feature working the way you want it to, we’ll also touch on a few other settings.
Gboard, Google’s proprietary keyboard program, comes preinstalled on the majority of Android smartphones by default. You can disable autocorrect by following our instructions if you’re using Gboard.
However, if you prefer a different keyboard, you can quickly switch to an alternative with one of the numerous third-party apps offered in the app store. However, the directions for disabling autocorrect may vary significantly. For more details, go to the official material produced by the keyboard’s creator. Additionally, this process could differ slightly depending on your device.
Gboard’s autocorrect toggle is tucked away in the Settings menu of your phone.
You must access it by opening the Gboard settings. You can do this by navigating to Settings > System & updates > Languages and input > Keyboards > Gboard in the Settings app. On Android smartphones, you may access the autocorrect section more quickly by opening your keyboard, holding down the comma key for a long time, and then tapping the gear symbol that appears.
Once you reach Gboard’s settings with either method, select Text correction. Next, under the Corrections heading, slide the toggle for Auto-correction into the Off position.
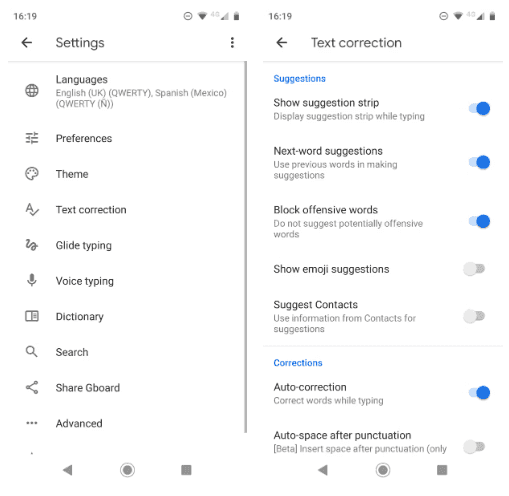
If you change your mind later, you can re-enable the autocorrect feature at any time. Simply perform the same instructions as above, tweaking the final step:
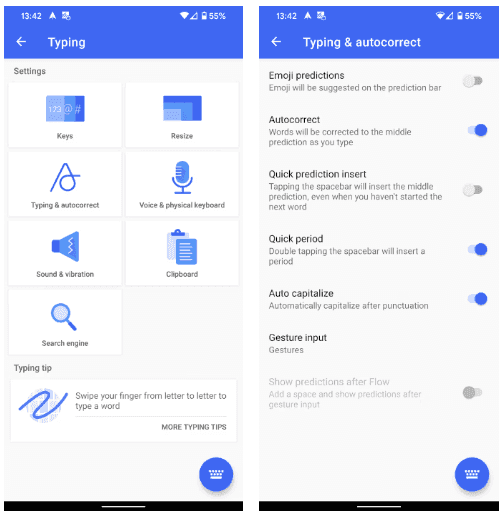
Again, if you’re using a different Android keyboard, you might find that the instructions vary. Any keyboard you have installed should appear under the Keyboards section of the Settings app. Open it from there, and then you’ll need to look for the appropriate setting.
SwiftKey, for example, has the autocorrect feature stored under Typing > Autocorrect. You can easily toggle the feature anytime you want.
You are aware that Samsung does not use the original Android operating system if you have ever acquired a Samsung smartphone or tablet. Samsung smartphones instead use a specialized Android skin called One UI.
Stock Android and Samsung’s skin differ in a lot of ways, one of which is how to turn autocorrect on and off. Below are instructions on how to turn off autocorrect on Samsung devices running Android 11 and up:
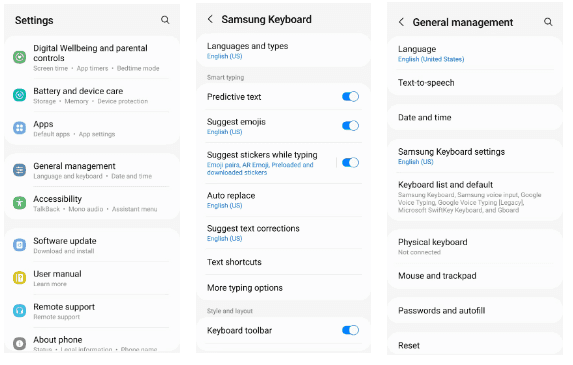
If you want to know how to turn off autocorrect on Samsung phones and tablets that are from older generations, you’ll need to follow these instructions:
As you can see, disabling autocorrect on Samsung devices isn’t a particularly difficult process. Of course, you may use the same steps but modify the final step if you’re curious about how to enable autocorrect on your Samsung device.
Everyone has seen those hilarious screenshots of autocorrect. It makes sense why you might feel the sudden need to turn off autocorrect on your Android device after reading some of these.
But in reality, such extreme steps are rarely necessary. There are a ton of choices available on Android keyboards that let you adjust, hone, and enhance the autocorrect feature to better suit your needs.
As you type, Android can automatically correct capitalization of proper nouns and the beginning of phrases.
It is a valuable feature in most situations. But it might not be the best option for everyone. Many words function as both proper nouns and common nouns (for example, “Turkey” the country, and “turkey” the bird). If you frequently use words like these, you may want to disable the auto-capitalization option.
You can do so by heading to Settings > System > Language and input > Keyboards > Gboard > Text correction > Auto-capitalization. Slide the toggle into the Off position to disable it.
Instead of relying on autocorrect to correct your mistakes, you could just turn on spell checking for Android. It will use those recognizable red squiggly lines under the text to highlight typos and other misspelled words for you.
To turn spell check on or off on Android, you need to go to Settings > System > Language and input > Keyboards > Gboard > Text correction > Spelling > Spell check and flick the toggle into the desired position. In order for this feature to work, you’ll need to ensure you’ve selected a default language for your keyboard.
There are always going to be some real terms that aren’t in the dictionary that comes with Android. Common offenders include obscure place names, brand names, and specialized lingo connected to your line of work.
When Android consistently tries to autocorrect words like “Sonos” or “Logitech,” it quickly becomes tiresome. You should include the words into your own personal vocabulary to avoid this from occurring and relieve some of your stress in the process.
You can access the dictionary by heading to Settings > System > Language and input > Keyboards > Gboard > Dictionary > Personal Dictionary. Tap the language you’d like to edit the dictionary for, even if you only have one installed. Then you can use the Plus button to add new words.
You may find several functions on some keyboards, like Gboard, to help you become a better typist. As an alternative, you can begin speaking instead of utilizing the touch-screen keyboard.
When speaking as opposed to typing, you’re less likely to make a mistake in autocorrect. However, if you have any kind of accent, you run the risk of your remarks being misinterpreted. You can always use our advice for quick Android typing if you desire both speed and accuracy.
If you would like to try voice typing, go to Settings > System > Language and input > Keyboards > Gboard > Voice typing and turn the toggle on. Then you can tap the Microphone icon at the top-right of the keyboard to speak.
Your typing experience on an Android device can be enhanced by using autocorrect and understanding how to turn it on and off. For instance, you can install third-party features, alter the keyboard’s style, or even select a different keyboard layout than the QWERTY.
If you do decide to switch to a new keyboard, you should always make sure to go with a reputable manufacturer.
Google Pixel Watch 5 (45mm)

Cristian Penisoara is a Guides Writer and Android specialist at Droid Tools. An Android user since version 2 and a professional event photographer, he combines technical curiosity with a detail-oriented approach - every guide he publishes is tested step-by-step on a real device before it goes live.
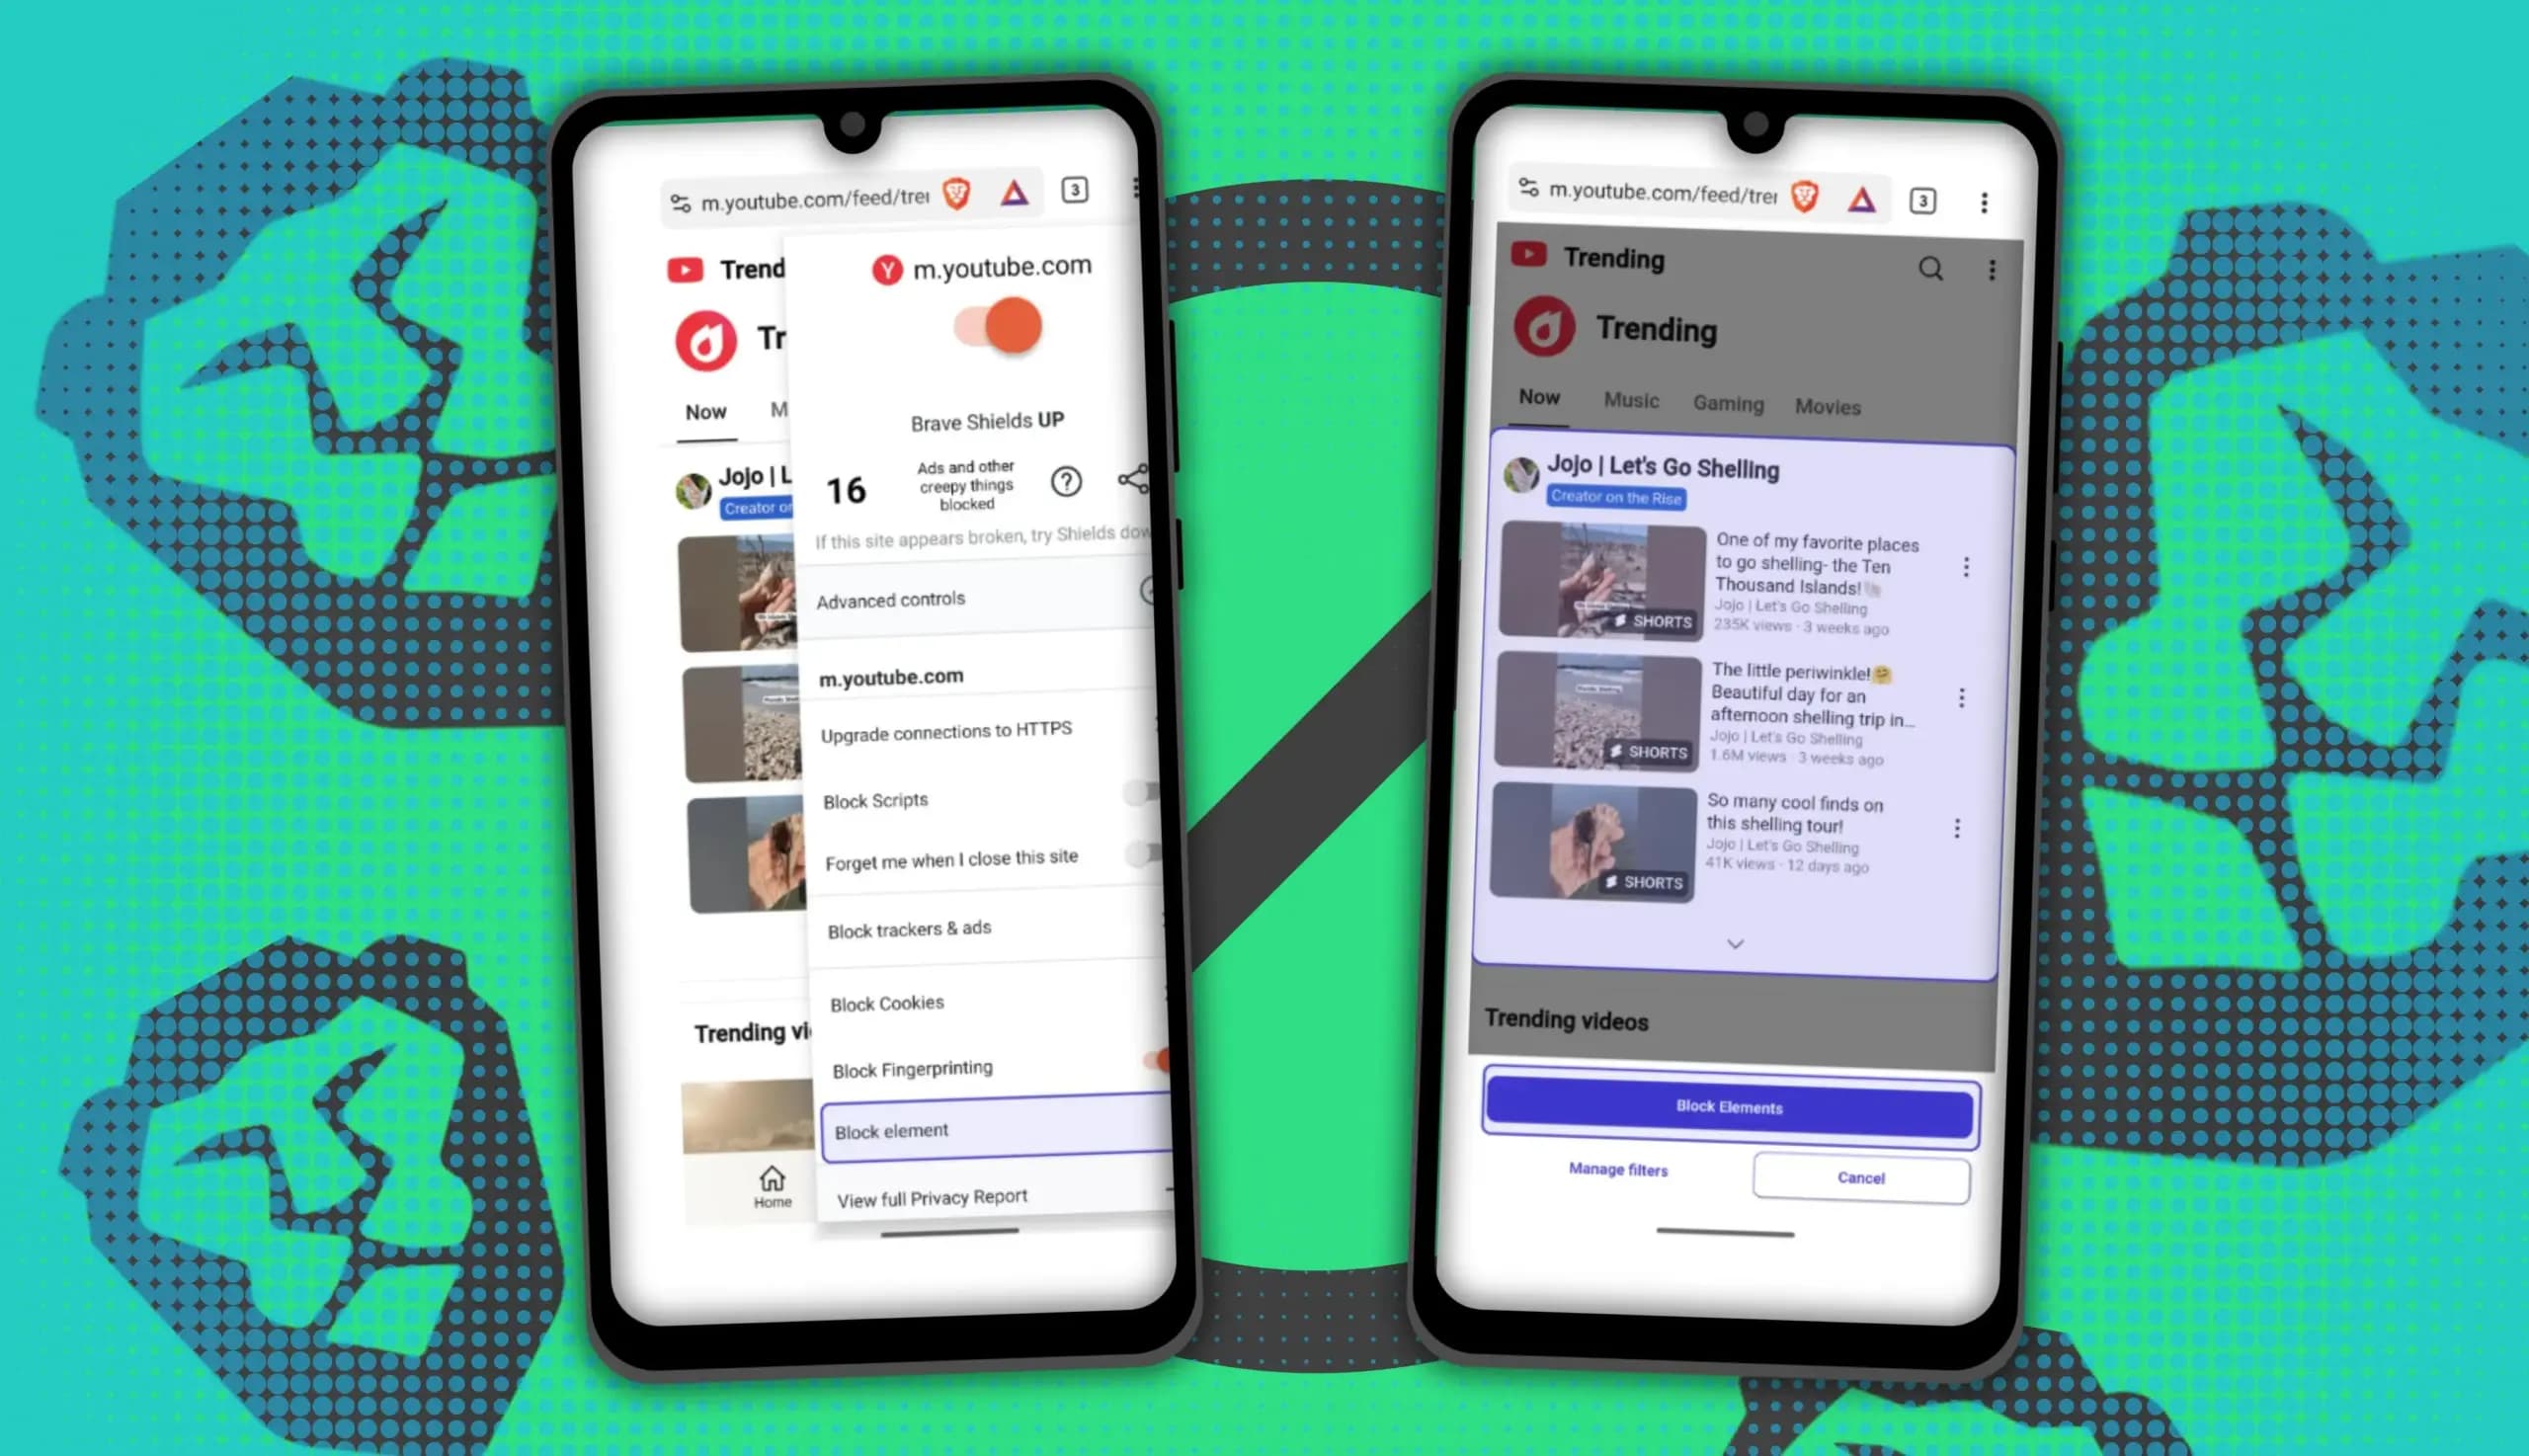
You can block ads on Android more effectively by pairing Brave’s Aggressive Shields setting with the system’s Private DNS feature. The setup filters ads at both the browser and system levels, takes only a few minutes to configure, and avoids the battery drain and VPN conflicts that come with dedicated ad-blocking apps. Why one ad […]

Behind a two-tap recharge sits a surprising amount of plumbing. Every prepaid network has its own rules about what can be topped up, in which denominations, and how quickly credit posts to a SIM. MobileTopUP hides that complexity behind a single form: pick a country, enter a number, choose an amount. What the coverage map actually covers […]
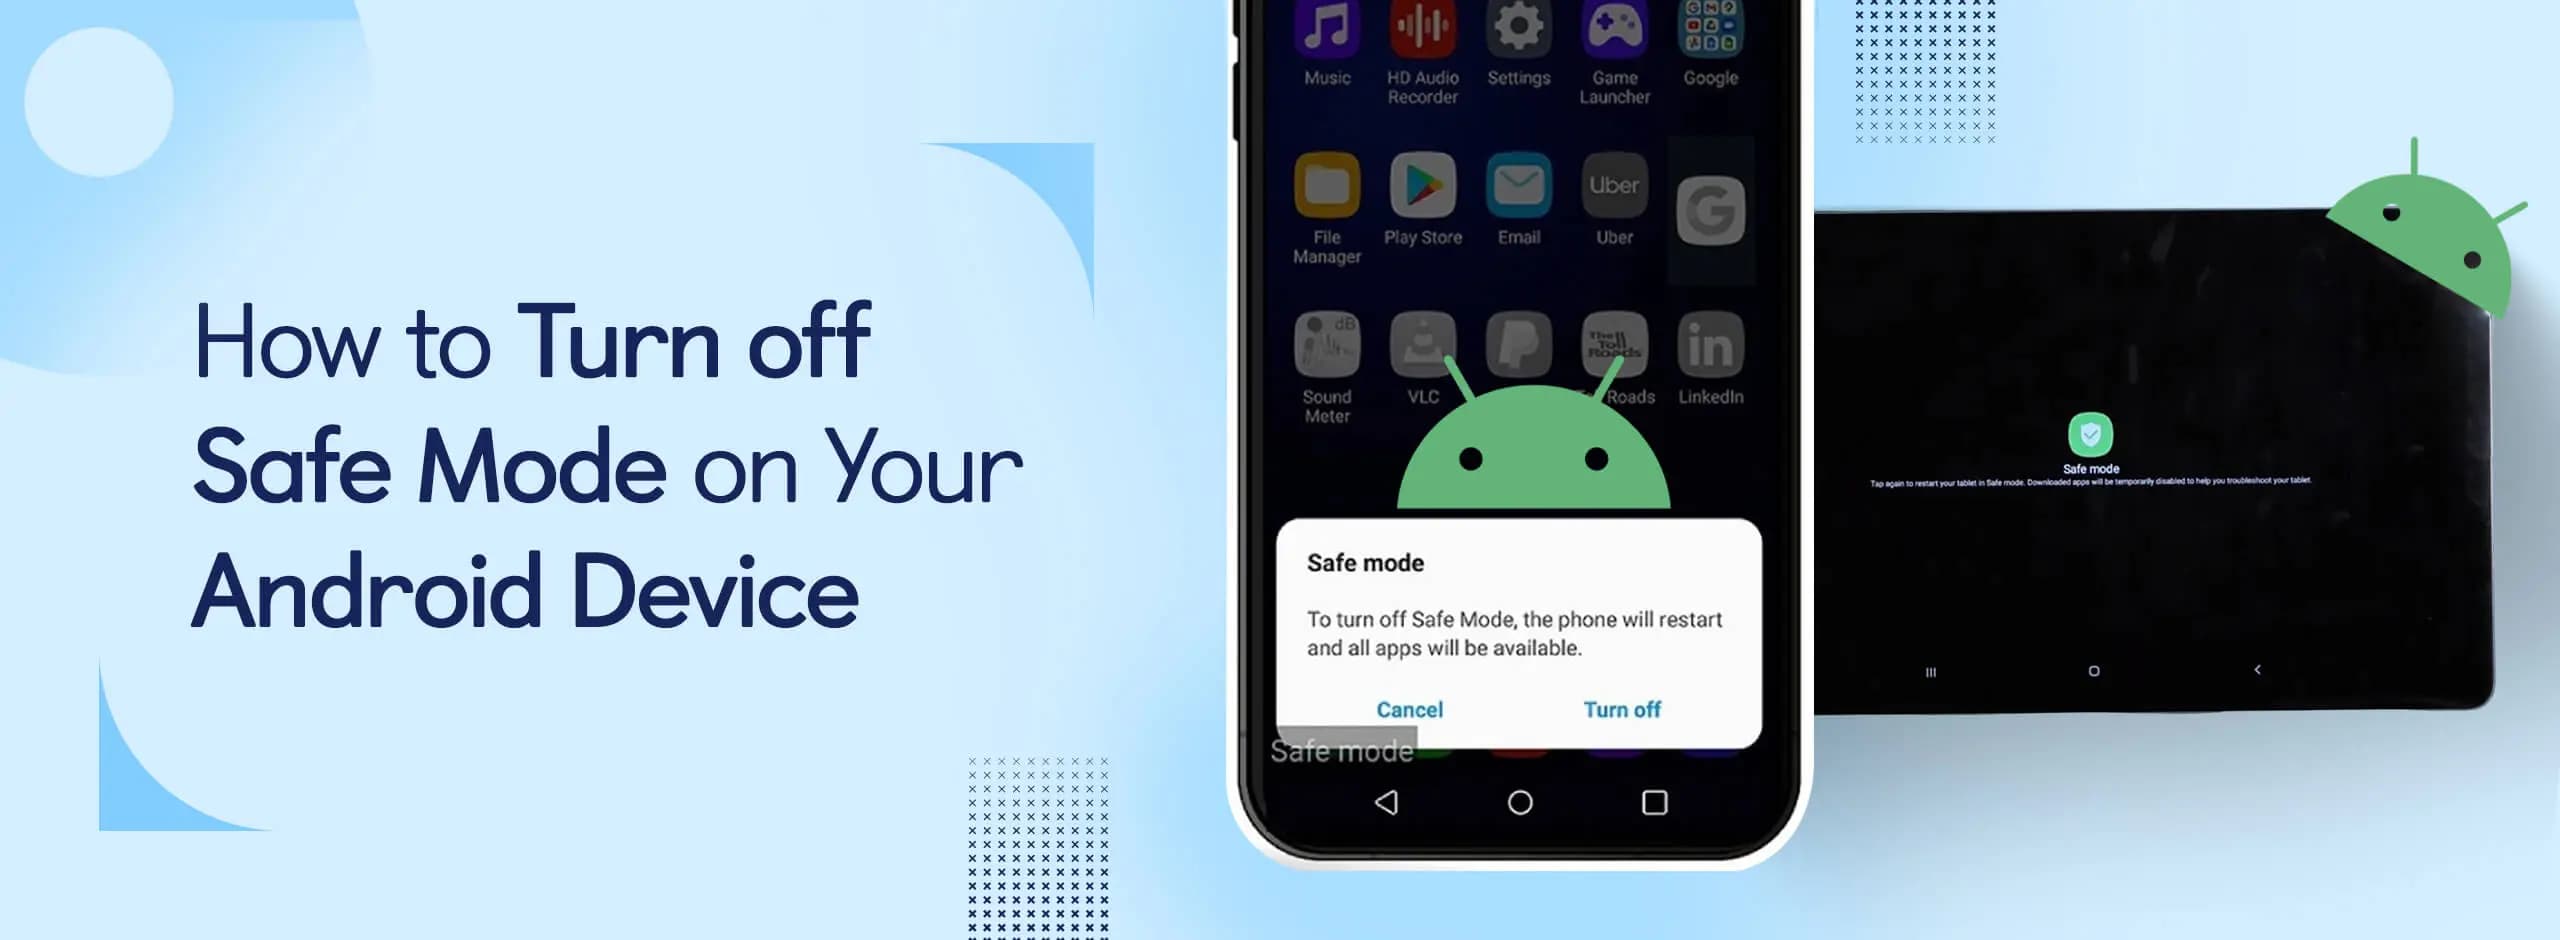
Knowing how to turn off Safe Mode on Android comes in handy, since Safe Mode is a built-in troubleshooting tool that disables every third-party app on a phone and switches on Airplane Mode, making it easier to isolate an app causing lag, battery drain, or other issues. It's also useful for safely deleting a suspected […]
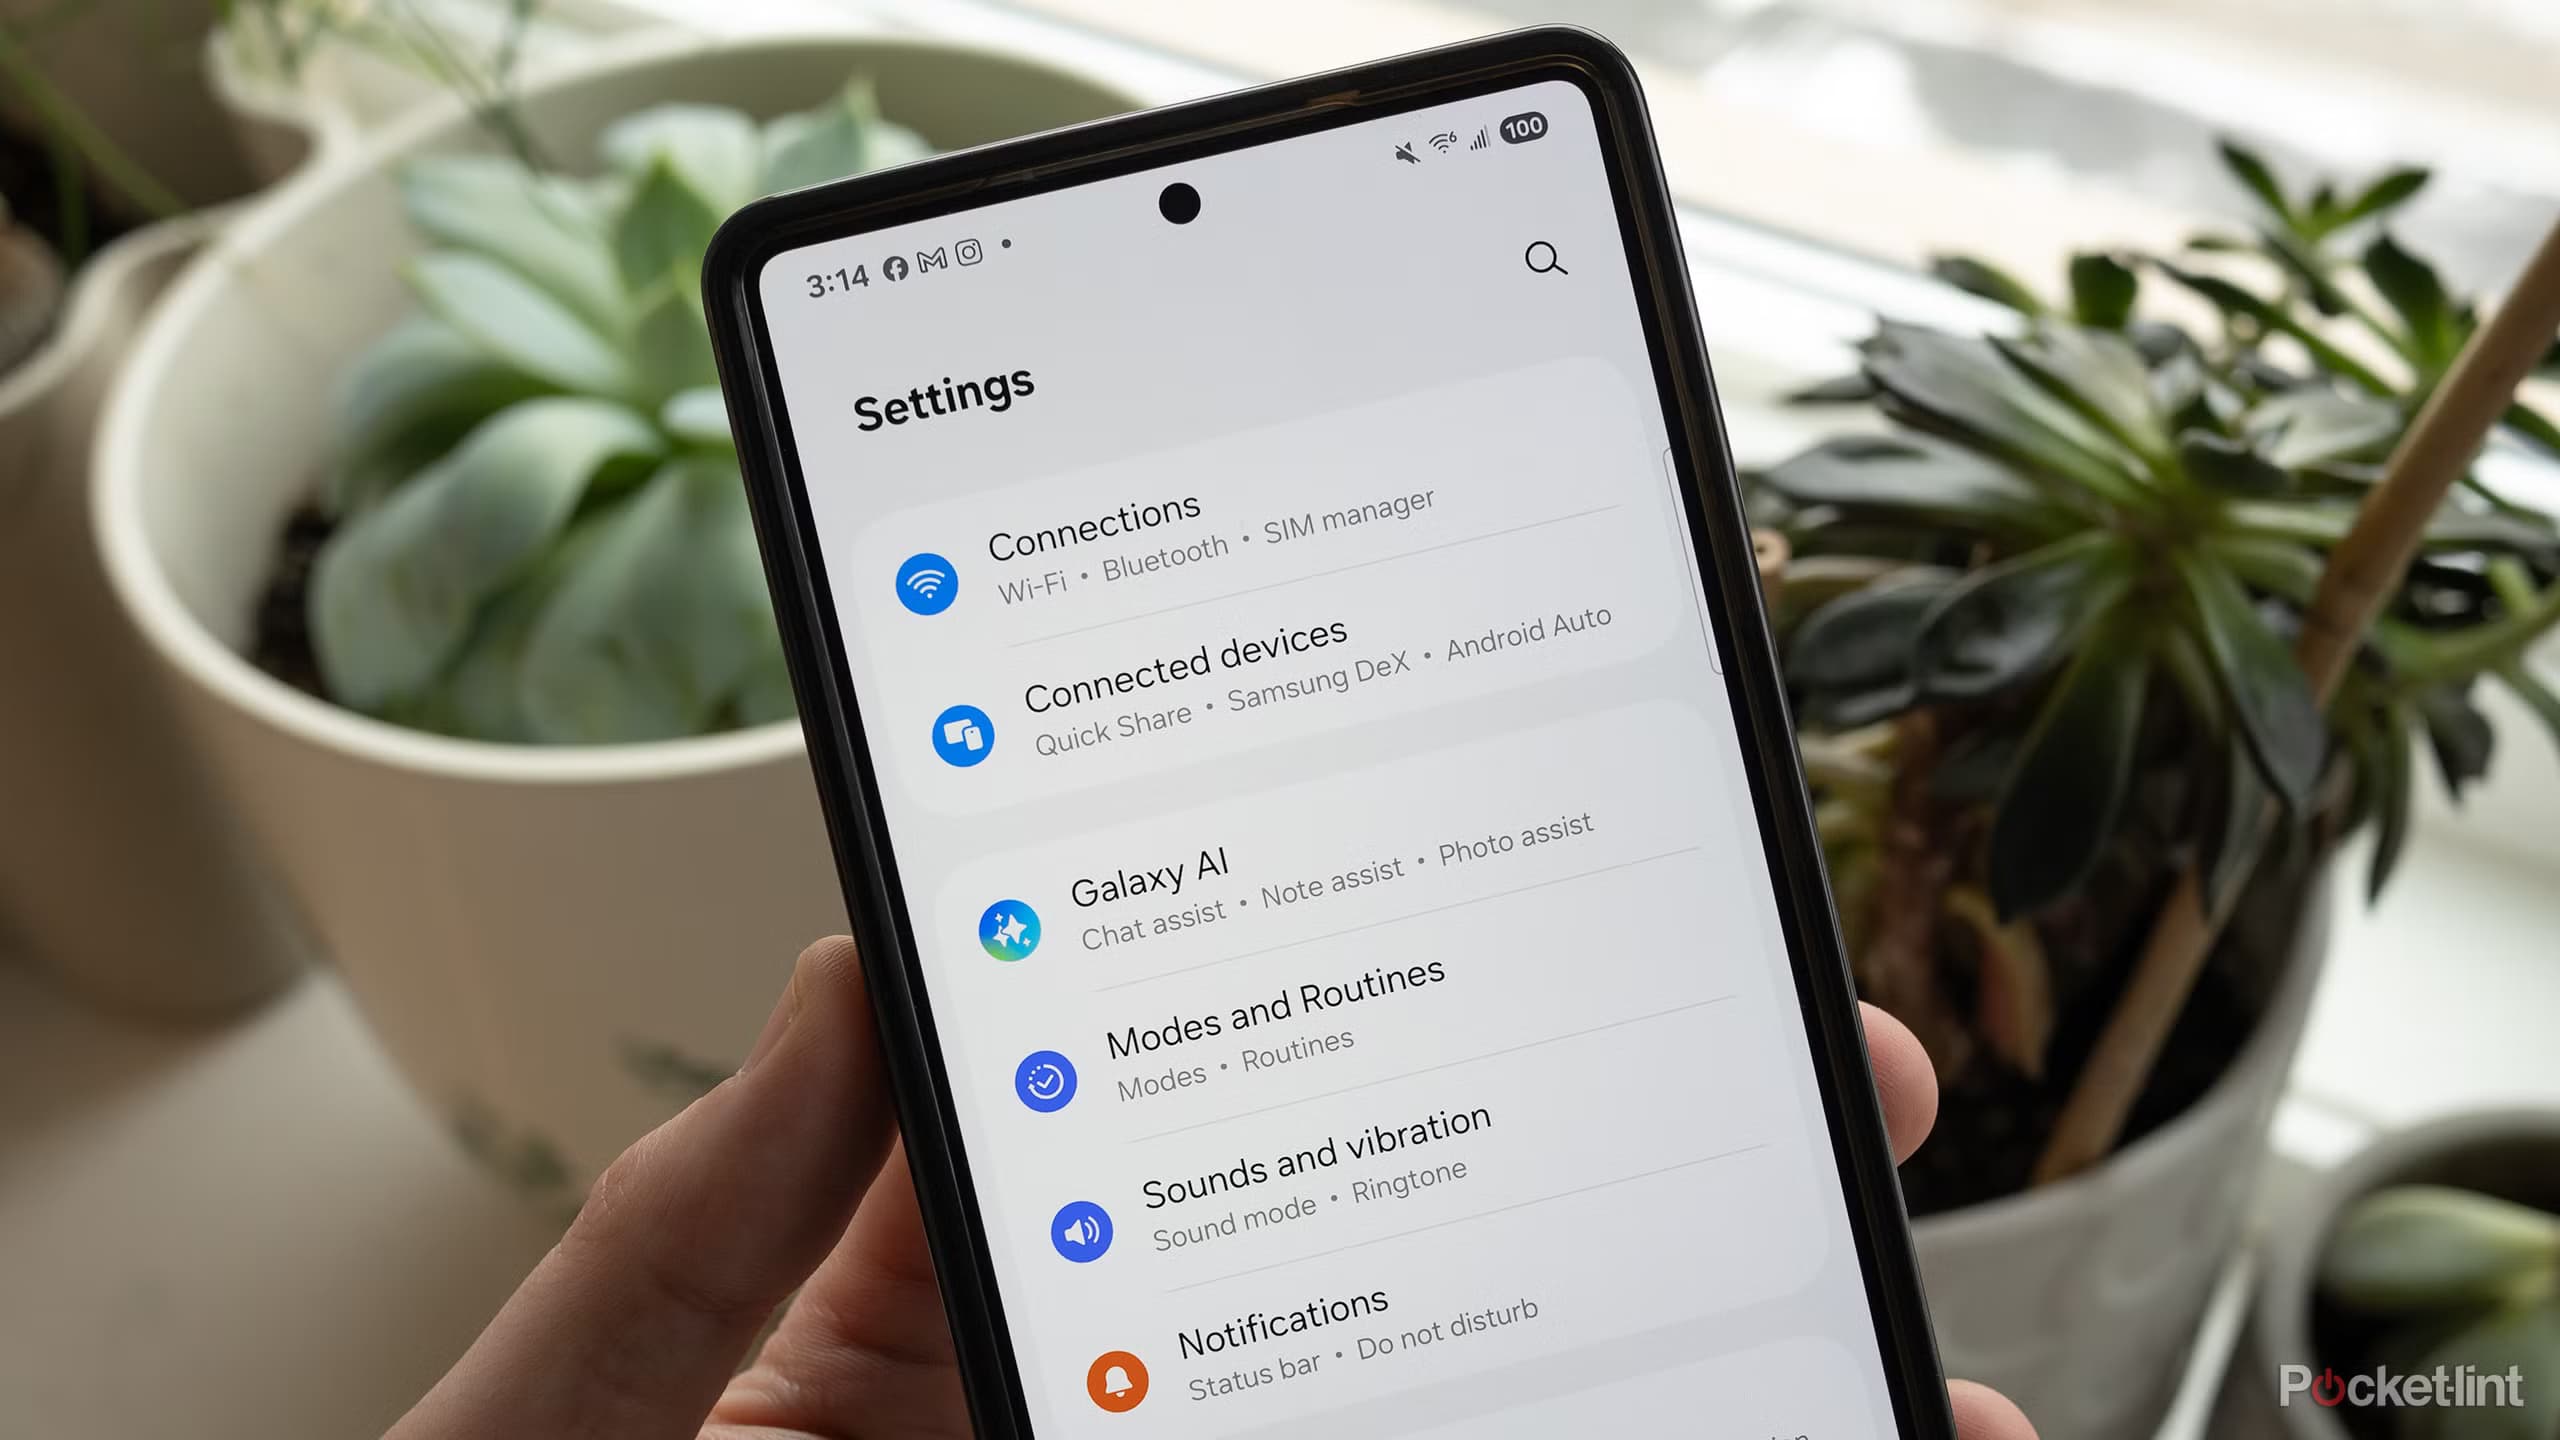
Opening a brand-new phone has a particular excitement. After removing the plastic, you move your pictures, log into your Google account, and begin taking your first snapshot. However, we frequently overlook a few crucial settings that can improve our phone in all that excitement. I looked at a few options on my current phone, a […]
The next story loads as you reach the end. You can also load it using the button.


Comments & Discussions
Join the conversation! We use Disqus to handle comments. Click the button below to load the comment section.