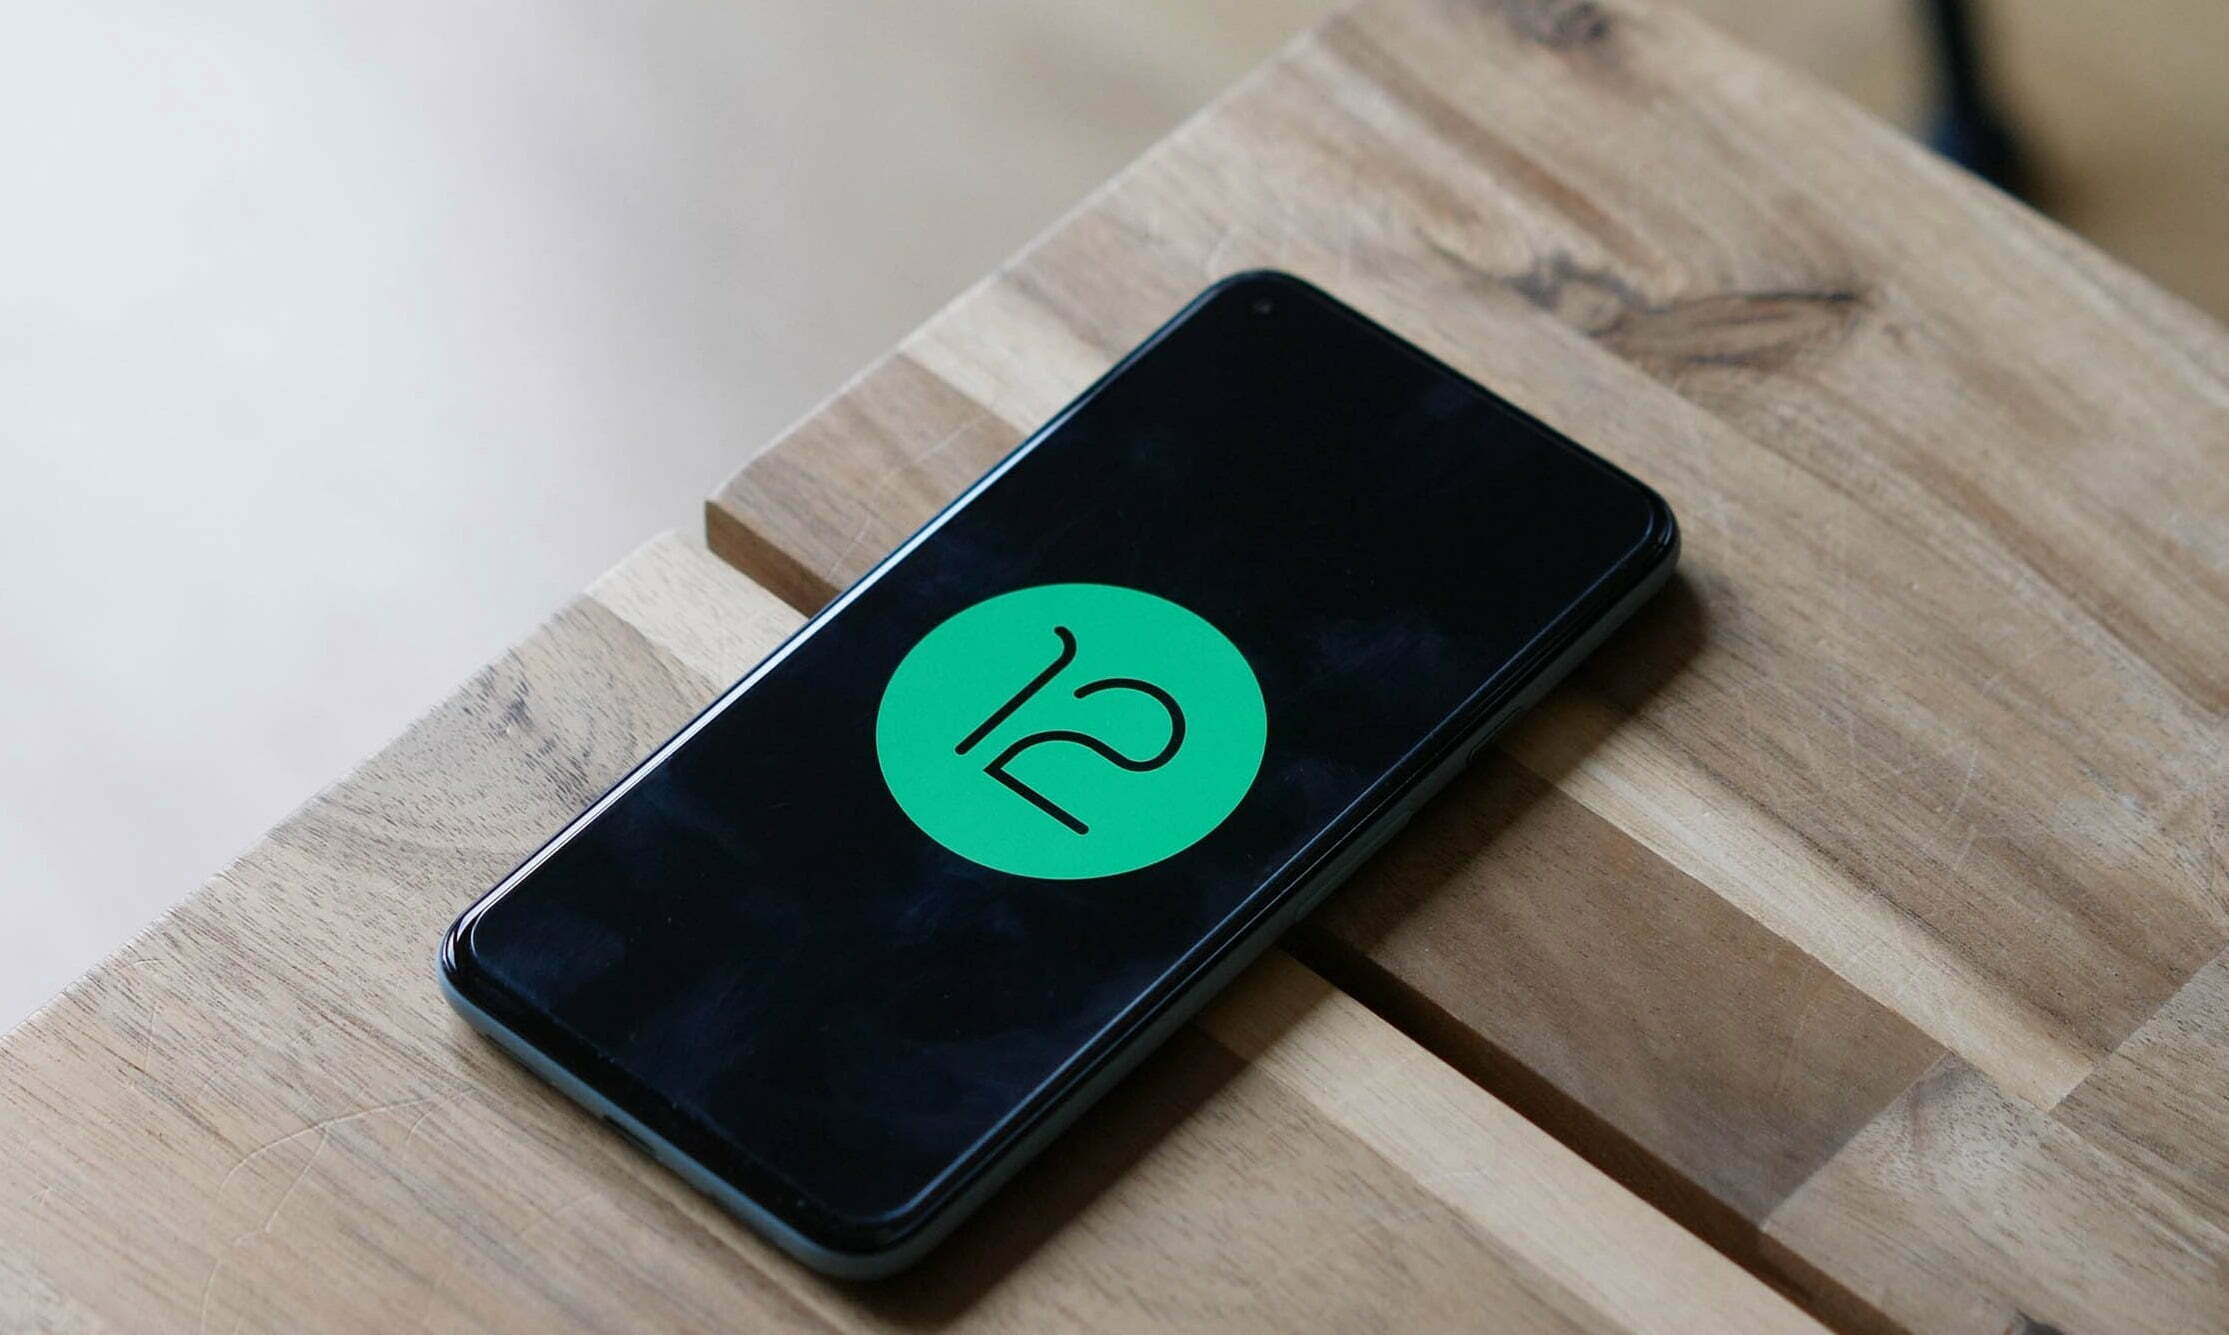
Android 12 Developer Preview 1 is here, but it’s not exactly easy to get. Because this first Android 12 version is meant for developers, Google isn’t just making it an opt-in process like later beta versions will be. But, if you’re willing to take the risk (and not get upset if and when things go wrong), here’s where to get it.
Google’s developer site has been updated today with a whole host of Android 12-related details, and among them are a pair of download pages for full factory images and sideloadable OTA files. In the future, installing Android 12 will be a snap: Just register for the Android Beta Program. But right now, that program is closed, so the only way to install this preview is manually by using those files.
Although you can unlock your bootloader and flash the complete factory picture, we don’t recommend it because it’s a hassle, potentially dangerous, can break SafetyNet attestation, and needs wiping your phone. Consider sideloading the OTA file for your computer instead, which does not require an unlocked bootloader and does not necessitate a scrub. However, if you aren’t prepared, you may need to do some preliminary work.
Google’s stock OTA images site has instructions for the process, and the same details apply to these preview releases.
If you are unfamiliar with the method, you can study a comprehensive walkthrough for your computer platform before attempting it on your own. Installing the required software and drivers is a simpler process on some operating systems than on others.
Prerequisites:
- A computer (PC, macOS, or Linux). Or, if you’re exceptionally adventurous: Another phone with USB OTG functionality.
- A supported phone to install Android 12 on: Pixel 3 series, Pixel 3a series, Pixel 4 series, Pixel 4a series, or Pixel 5.
- A known good cable to connect #1 to #2.
The easy way
Google has made DP1 available with the Android Flash Tool, which makes the process pretty simple and linear, with no tools to install. Just fire up the site at the link below, plug in, and follow the instructions:
This is our recommended route. However, as a backup, you can also install it manually.
The older way

- Install the Android SDK tools (i.e., ADB) and USB drivers (if you’re using Windows).
- Download the Developer Preview OTA image for your device.
- Connect your phone to your computer.
- Reboot into recovery (via ADB/USB debugging or the key combination) and enter sideloading mode. Power+volume up opens the Recovery menu, scroll via the volume keys to “apply update from ADB,” and select it with a tap of the power button.
- Check that and prior steps worked by entering “adb devices” (no quotes) in a shell or command prompt. If ADB is installed and your phone is in the correct mode, you should see an identifier for your phone and a “sideload” state reported.
- Flash the OTA via a shell or command prompt, using “adb sideload your_file_name_here.zip” with no quotes, where the filename is the name of the OTA image you downloaded earlier. On some platforms, you’ll need to precede adb commands with “./” for them to work correctly.
- Stare anxiously at your phone while it slowly installs.
- Reboot when done.
Once you have the preview installed, future Android 12 updates and releases will be delivered like any other normal system update, without requiring that you hit all these steps again, and your phone will automatically end up in the beta track later.


