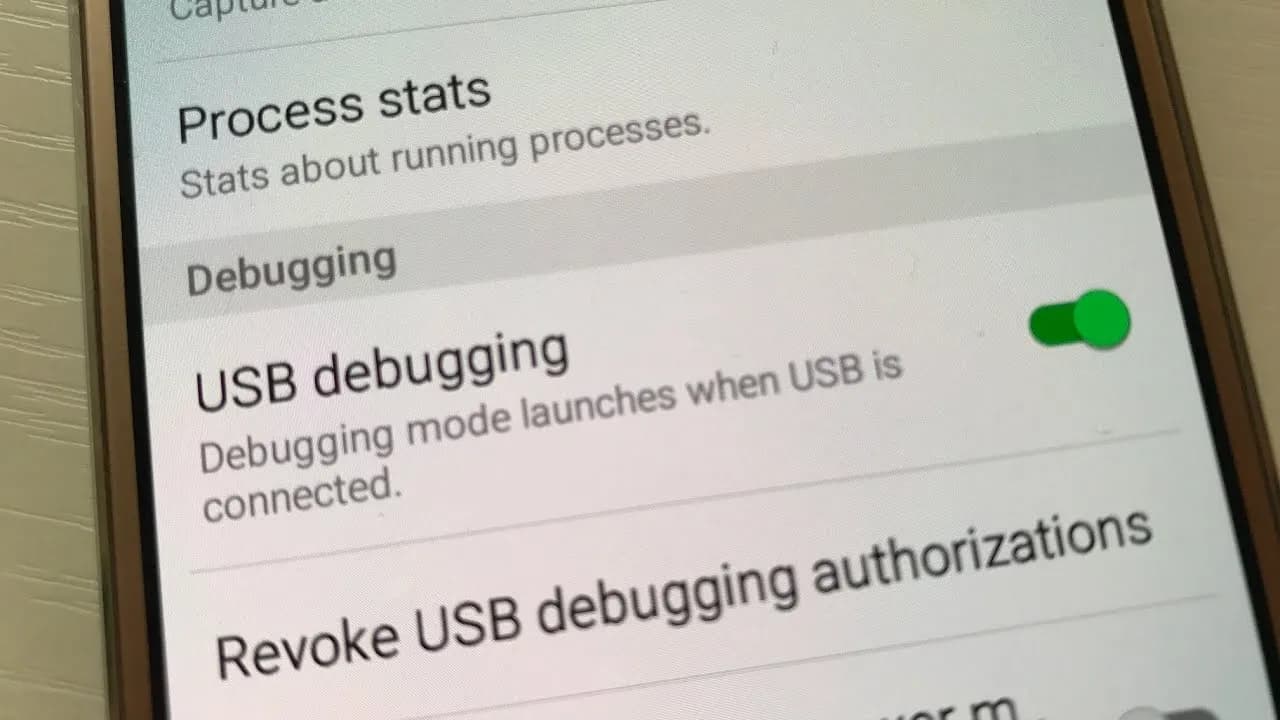
There will be a lot of guides on Droid Tools about how to access certain features of the Android platform that simply are not visible to the user.
Theese will be done generally with the help of some command line Android Debug Bridge (ADB) commands, a tool that Google offers for developers to debug various parts of their applications or the system, but which we can use for all kinds of neat and hidden tricks. Using the command line isn’t something that everyone is comfortable with, though, so in an attempt to teach everyone how to do these tweaks (no matter what skill level you’re at), we have been including some basic steps about how to install ADB in each of our tutorials where necessary.
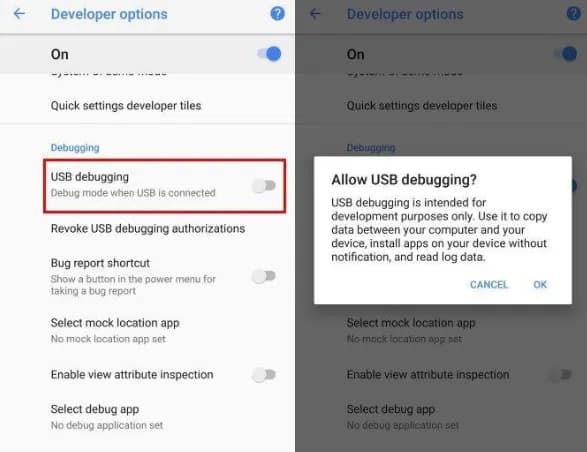
Next up, you will need to scroll below and follow the rest of the instructions for your operating system.
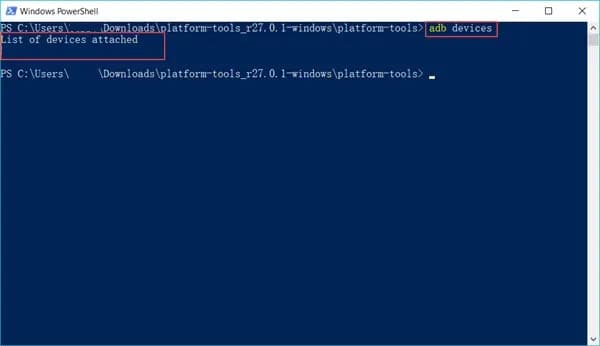
adb devices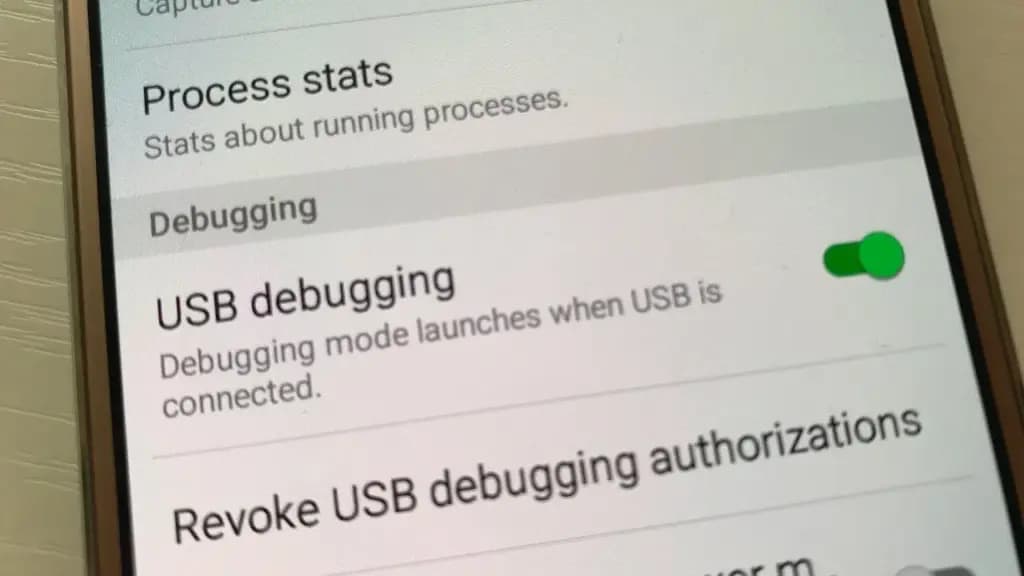
Finally, re-enter the command adb devices. If everything was successful, you should now see your device’s serial number in the command prompt.
cd /path/to/extracted/folder/cd /Users/Doug/Desktop/platform-tools/adb devices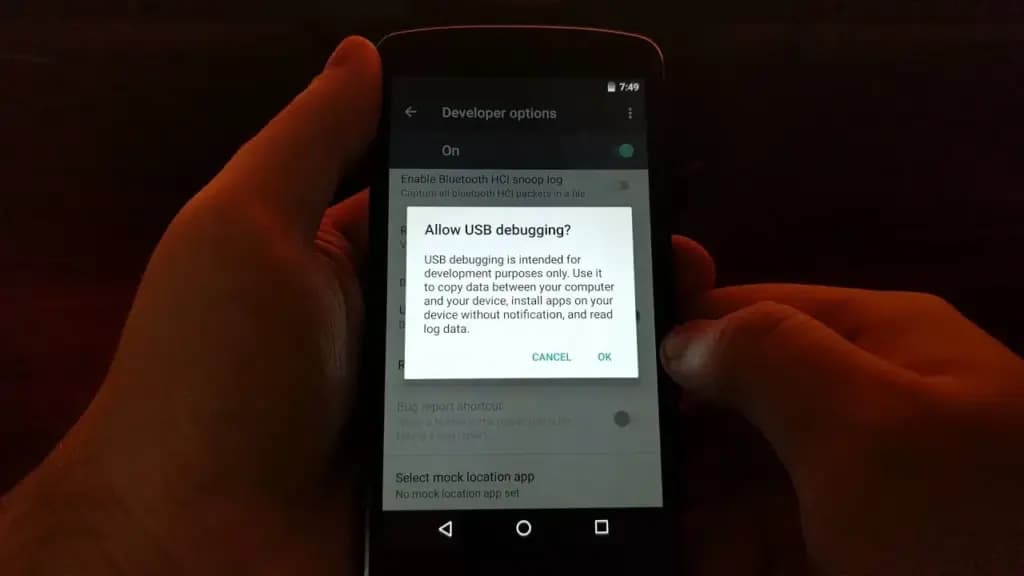
adb devices. If everything was successful, you should now see your device’s serial number in macOS’s Terminal window. Congratulations! You can now run any ADB command on your device! Now go forth and start modding your phone by following our extensive list of tutorials!cd /path/to/extracted/folder/cd /Users/USER/Desktop/platform-tools/adb devicesadb devices. If everything was successful, you should now see your device’s serial number in the Terminal window output. Congrats! You can now run any ADB command on your device! Now go forth and start modding your phone by following our extensive list of tutorials!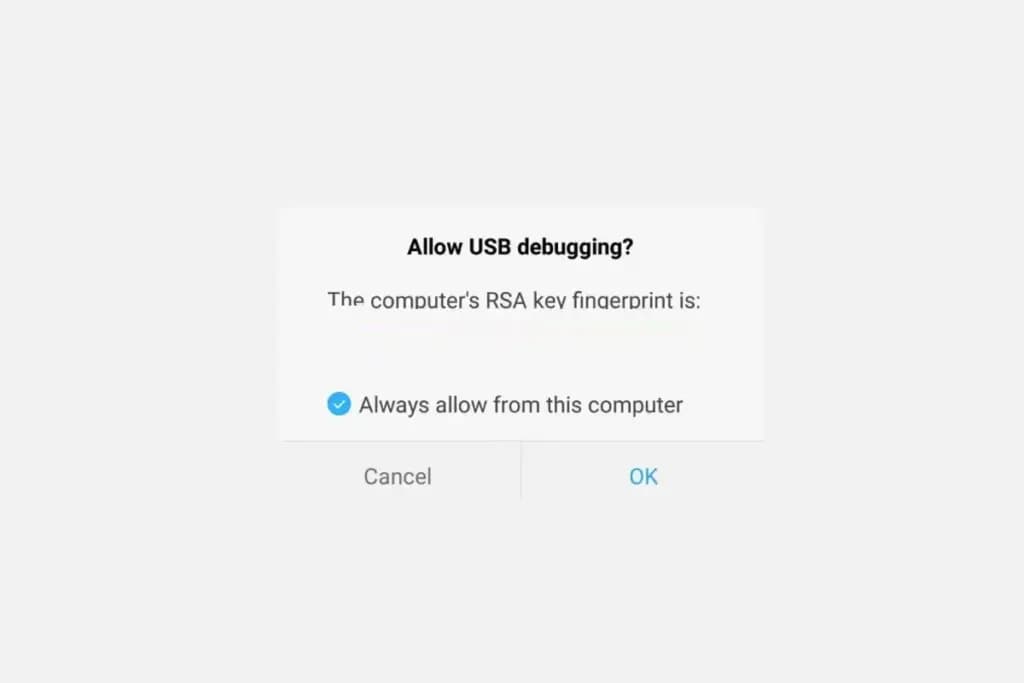
Some Linux users should be aware that there can be an easier way to install ADB on their computer. The guide above will certainly work for you, but those own a Debian or Fedora/SUSE-based distro of Linux can skip steps 1 and 2 of the guide above and use one of the following commands. . .
sudo apt-get install adbsudo yum install android-tools
Google Pixel Watch 5 (45mm)

Robert Haba is the founder and editor-in-chief of Droid Tools. A lifelong gadget enthusiast with over a decade following the Android ecosystem, he built this publication to cut through the noise and give readers honest, real-world coverage of the tech they actually use.

Bitdefender has discovered and analyzed a campaign dubbed Midnight Mimosa, in which malware comes preinstalled in the firmware of low-cost Android devices built on MediaTek platforms. The infection is persistent, runs as a pre-installed firmware system app, and can’t be removed through normal uninstall procedures. Anyone who switches on an affected device finds the malware […]
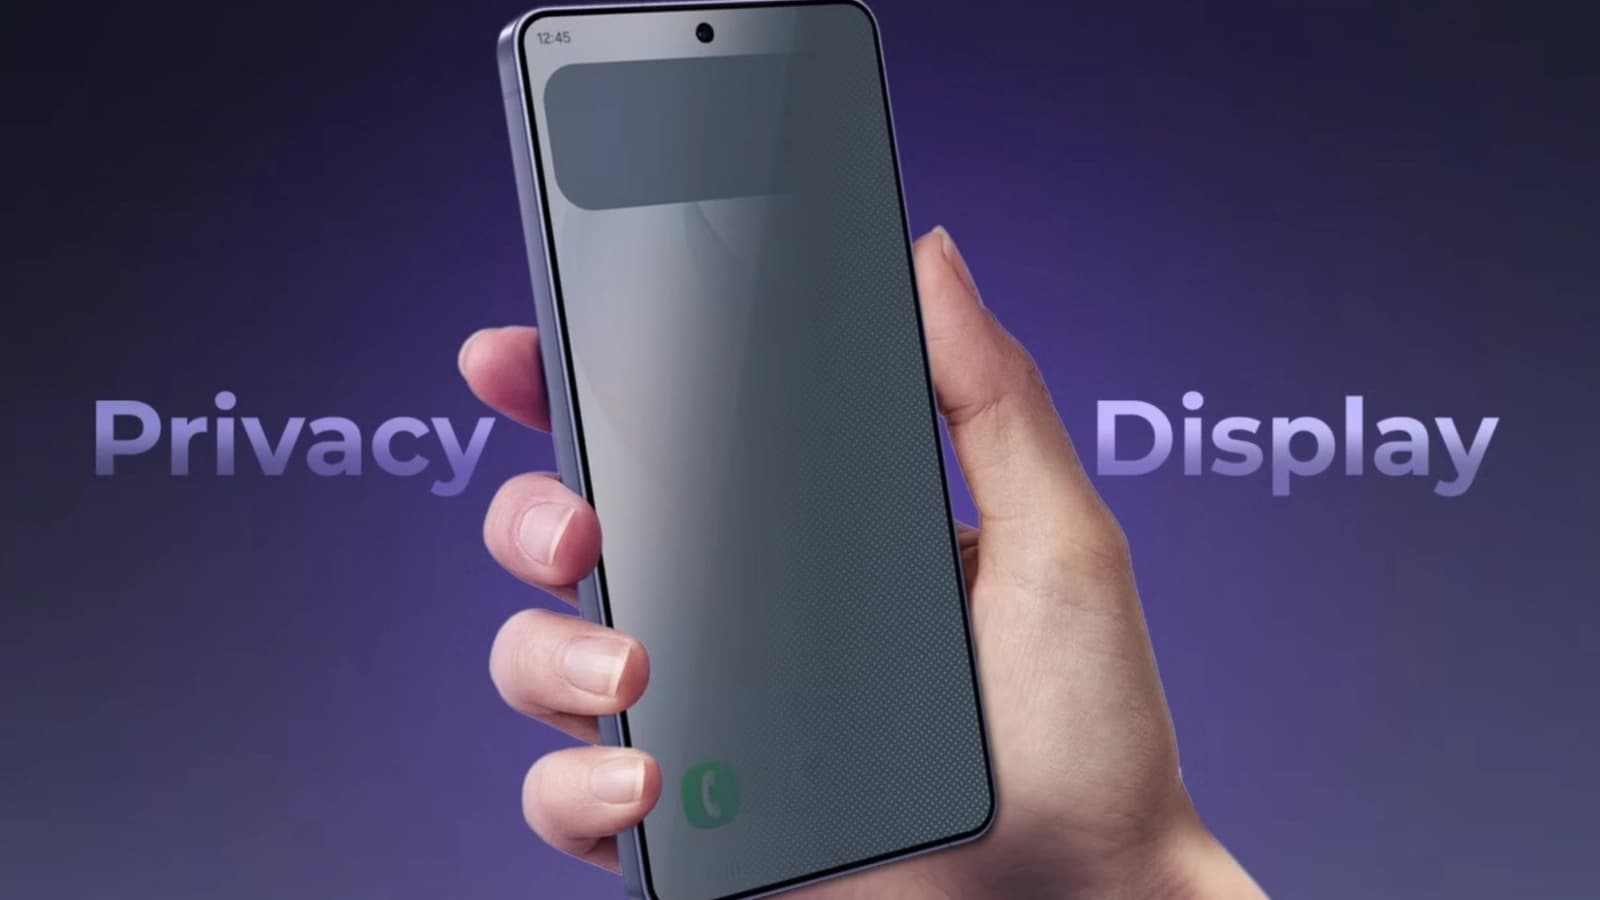
The Galaxy S27 Ultra display may avoid the compromises that held back its predecessor, according to a PhoneArena opinion piece. The writer cites an industry insider who said during a Q&A session on X (formerly Twitter) that Samsung is going to improve the display quality that suffered on the Galaxy S26 Ultra. What went wrong […]

WhatsApp is testing a new way to keep selected conversations off a person's linked devices, such as a laptop, tablet, or secondary phone. The company is expanding Advanced Chat Privacy with a new restriction that limits a chat to each participant's primary phone, and renaming the setting to Restricted Chat to make its purpose clearer. […]

Google built Pixel Search to save users from digging through their phone to find an app, email, photo, and more, and it now appears to be pushing that idea a step further by trying to figure out what to do with the results it surfaces. An APK teardown of Pixel Search version 1.0.983036833 by Android […]
The next story loads as you reach the end. You can also load it using the button.


Comments & Discussions
Join the conversation! We use Disqus to handle comments. Click the button below to load the comment section.