Skip to content
Droid ToolsDroid Tools
Home
About UsContact
Editorial PolicyReview Policy
Privacy PolicyCookie PolicyTerms & Conditions
⌘K
Search
FacebookX (Twitter)InstagramThreadsBlueskyTikTokYouTubeRedditTelegramRSS Feed
Droid Tools

Droid Tools covers the latest Android news, device reviews, app updates, and OS guides. Stay informed with hands-on coverage from mobile tech experts.

Explore

  • News
  • Apps
  • OS
  • Phones
  • Reviews

Legal & Info

  • About Us
  • Contact
  • Editorial Policy
  • Review Policy
  • Privacy Policy
  • Terms & Conditions
  • Cookie Policy
  • Affiliate Disclosure
  • Disclaimer
  • HTML Sitemap
  • XML Sitemap
© 2026 Droid Tools. All rights reserved.
Home/Guides/Fix Google Pixel 6/6 Pro network standby battery draining issue
Guides
google

Fix Google Pixel 6/6 Pro network standby battery draining issue

pixel 6 pro network
Cristian Penisoara
Jul 21, 2022Updated Apr 6, 20268 min read
Cristian Penisoara
Cristian Penisoara
Guides Writer · Android Power User
Cristian Penisoara is a Guides Writer and Android specialist at Droid Tools. An Android user since version 2 and a professional event photographer, he combines technical curiosity with a detail-oriented approach - every guide he publishes is tested step-by-step on a real device before it goes live.
Profile →
0%
Share on XFacebookBluesky
Follow on Google
Trust this source on GoogleAlways see our reviews and tech guides first in search results
Add trusted source

Devices from the Google Pixel 6 series are featured in the news for their performance and design as well as for their problems and flaws. Google’s Pixel device segment doesn’t seem to be evolving all that much even after years on the market. A large number of Google Pixel 6/6 Pro users have recently reported that, in addition to other defects or issues, they commonly experience the Network Standby Battery Draining Issue. It now accumulates problems.

For a quicker switch between connections, the Mobile Network Standby (MTS) feature keeps the device’s data connection active in the background even when utilizing Wi-Fi. In essence, it enables users to seamlessly use their mobile data and Wi-Fi connections to access the internet while one of the networks is down. Through the Settings menu’s Developer Options, it is simple to disable. Now, if you’re having the same problem, you may fix it by using this approach.
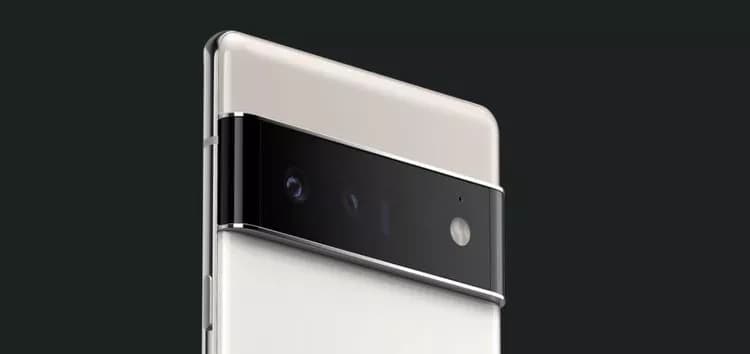
Google Pixel 6/6 Pro Network Standby Battery Draining Issue

Multiple Google Pixel 6 and Pixel 6 Pro users are reporting on Reddit that their devices are experiencing excessive battery drain even in the standby mode which is unexpected. Whereas the ‘mobile network’ option in the battery details settings is nearly consuming 30%-40% of juice every day. Some affected users are also facing the Google Pixel 6 series sudden losing all network coverage for a couple of seconds automatically and then regaining it soon.

This particular issue is happening to a lot of users randomly every 2-3 minutes which becomes frustrating. As the losing and regaining of the network signal put additional pressure on the Pixel 6/6 Pro device modem consistently, it leads to an excessive battery drain unexpectedly. Luckily, there are a couple of possible workarounds mentioned below that should gonna help a lot. So, without wasting any more time, let’s jump into it.

Also Read

Fix: Pixel 6 Pro Sound Not Working/ Audio Cutting Out, Delay or Lag

1. Turn OFF Adaptive Connectivity

Some reports are claiming that turning off the ‘Adaptive Connectivity’ option on your Google Pixel 6/6 Pro device can easily fix the network standby battery draining issue in most scenarios. The Adaptive Connectivity feature automatically switches between Wi-Fi and mobile data networks whenever any of the networks don’t have internet access. You can also try turning off the adaptive connectivity option on your handset. To do so:

You May Also Like
Recommended
1

How to block ads on Android with Brave and Private DNS

brave for android
2

MobileTopUP Network Inside Out: 47 Countries, 230+ Operators, One Checkout

MobileTopUP Network Inside Out: 47 Countries, 230+ Operators, One Checkout
3

How to turn off Safe Mode on Android

turn off safe mode in android
  • Open your phone’s Settings app.
  • Tap on Network & internet > Select Adaptive connectivity.
  • Turn OFF the toggle to disable Adaptive connectivity.

2. Turn On Adaptive Battery

You should also turn on the adaptive battery feature on your Pixel 6/6 Pro device to maintain the battery level by eliminating unnecessary background running tasks and connectivity options like GPS, Bluetooth, etc. You’ll be able to reduce battery draining with the help of system optimization. To do that:

  • Open your phone’s Settings app.
  • Tap on Battery > Tap on Adaptive Battery.
  • Make sure to Turn ON the Adaptive Battery toggle to enable it.

3. Change Screen Display Settings

It’s highly recommended to change the screen display brightness settings on the device by following the steps below. A couple of unnecessary options may consume a lot of battery juice in a full day no matter whether you’re using them or not.

  • Make sure to reduce the screen brightness to an optimal level as per your requirement.
  • You can also turn on Dark Mode on the device to reduce battery strain.
  • If in case, you’re using any live wallpapers on the lock screen or home screen, make sure to turn it off, and use a static wallpaper.
  • Turn off the screen when you’re not using it by simply short pressing the power button to lock the screen.
  • Adjust the screen timeout option from the Settings > Display > Screen Timeout > Set it to 15/30 seconds which is more than enough. However, if you want the screen to have a higher timeout ratio then you can set it to higher.
  • Make sure to turn off screen attention mode too. Head over to the Settings app > Tap on Display and then Advanced > Screen attention > Turn ON the Screen attention feature.
  • You should also turn off the smooth display option. Open your phone’s Settings app > Tap on Display > Tap on Smooth Display > Turn OFF the Smooth Display feature.

4. Restric Battery Hungry Apps

Try restricting the battery-consuming apps on the device which may run always in the background and drain a lot of battery juice. To do so:

  • Open your phone’s Settings app > Tap on Battery.
  • Tap on Battery usage > You can see a list of apps with the percentage of your battery used for the past 24 hours. Or you can also see system usage by tapping System usage for the past 24 hr.
  • To see or change how a listed app uses the battery, tap on it.​
    • For some apps, you can turn on Background Restriction.
    • For all apps, we recommend keeping Battery optimization on.

5. Delete Unused Apps and Games

Whatever apps or games you’ve already installed or come preinstalled on the device and you’re not using them regularly, make sure to delete those unused apps & games.

  • Just head over to the installed app or game > Tap and hold on the specific app/game icon.
  • Select Uninstall and confirm the task to delete it.
  • Do the same steps for each unnecessary or unused program.

6. Use the Stock Charger

Ensure to use the stock charger or adapter that comes with your phone. Don’t use any local non-branded charging cables and adapters to charge your expensive Pixel 6 series as they’re not certified to work properly. You can easily avoid battery chemical damage or overheating.

7. Keep Ambient Temperature Cool

You should avoid such situations where your Pixel 4 XL smartphone can overheat. Your device battery will drain much faster when the temperature is hot enough. Even using the device extensively while charging can also cause overheating issues and it’ll eventually lead to battery draining. Try not using the device or not plugging in the device for longer while charging it.

8. Stop Charging Overnight

Advertisement

Either you should use adaptive charging on the device or try charging the device before you go to sleep or even just after waking up from sleep in the morning to avoid overcharging. Most users prefer overnight charging which may lead to battery health issues or overheating issues over a period of time.

9. Use Battery Saver

Try using the battery saver option on the handset to precisely using the battery juice whatever and whenever required. To do so:

  • Go to the device Settings app.
  • Tap on Battery > Go to Battery Saver > Set a schedule.
  • Pick a setting when Battery Saver should turn on. Select according to your preference.
    • No schedule: Only when you turn on Battery Saver manually.
    • Based on your routine: If your battery is likely to run out before your next typical charge.
    • Based on percentage: When your battery reaches a certain percentage charge.

10. Update Device Software

Make sure to check for software updates on your device and install the latest version (if available) to reduce multiple bugs or issues.

  • Open the device Settings menu.
  • Head over to the bottom of the page and tap on System.
  • Go to System update > Your update status will appear whether there is a new version available or not.
  • Just follow the on-screen steps to update it > Once done, you’ll need to reboot the device to apply changes.

11. Install Pending App Updates

The chances are high that some of the installed apps or games are basically conflicting with the current software version on your device. It’s always a better idea to update apps and games on the device. To do that:

  • Open the Google Play Store app.
  • At the top right side, tap on the profile icon.
  • Now, tap on Manage apps & devices.
  • Here you can see the ‘Updates available’ option > Choose to ‘Update all apps’. [You can just select a specific app update to install]
  • Once done, close the Play Store, and reboot the device to apply changes.

12. Perform a Factory Reset

Sometimes performing a factory reset on the device can fix plenty of issues related to software, crashes, app issues, battery issues, networking issues, etc. You should also try resetting the device to the factory default.

  • Open the device Settings app.
  • Select Google > Tap on Backup.
  • If you’re one of the Google One users then you can turn on Backup by Google One and follow the on-screen instructions. [Optional]
  • Tap on Back up now.

Note: Your Google One backup can take up to 24 hours. When your data is saved, “On” will be below the data types you selected. Also, keep in mind that you’ll require a Google account credential to sign back into the service after reset.

  • Head over to the Settings app.
  • Tap on System > Tap on Reset options.
  • Select Erase all data (factory reset).
  • To erase all data from your phone’s internal storage, tap on Erase all data.
    • If required, your phone asks for your PIN. Enter your PIN > Select Erase all data.
  • It may take a couple of minutes depending on the device storage and performance. So, have some patience until the process completes.
  • When your phone finishes the factory reset, select the restart option.
  • Now, you can easily set up your phone and restore your backed-up data.

13. Replace the Battery

If none of the methods worked for you then it’s better to ask for a battery replacement by visiting the nearest Google Pixel authorized service center (if the warranty is still there). Otherwise, simply visit the nearest local mobile repairing shop and ask for a battery replacement. You should also ask the repair guy to cross-check the internal board whether it has any issues or not.

Trust this source on GoogleAlways see our reviews and tech guides first in search results
Add trusted source
Tags:google#issue#network#pixel#stanby
Recommended Deals
1 / 5
Google Pixel Watch 5 (45mm)

Google Pixel Watch 5 (45mm)

5.0
529.99
Buy on Amazon
* As an Amazon Associate, Droid Tools earns from qualifying purchases. Read our editorial policy
Cristian Penisoara
Cristian PenisoaraGuides Writer · Android Power User

Cristian Penisoara is a Guides Writer and Android specialist at Droid Tools. An Android user since version 2 and a professional event photographer, he combines technical curiosity with a detail-oriented approach - every guide he publishes is tested step-by-step on a real device before it goes live.
Next Story in Guides

How to block ads on Android with Brave and Private DNS

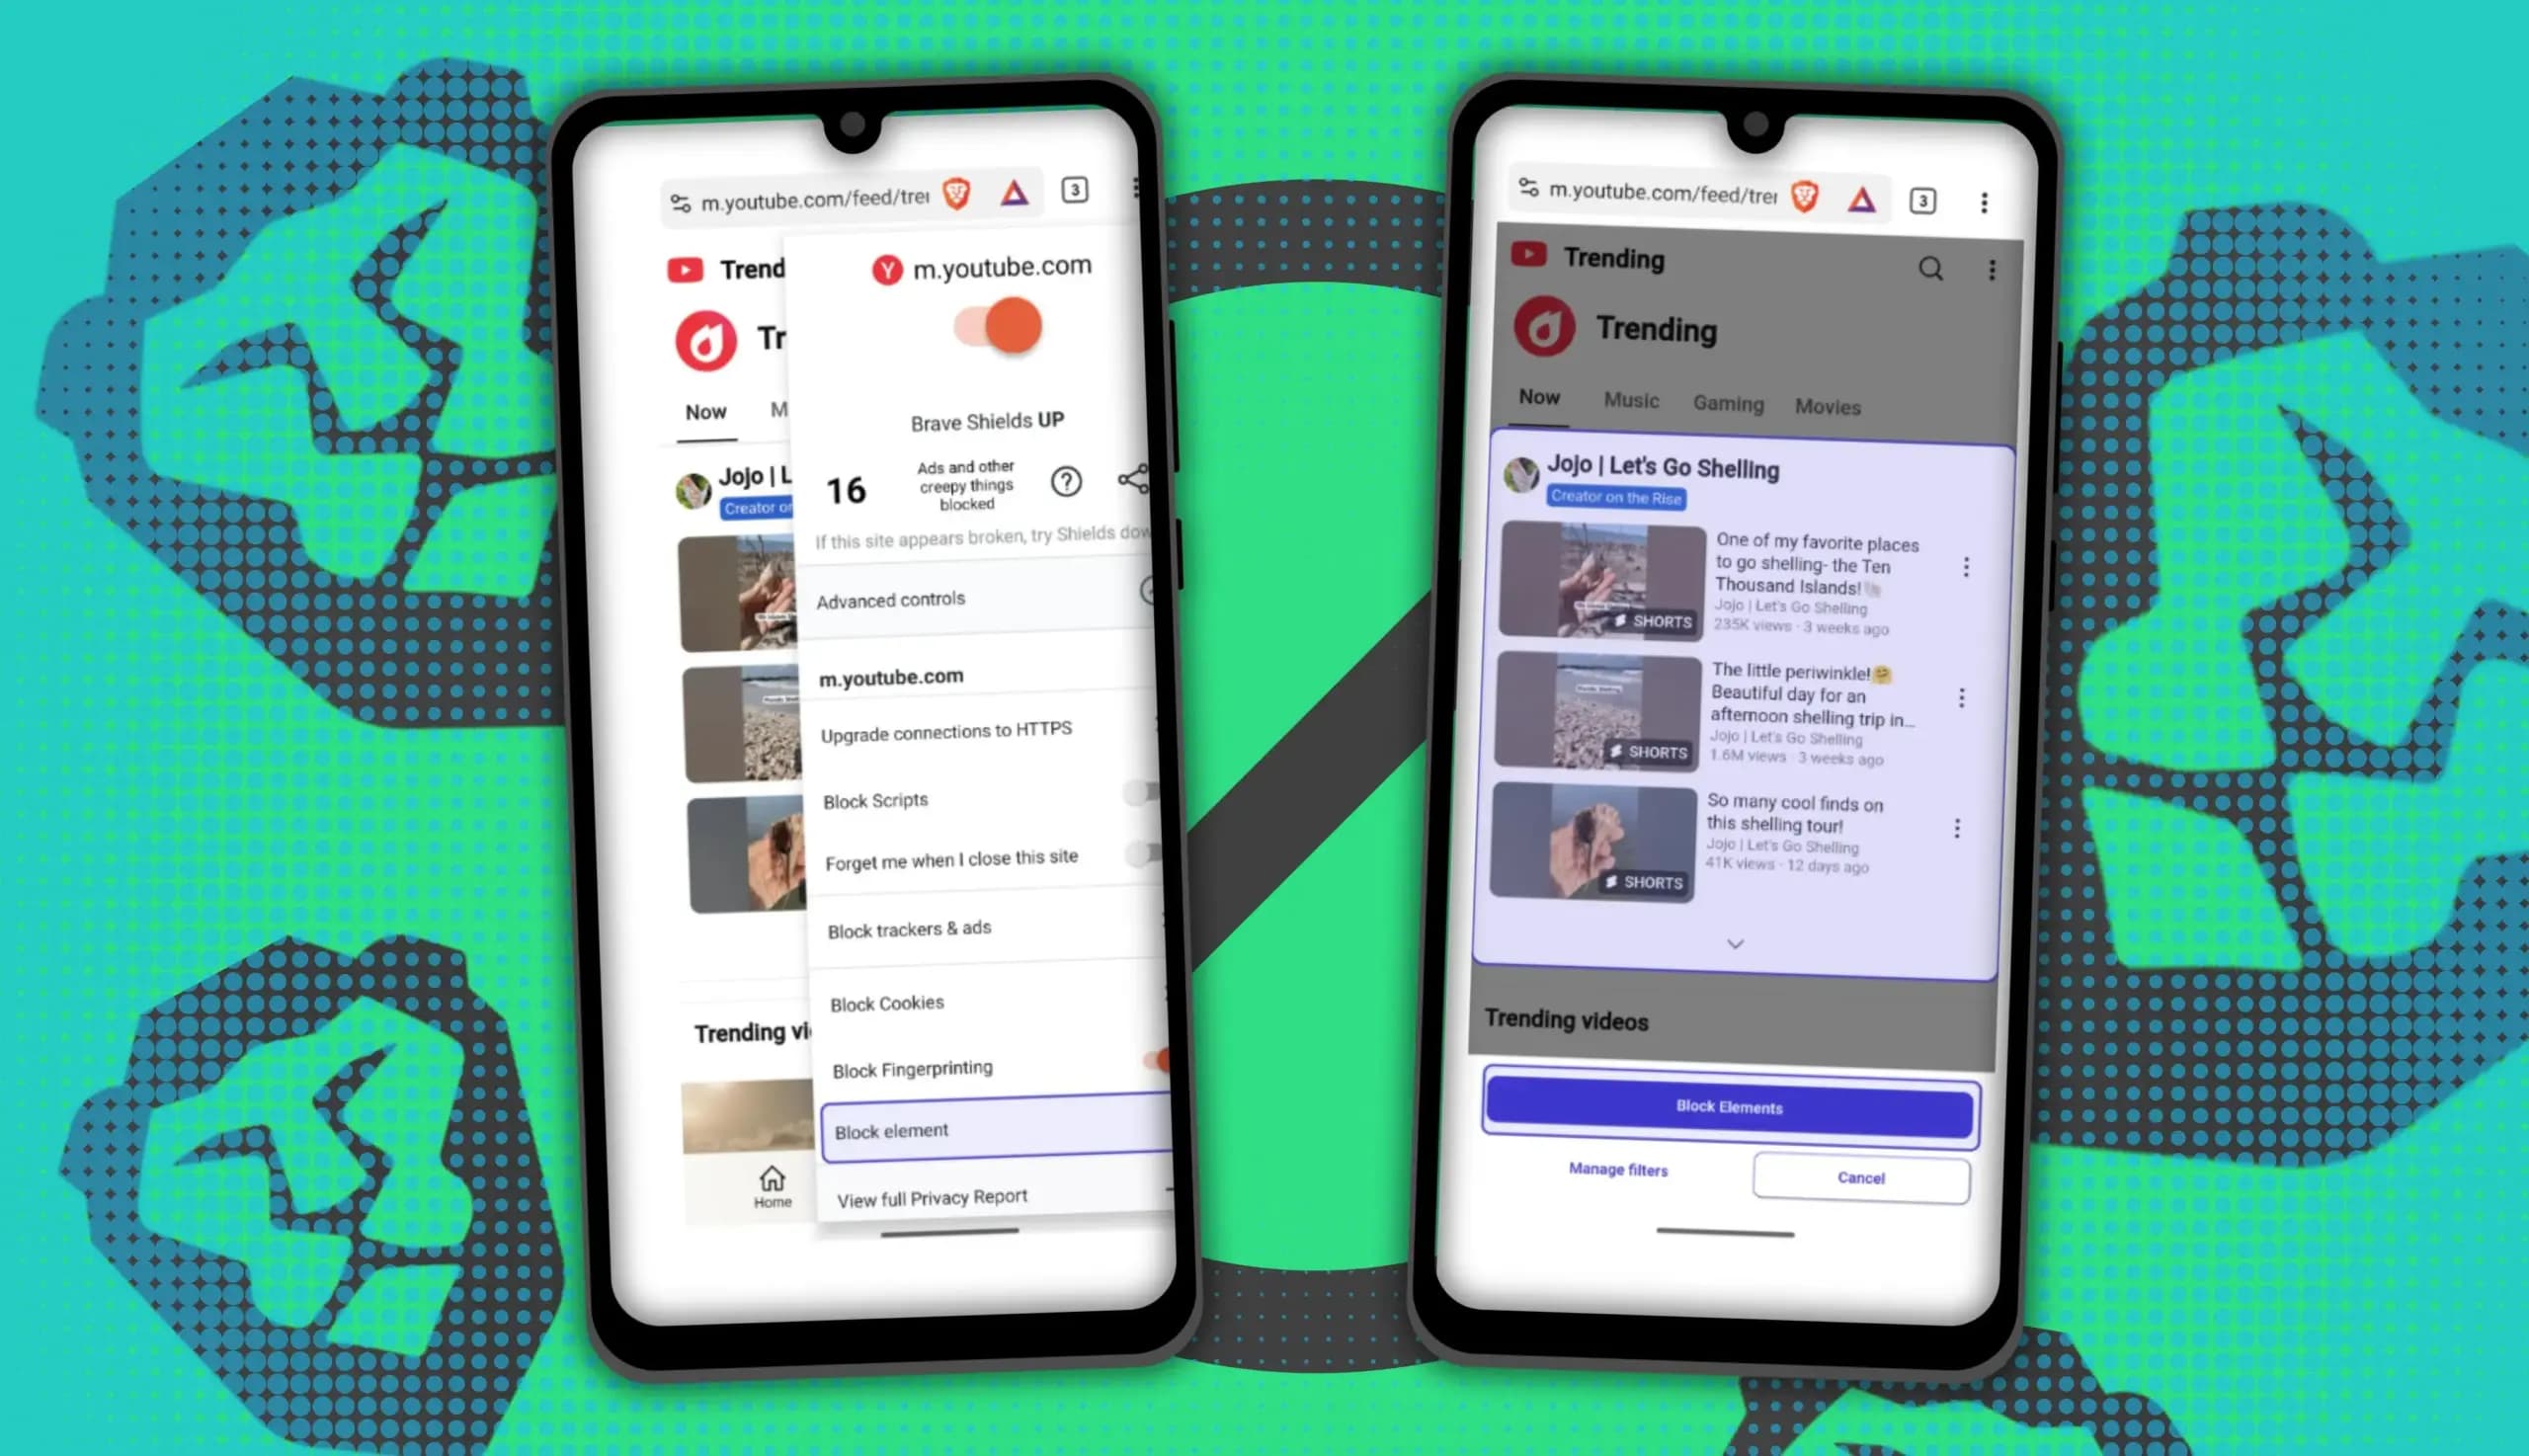
You can block ads on Android more effectively by pairing Brave’s Aggressive Shields setting with the system’s Private DNS feature. The setup filters ads at both the browser and system levels, takes only a few minutes to configure, and avoids the battery drain and VPN conflicts that come with dedicated ad-blocking apps. Why one ad […]

→

Latest Stories

brave for android01

How to block ads on Android with Brave and Private DNS

02

Android 17 QPR2 Beta 7 fixes Flip to Shh battery drain and failed downloads

03

Midnight Mimosa malware comes preinstalled on low-cost MediaTek Android phones

04

Galaxy S27 Ultra display could fix the Privacy Display trade-offs

Amazon Deals
5.0
Google Pixel Watch 5 (45mm)

Google Pixel Watch 5 (45mm)

Best Price
529.99
Buy

Top Deals

Google’s Pixel Referral Program is back with 10% off and Store credit

Deal
Google’s Pixel Referral Program is back with 10% off and Store credit

Pixel Watch 5 vs. Pixel Watch 4: what actually changed

Deal
Pixel Watch 5 vs. Pixel Watch 4: what actually changed

Apple Watch Series 12 vs Pixel Watch 5: how they compare

Deal
Apple Watch Series 12 vs Pixel Watch 5: how they compare
Recommended stories

Continue reading

More from this category →
brave for android
GuidesOct 10, 2026

How to block ads on Android with Brave and Private DNS

You can block ads on Android more effectively by pairing Brave’s Aggressive Shields setting with the system’s Private DNS feature. The setup filters ads at both the browser and system levels, takes only a few minutes to configure, and avoids the battery drain and VPN conflicts that come with dedicated ad-blocking apps. Why one ad […]

By Robert Haba
MobileTopUP Network Inside Out: 47 Countries, 230+ Operators, One Checkout
GuidesSep 12, 2026

MobileTopUP Network Inside Out: 47 Countries, 230+ Operators, One Checkout

Behind a two-tap recharge sits a surprising amount of plumbing. Every prepaid network has its own rules about what can be topped up, in which denominations, and how quickly credit posts to a SIM. MobileTopUP hides that complexity behind a single form: pick a country, enter a number, choose an amount. What the coverage map actually covers […]
By Robert Haba
turn off safe mode in android
GuidesSep 2, 2026

How to turn off Safe Mode on Android

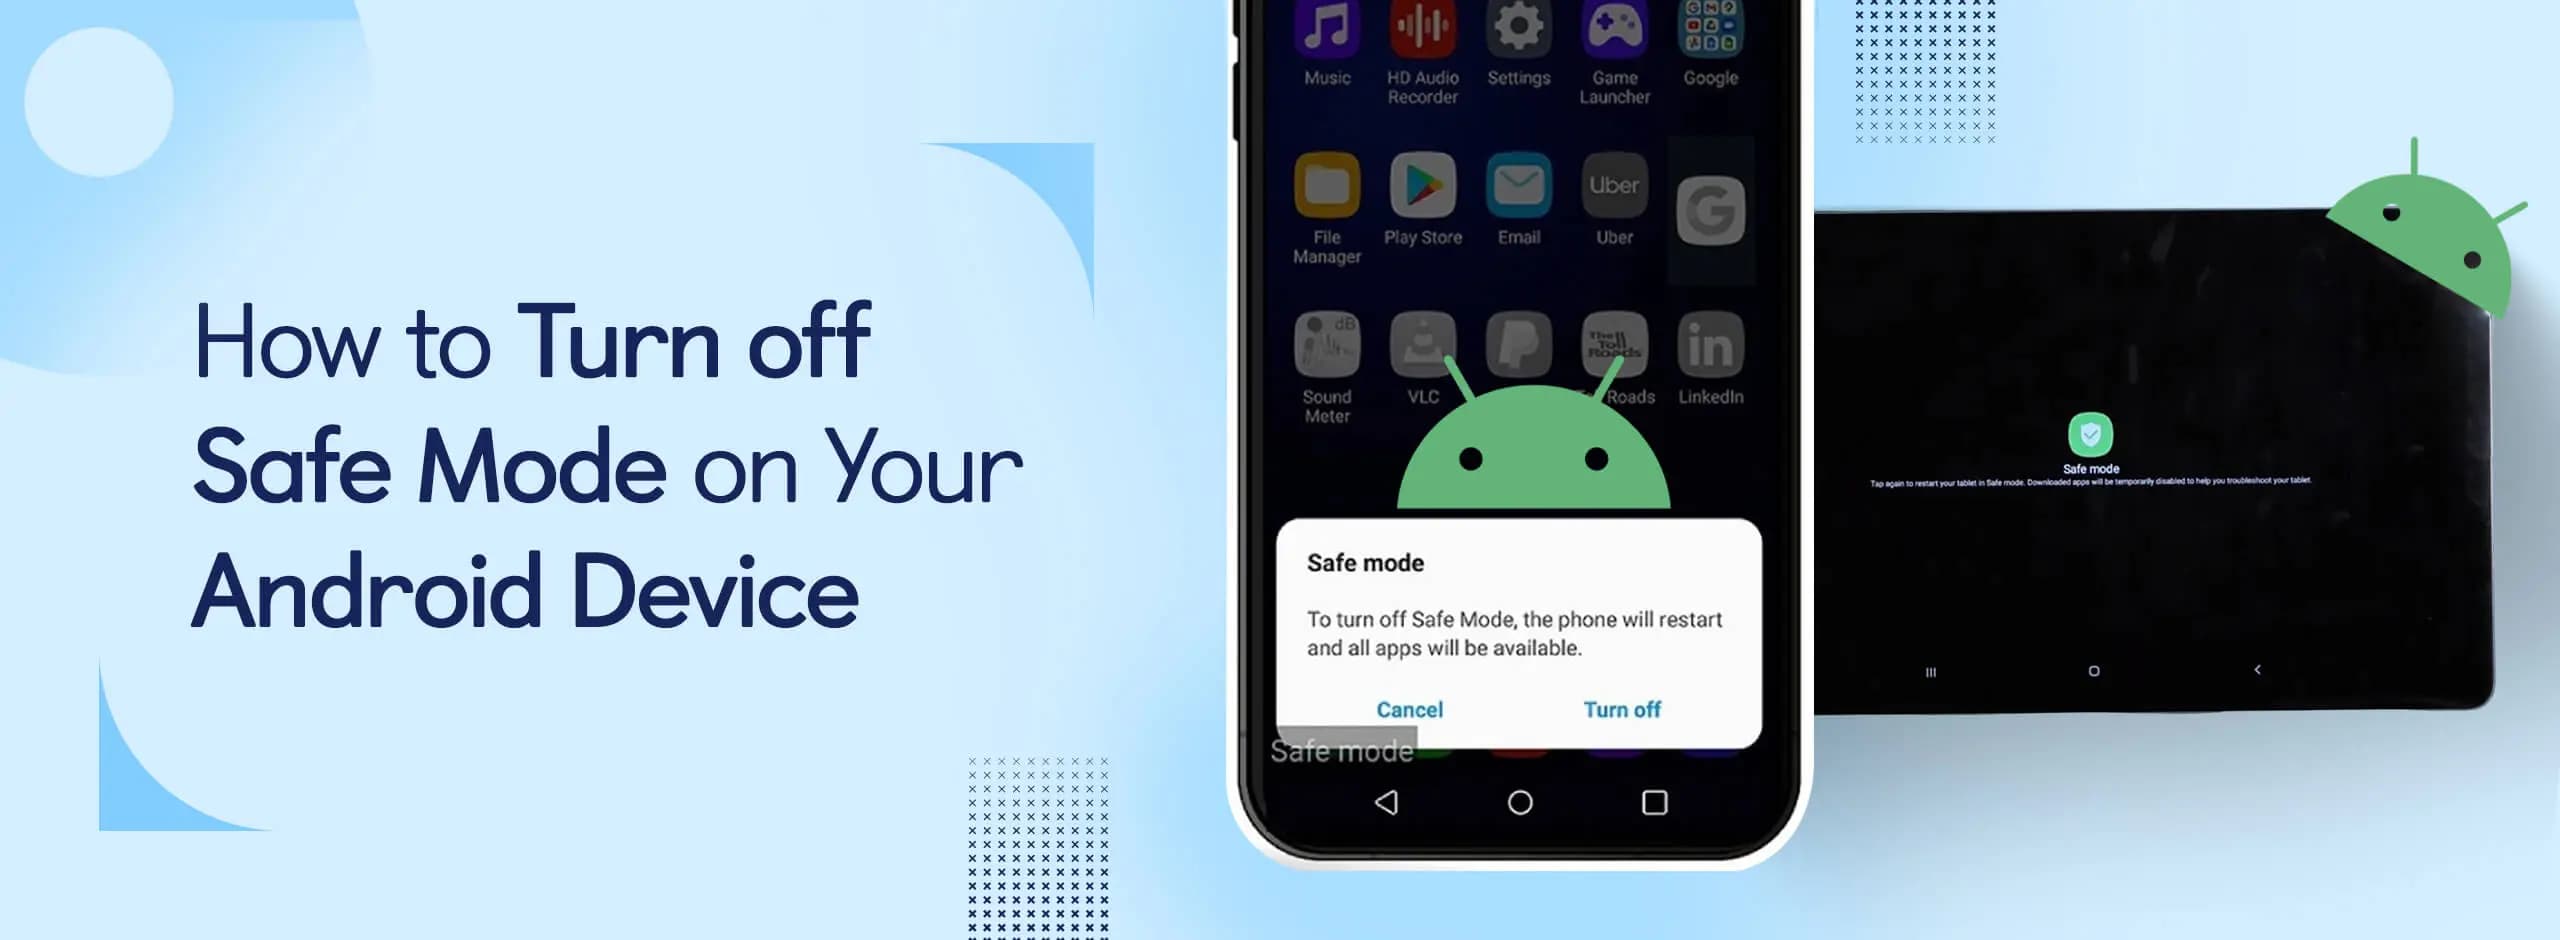
Knowing how to turn off Safe Mode on Android comes in handy, since Safe Mode is a built-in troubleshooting tool that disables every third-party app on a phone and switches on Airplane Mode, making it easier to isolate an app causing lag, battery drain, or other issues. It's also useful for safely deleting a suspected […]
By Robert Haba
galaxy s25 settings menu
GuidesAug 28, 2026

Before using a new phone, disable these 5 Android settings.

Opening a brand-new phone has a particular excitement. After removing the plastic, you move your pictures, log into your Google account, and begin taking your first snapshot. However, we frequently overlook a few crucial settings that can improve our phone in all that excitement. I looked at a few options on my current phone, a […]

By Robert Haba
Next in queue

Read the next article

The next story loads as you reach the end. You can also load it using the button.

Comments & Discussions

Join the conversation! We use Disqus to handle comments. Click the button below to load the comment section.