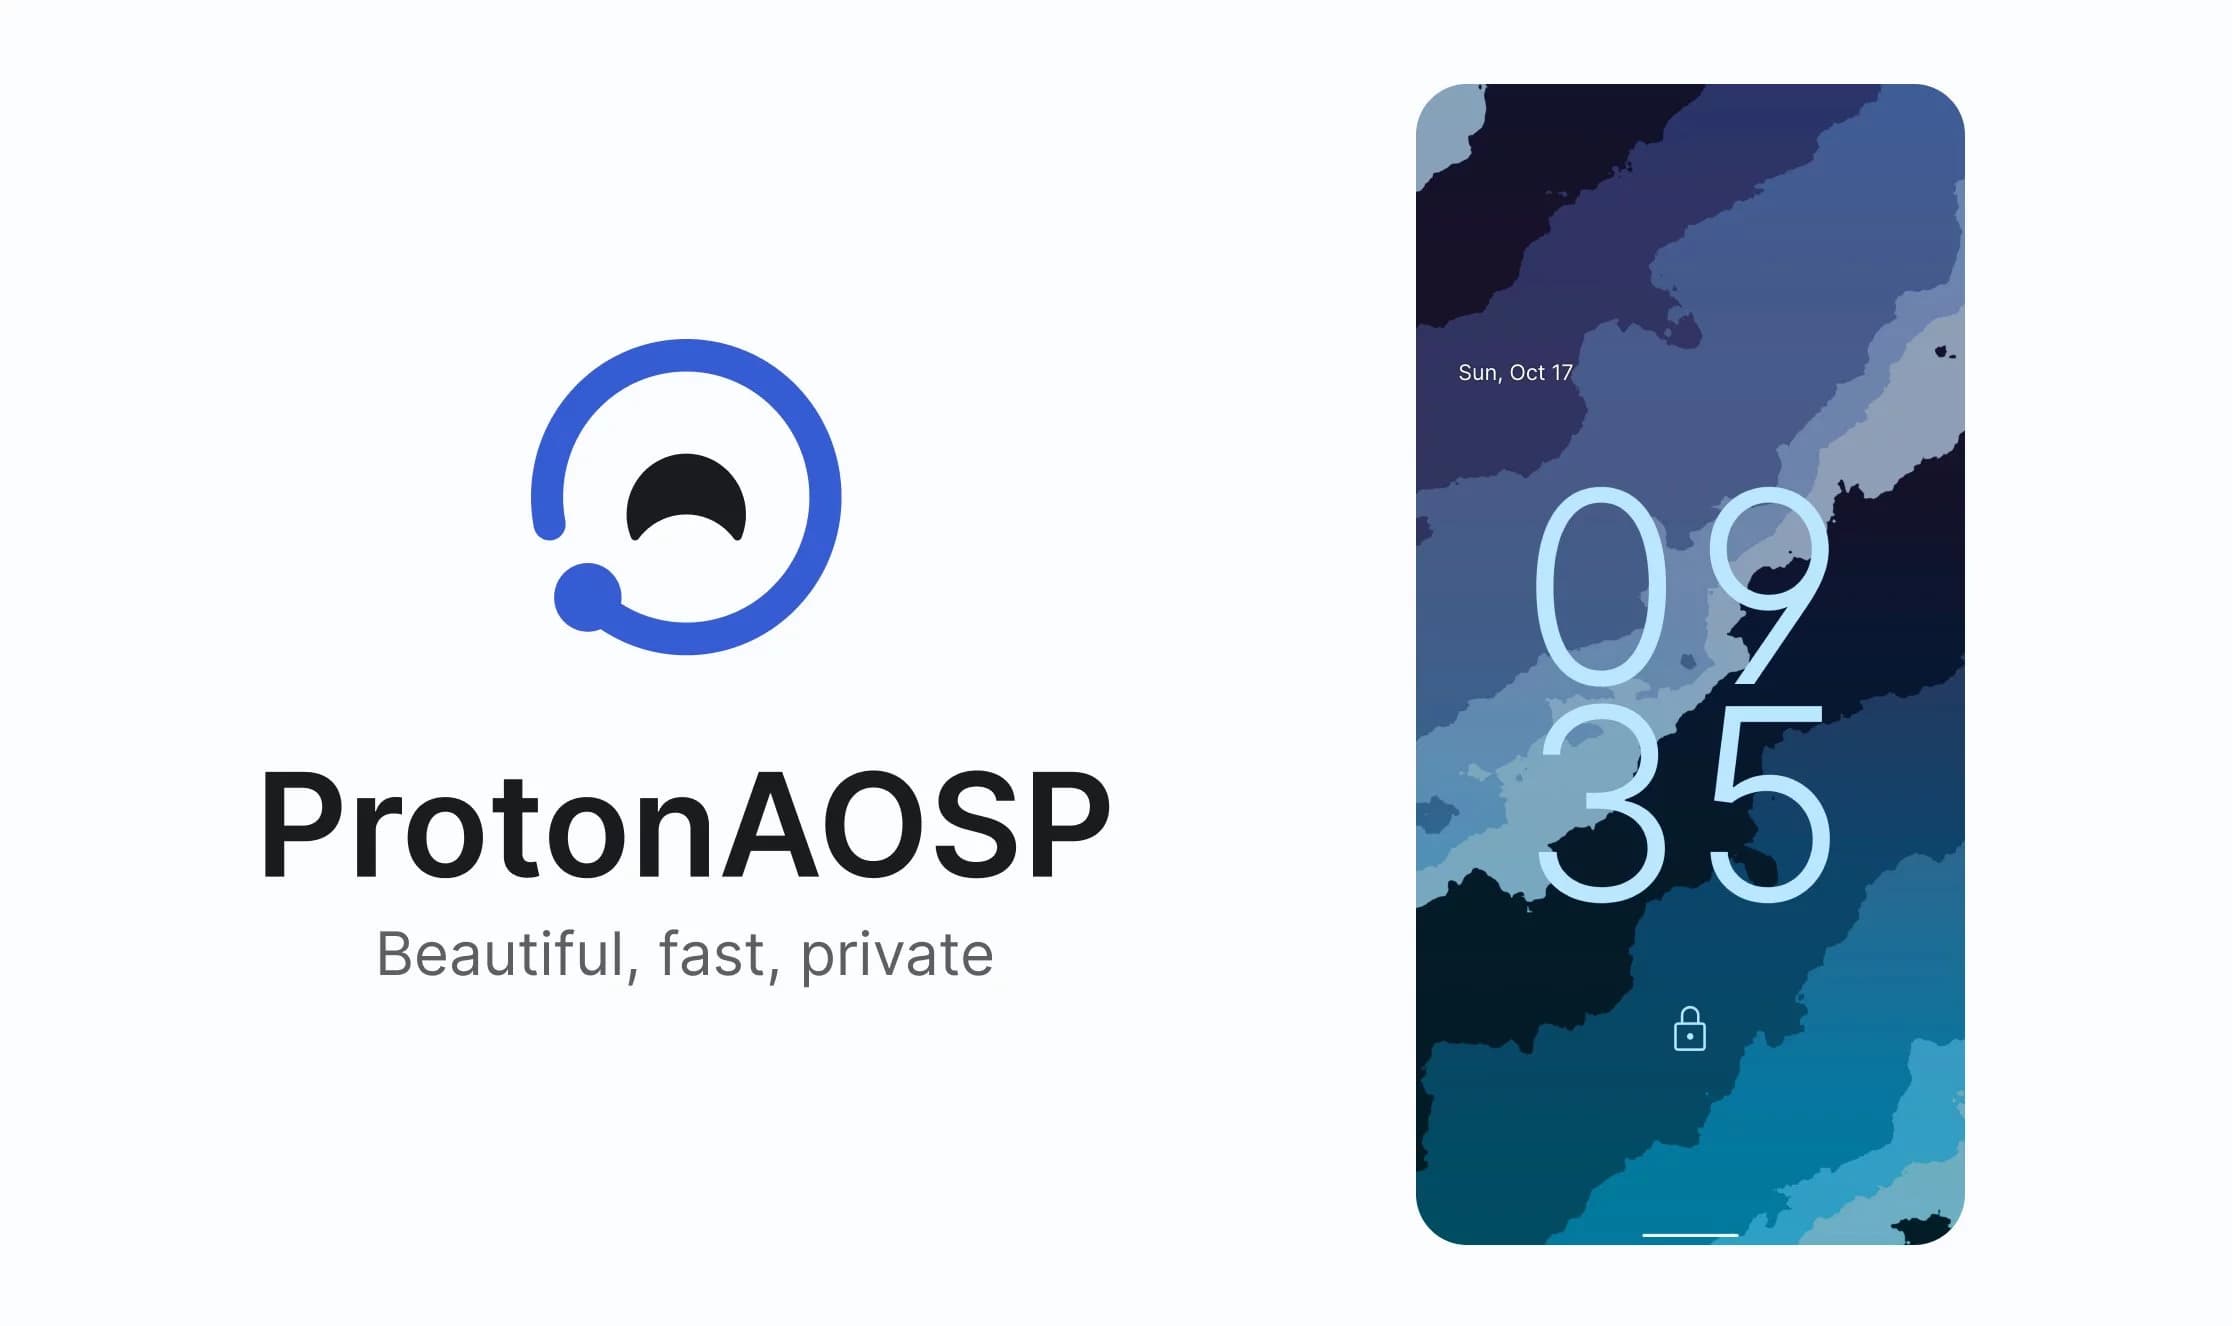
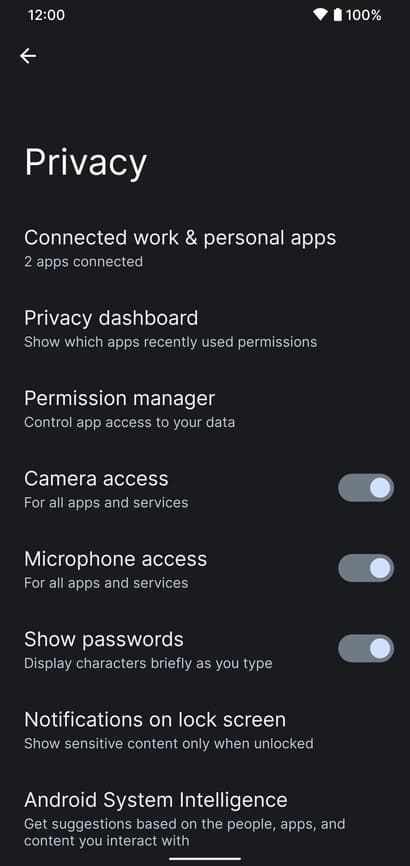
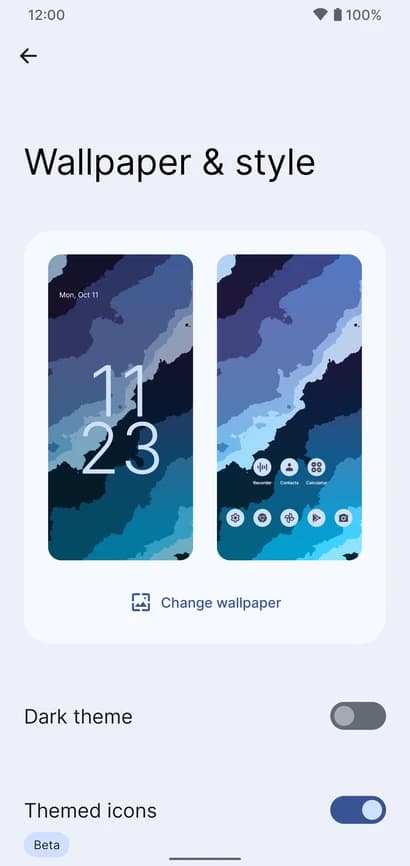
The 2 XL’s update end-of-life date was in December of last year, just a few months after Google introduced Android 11. Even though they’re getting on in years, these phones are still adequate for basic day-to-day use. If you have a Pixel 2 XL and want to try Android 12 out, you can do so right now if you’re ready to take matters into your own hands. The first Android 12-based custom ROM for the Pixel has been launched, and it includes all of the important new features such as Material You, a redesigned Quick Settings panel, new system animations, and privacy improvements.
While you can always install the GSI build of Android 12 on your Pixel, the experience isn’t stable enough for everyday use because it’s designed for developers. This is where ProtonAOSP comes in, since it provides a relatively stable option for Pixel 2 XL owners to try out the latest Android update on their aging hardware. The ProtonAOSP Android 12 ROM is currently only available for the Pixel 2 XL, but a build for the smaller Pixel 2 is on the way.
Installing the ProtonAOSP’s Android 12 release is different from other ROMs as it is available as a factory image (see how over at XDA Developers). You’ll need to unlock the bootloader on your Pixel 2 and use the bundled flash-all script to install the ROM. If the installation fails, you may need to repartition and allocate more storage to various system partitions.
If you do install the ProtonAOSP ROM on your Pixel 2 XL, be prepared to run into some bugs and occasional performance issues. The major ones are non-functional Wi-Fi and Permissive SELinux permission in the current build. There are likely other issues as well that haven’t been reported yet. Nonetheless, if you want to try out Android 12 on your Pixel 2 XL, this is your best bet right now.



This is a guide for installing ProtonAOSP manually, using the command line. The web installer is recommended if you don’t have a specific need for this. Check the list of common misconceptions if you’re not sure.
You can only use a Windows, macOS, or Linux computer for this manual installation; use the web installer if you want to install from a Chromebook or another phone.
Download the build you want to install in factory images format.
Put your device into bootloader mode by restarting it and holding the volume down button until you see a red warning sign or green Android robot.
Once your device is in bootloader mode, plug it into the computer or device you’re installing from. Make sure you use a high-quality USB cable, as many cables will cause issues. Avoid USB hubs if possible.
Your USB cable needs to be able to copy files. Charging-only cables won’t work.
If you’re switching from the stock OS or another ROM, make sure all your important data is backed up. You’ll need to wipe all your data in order to use ProtonAOSP.
First, open the “Command Prompt” app from the Start menu.
Next, download the Android SDK Platform Tools and extract them. Navigate to the extracted platform-tools folder in the terminal by typing cd (with the space at the end) and dragging the folder into Command Prompt. Then run the following command:
set PATH=%CD%;%PATH%If it’s your first time installing from this computer, you also need to install drivers:
If you’re switching from the stock OS or another ROM, you need to wipe all data before installing ProtonAOSP:
fastboot -wOtherwise, ProtonAOSP won’t boot and your phone will get stuck on the boot animation after the installation.
All data on your phone will be lost, so make sure your important files are backed up before doing this.
Extract the downloaded factory images package (e.g. proton-aosp_redfin-factory_11.5.0.zip). Navigate to the new folder (e.g. redfin-rq2a.210505.003) by typing cd (with the space at the end) and dragging the folder into your terminal.
Run the following command to flash the factory images:
./flash-all.shCopy
Don’t touch, unplug, or press any buttons on your device during the install. Your phone will restart several times, but don’t touch it. It will automatically boot into ProtonAOSP once the installation process completes.
You can now delete the factory images package, but don’t delete the platform tools — you’ll need them for updating in the future.
See First Steps for what to do next.
For security, you may also wish to re-lock the bootloader to enforce verified boot, which improves physical security and resistance against persistent attacks.
Google Pixel Watch 5 (45mm)

Robert Haba is the founder and editor-in-chief of Droid Tools. A lifelong gadget enthusiast with over a decade following the Android ecosystem, he built this publication to cut through the noise and give readers honest, real-world coverage of the tech they actually use.

Forgetting a PIN right after setting it is a common frustration, and a new teardown suggests Android could eventually offer a way around it without resorting to a factory reset: unlocking a forgotten phone using nothing but a Google account. What the teardown found Tipster AssembleDebug dug through the code of Android 17 QPR2 Beta […]
Google has released Android 17 QPR3 Beta 1 to every still-supported Pixel device, from the Pixel 6a through the new Pixel 11 series, and the rollout arrived earlier than expected this afternoon. The update looks sizable, carrying fixes for at least 20 bugs that had carried over from QPR2. The beta ships as build DP11.260918.005 […]

The previous Android 17 QPR2 Beta 6 update mostly focused on fixing bugs that had been plaguing devices for a while, including a substantial issue that caused phones to reboot simply from scrolling through content, along with fixes for letterboxed content leaking through the status bar during app transitions and a Pixel 9 Pro Fold […]

Honor MagicOS 11 debuts on September 15 with a set of new features for eligible devices, ranging from a smoother, more fluid UI to a more capable AI assistant. Honor unveiled MagicOS 11 at its 2026 Global Developer Conference, and the company said the official version will open for unlimited testing right after the event, […]
The next story loads as you reach the end. You can also load it using the button.


Comments & Discussions
Join the conversation! We use Disqus to handle comments. Click the button below to load the comment section.