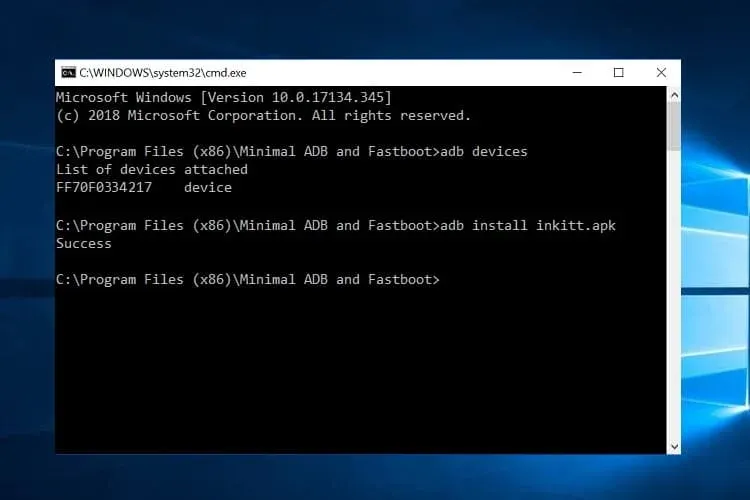
Whether you want to install a custom ROM, turn on some hidden Android features, or take screenshots from apps that prevent you from doing so, you’ll need the Android Debug Bridge (ADB) and fastboot. They’re part of the Google SDK platform tools and give you some lower-level access to your phone. You’ve got to prepare a few things before you can start, so here’s a comprehensive guide showing you how to get the platform tools up and running on any platform.
Setup your phone
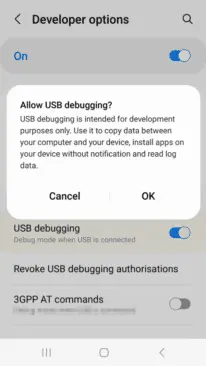
You need to set up your Android device first. If you haven’t already activated the developer options in your system settings, you will have to do so by going to the About section and taping the Build number entry seven times. You will be congratulated on becoming a developer, and a new entry called Developer Options will appear in your system settings. Enter them, look for the USB debugging toggle, and turn it on.
Installing ADB
Windows, macOS, Linux, and Chrome OS with Android Studio
If you’re a developer or looking to get into Android app development, you should install the Android Studio. It’s Google’s official IDE (Integrated Development Environment) for Android applications and has all the tools on board you need for creating your projects, including ADB and fastboot. The software will also ensure that your tools are always up to date. You can download Android Studio on the Android Developers website. The installation process is straight-forward — just follow the on-screen instructions from the installer.
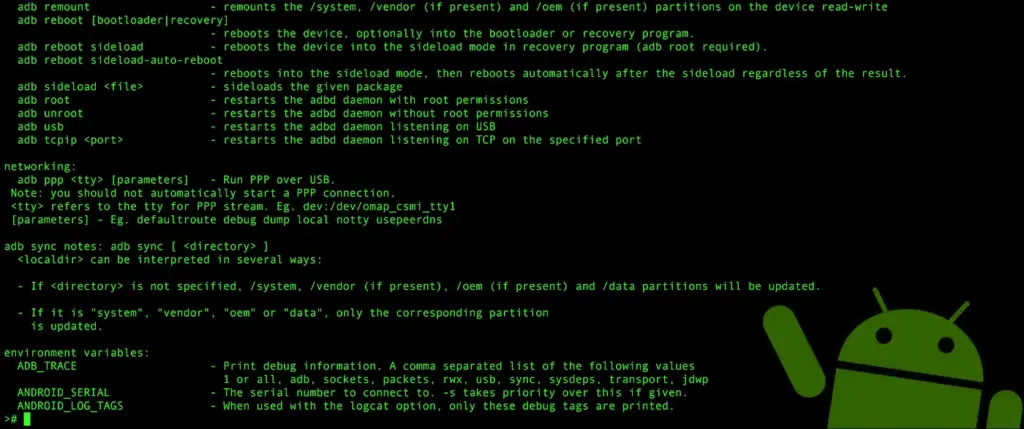
Since Android Studio is quite huge when installed, the standalone SDK platform tools could be a better option if you want to save some precious space on your computer’s storage, especially if you don’t want to get into app development. The tools are comprised of the same interfaces you get when you install the Android Studio: ADB, fastboot, and systrace. They’re available on the Android Developers website. You’ll have to extract them and add them to your system’s path, but there are some scripts that simplify the process:
Nexus Tools
If you ask me, Nexus Tools is the fastest way to get ADB and the other platform tools up and running on your computer. It’s an open-source tool created by our own Corbin Davenport. Nexus Tools automatically downloads the latest platform tools from the Google website mentioned above, extracts them, and adds them to your system’s path for ease of use. You just need to paste the following command into a macOS or Linux terminal and hit enter:
bash <(curl -s https://raw.githubusercontent.com/corbindavenport/nexus-tools/master/install.sh)Once it’s finished installing, open a new terminal window and confirm that ADB works with the ADB devices command. If your phone is connected with USB debugging enabled, you should then be able to see its ID.
The script also works for the latest Macs with the M1 chip, Linux on Chromebooks (here’s how to enable Linux on Chrome OS), and Bash for Windows. However, the Windows subsystem for Linux doesn’t support USB, so you’ll have to rely on a wireless connection. That’s only really feasible if you have Android 11 or a rooted phone, and even then, there are some limitations.
You can find more information on Nexus Tools on Github, including uninstall and update instructions.
15 seconds ADB installer
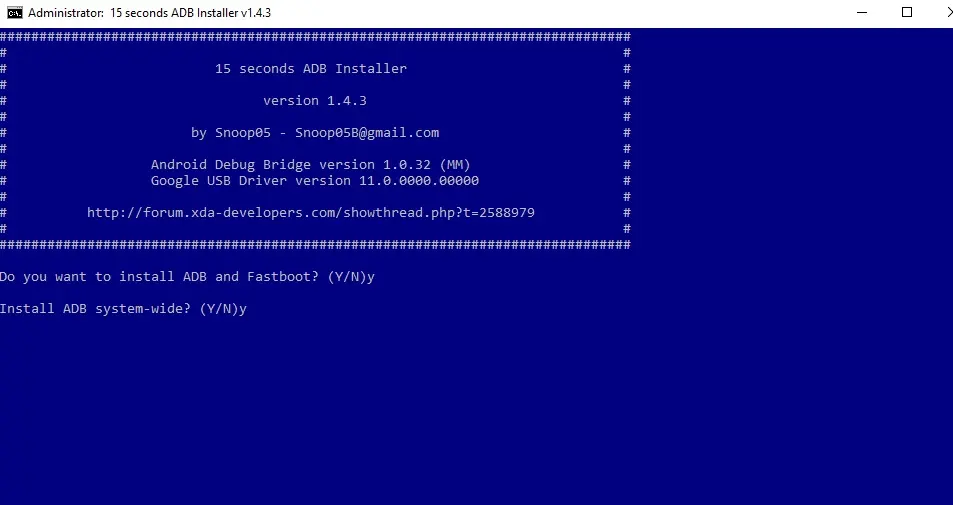
For Windows, you can rely on another automatic tool from an XDA Developers Forum member, the 15 seconds ADB installer. However, some users report that the script doesn’t properly work for them, and it hasn’t been updated by the original maintainer for a long time. You can try using some of the recent revisions from another forum member or set up the platform tools manually:
- Download the SDK platform tools for Windows from the Android Developers website.
- Extract the ZIP file into a folder you can easily remember (like C:/platform-tools)
- Open a command window in the folder by holding shift and right-clicking in an empty spot in the folder and selecting “Open command prompt/PowerShell here” in the menu. Then you can start using ADB — connect your phone and try
.\ADB devicesto see if it’s working. A list with attached devices should show up. - If you computer doesn’t recognize your phone, you may need to install its respective Windows USB driver additionally. Alternatively, there’s an open-source universal driver if you don’t want to go through the hassle of finding the correct one for your device.
If you want to be able to just open a command window and start using ADB without navigating to your platform-tools folder first, you’ll need to add the folder to your Windows path:
- Search for “system environment” in the Windows 10 Start search and select “Edit the system environment variables” from the results.
- Click “Environment Variables…” towards the bottom of the window that just opened.
- In the lower section of the next window under “System variables,” look for the “Path” row. Select it and click “Edit…”
- In the “Edit environment variable” window, you can hit the “New” button and add the path with the platform tools. In our example, that’s “C:/platform-tools.”
- Exit all windows and save the changes you’ve made by selecting “OK.”
- Open a new command prompt or PowerShell and see if
ADB devicesnow works without navigating to your platform-tools folder first. You also won’t have to add .\ in front of it anymore. You might have to restart your computer before the change takes effect.
On your phone
If you don’t want to root your phone or install a custom ROM and just need access to the ADB shell, you don’t even need to connect your handset to a computer. The open-source LADB app allows you to run a shell locally, utilizing the wireless ADB protocol. However, setting it up is a little convoluted, and you’ll need to be on Android 11 to be truly free from a computer. We’ve got a tutorial that walks you through the process.
Web
If you don’t have the Android 11 yet, or prefer to work with a larger screen, the WebADB might be for you. It’s an open-source web app that you can use to run the ADB shell, but it also comes with a file manager and supports SCRCPY for screenshots and screencasts in apps that don’t allow you to run them on a regular basis. The biggest caveat: being a web tool, you have to trust that developers don’t do anything fishy with your phone—you’re giving an unknown party low-level access, after all. Here’s our tool hands-on.
Using ADB
Depending on which install method you opted for, you may have to add a .\ in front of ADB commands to make them work. If you haven’t added your SDK tools installation to your path on Windows, keep in mind that you always have to run a terminal from the SDK tools folder.
There are tons of advanced features and tweaks you can enable or disable via ADB and the ADB shell. Here are just a few of the things we covered, but there are plenty of other things you can find all around the internet. Some of our favorites include SCRCPY, APK installation, stock-ifying Amazon Fire tablets, and more.


