
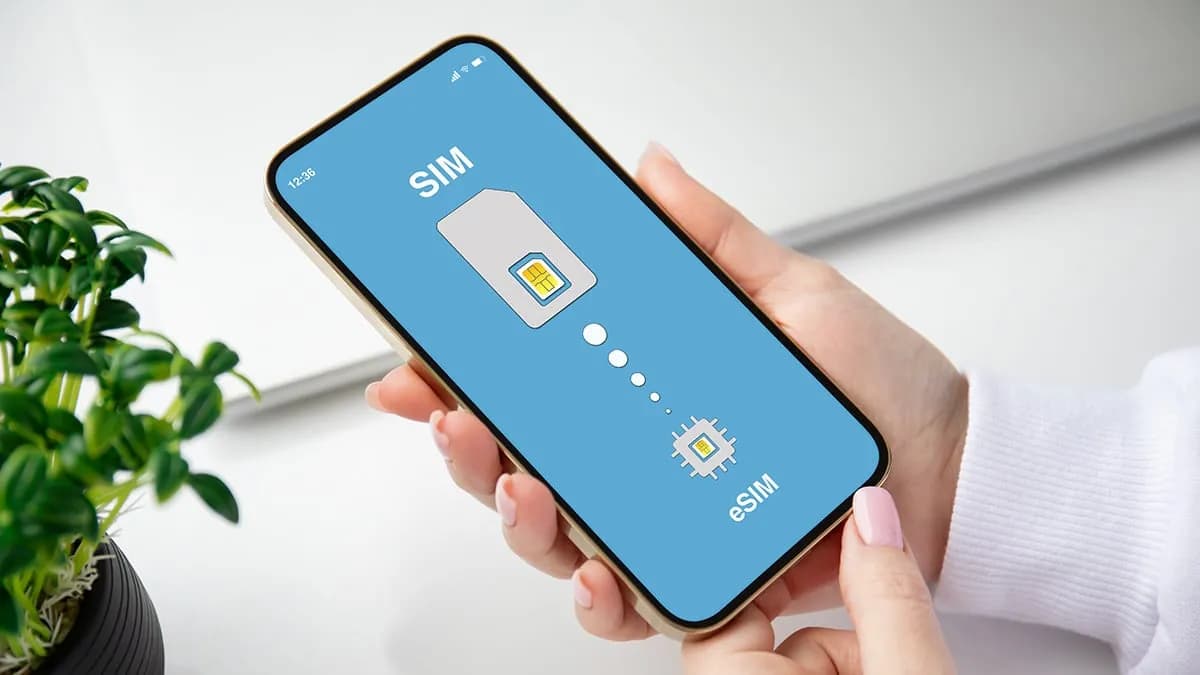
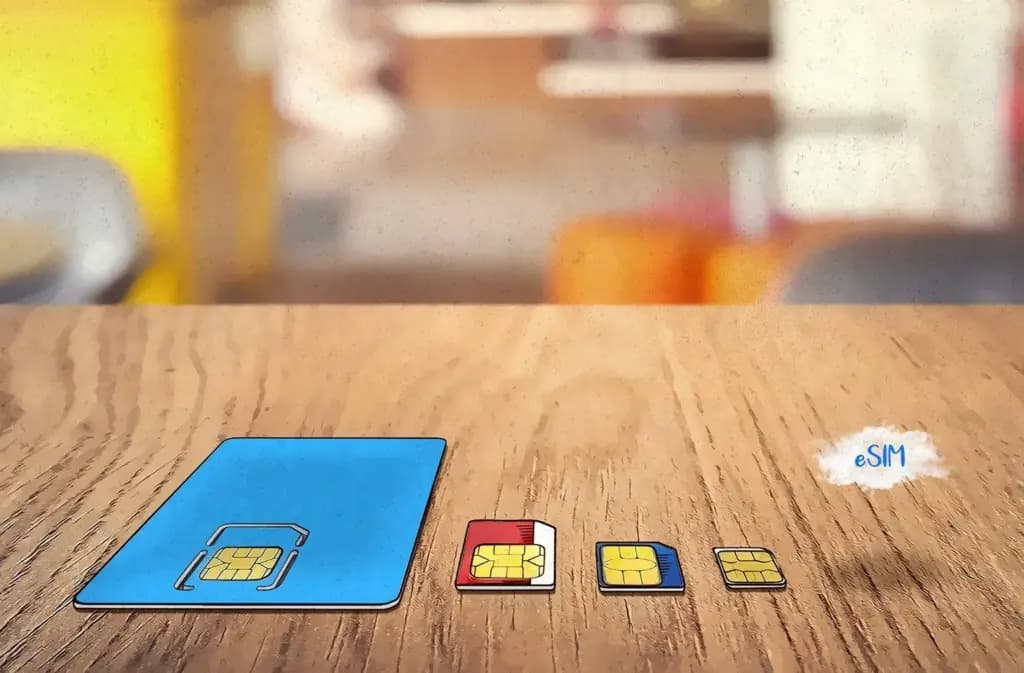
The SIM card, a small chip in your phone that links it to your chosen cell phone provider, is probably already obvious to you. For many years, this chip was located on a physical card that you could replace by removing your phone’s SIM card tray. However, the majority of contemporary phones also support eSIMs. eSIMs are integrated into the phone’s hardware in place of a physical card, and software is used to remotely program the carrier information.
A few conveniences are made possible by this, like the ability to test out service on a different carrier without having to pick up an actual SIM card in person or over the mail.
Converting an existing physical SIM card to an eSIM presents a challenge. If you want to load many eSIMs into a single device or if a new phone is eSIM-only, you might want to do this. Or maybe you simply do not want to go through the trouble of constantly changing actual cards between machines. Thankfully, the process of switching a physical SIM to an eSIM is not too difficult.
Make sure your new phone is compatible with eSIMs before you begin. The majority of contemporary phones do, as we already stated. In the US, the iPhone 14 and later are eSIM-only, however all iPhones since the iPhone XS and XR support eSIM. The majority of Android phones—including the Google Pixel 6 and later, as well as the Samsung Galaxy S21 and later—also support eSIM.
Depending on the manufacturer, there may be differences in how to convert a physical SIM to an eSIM on Android. Telling your carrier that you are moving to an eSIM is the most reliable method to accomplish this. After that, they will either send you a QR code or manually lead you through the procedure. Here’s how to add a QR code to your phone if they do send one.
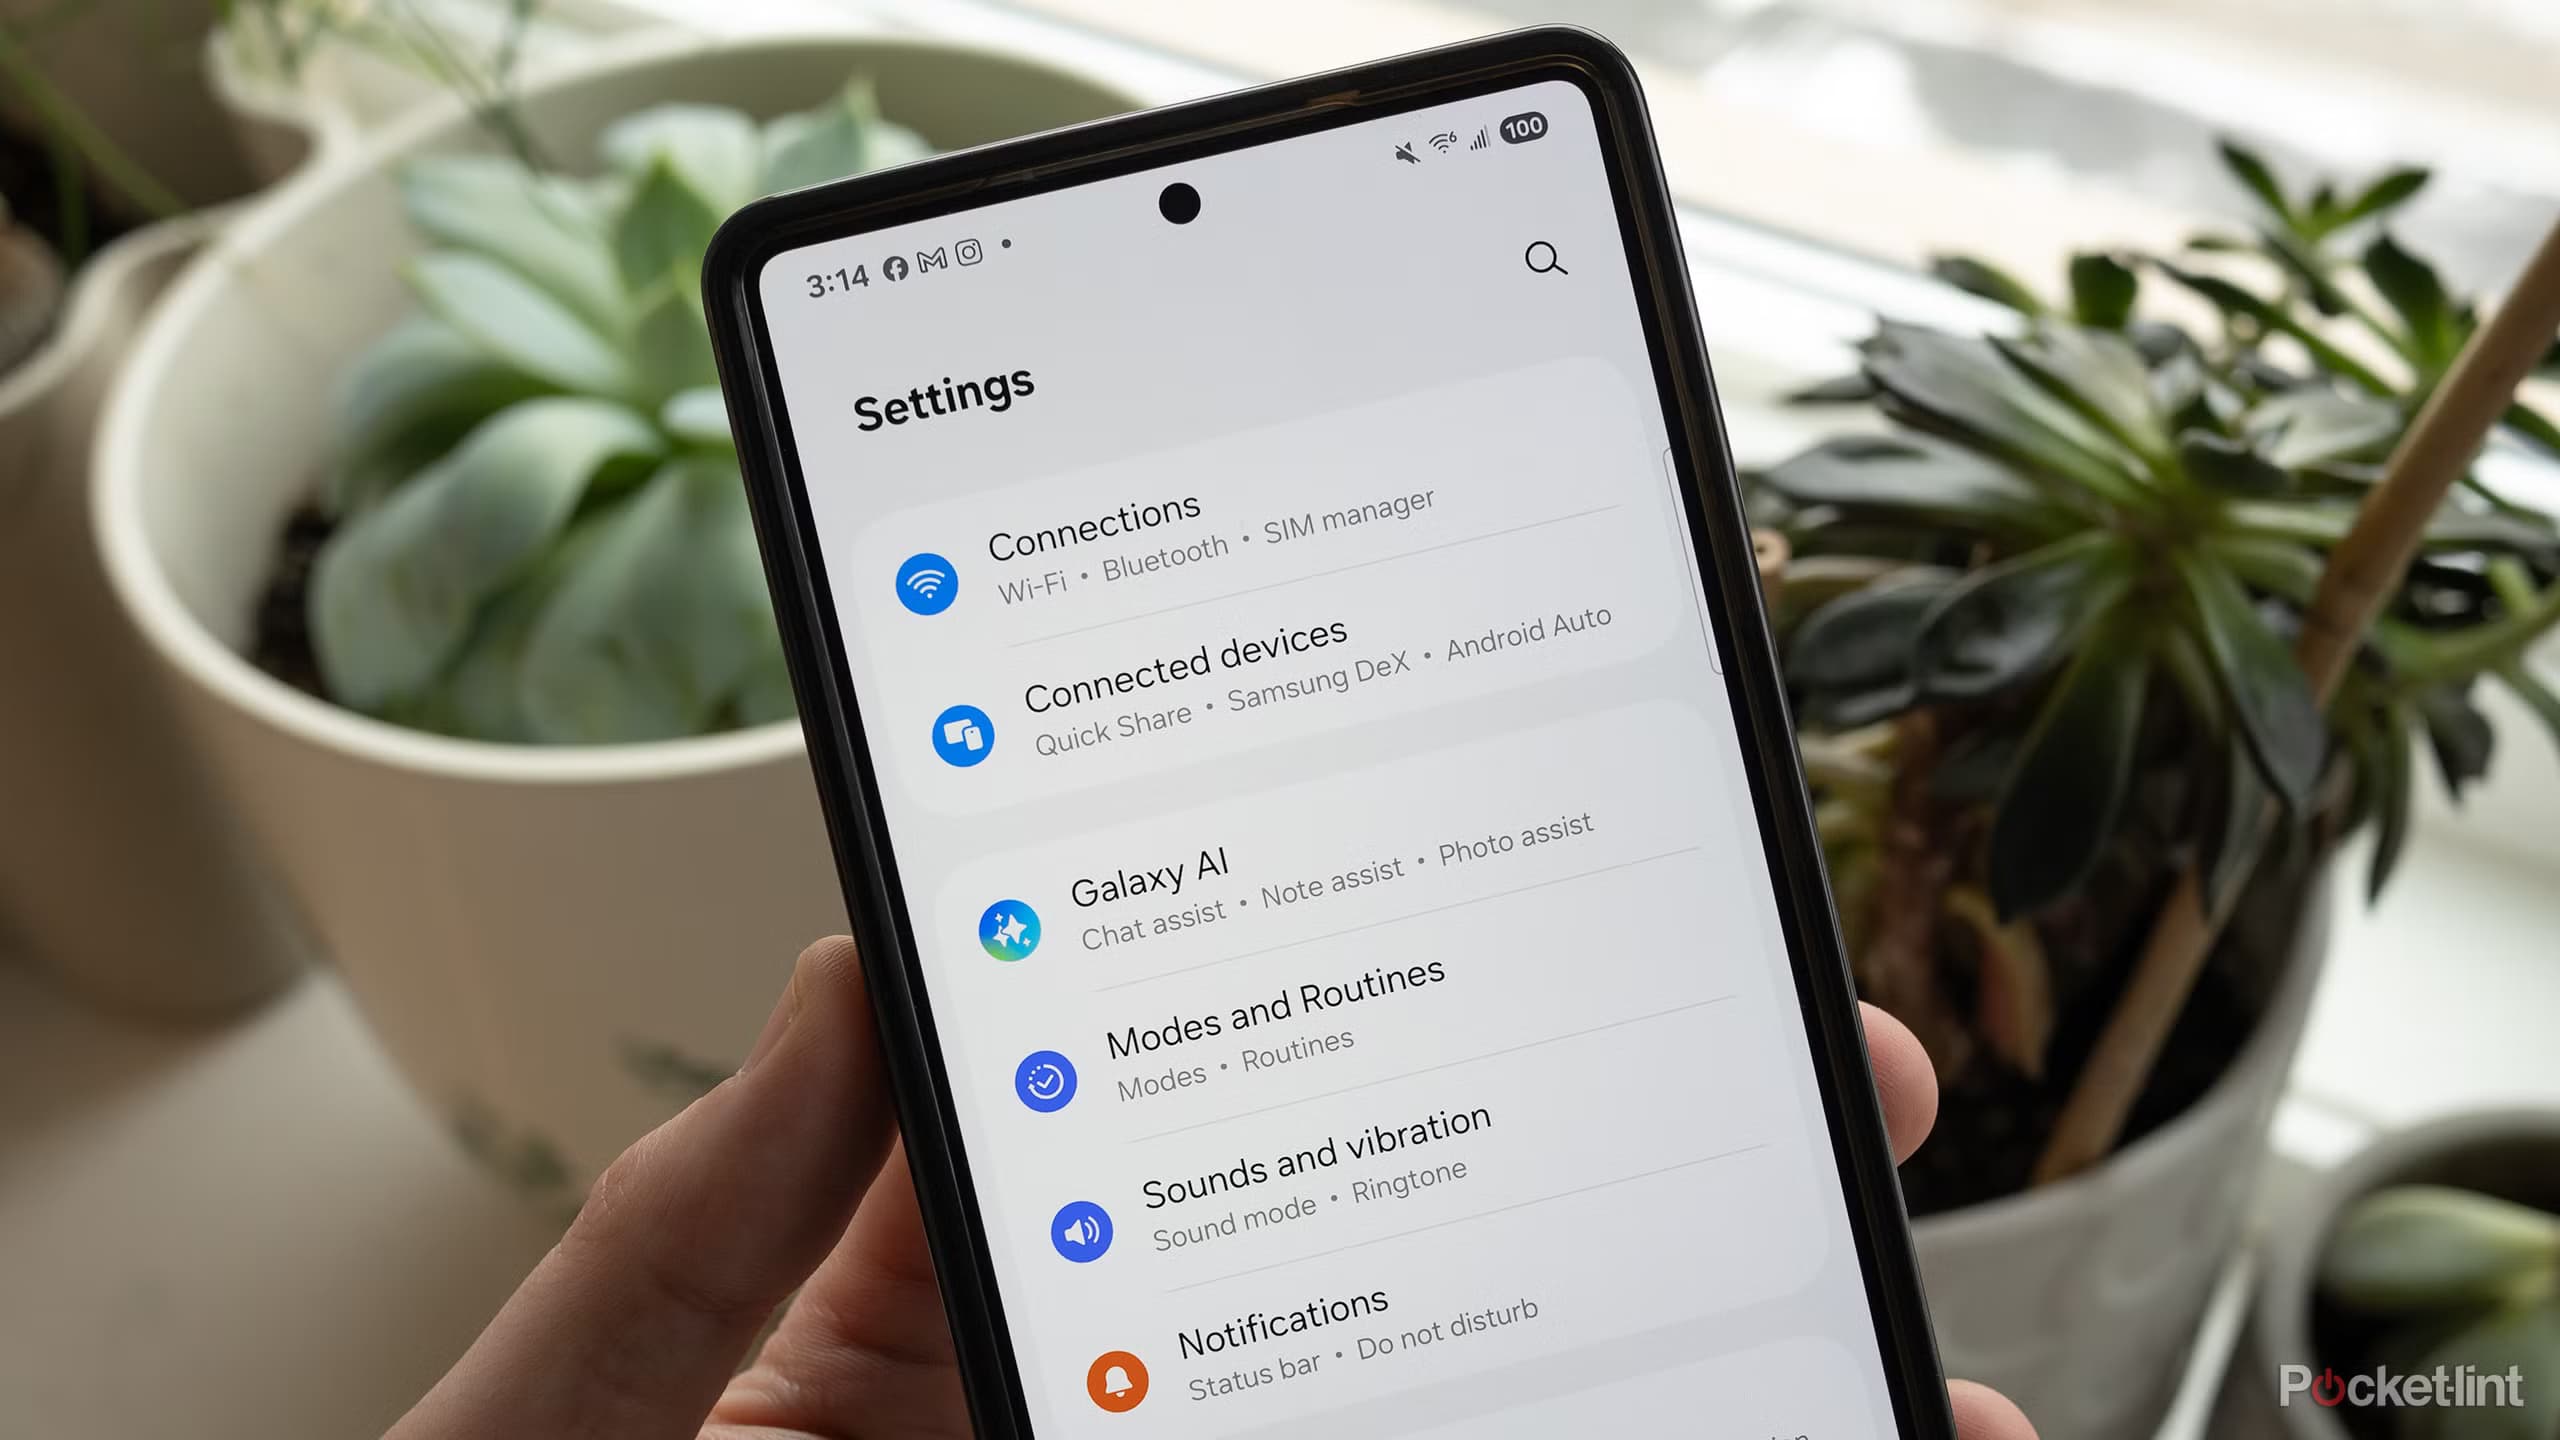
However, the procedure is a bit simpler if you own a Samsung handset. To do it on a Samsung, follow these steps.
Converting a physical SIM to an eSIM on an iPhone can be done in a few different ways.
If you want to change a physical SIM to an eSIM on the same iPhone (which requires the phone to support both), here’s how to accomplish it.
If, on the other hand, your transferring a physical SIM to an eSIM on a completely different iPhone, here’s how to do it.
If your carrier supplied the eSIM information, you may also opt to manually enter it. You can choose Settings, Cellular, Add Cellular Plan, and then Enter Details Manually if you wish to accomplish so.
It should be understood that inserting a new eSIM to your device may be done differently by different carriers. Please get in touch with them directly if you have any issues. Additionally, you will need to receive help from your carrier to make the switch if you are switching from an iPhone to an Android phone or vice versa.
Take a look to our eSIM guide, which goes into greater detail on the benefits and drawbacks of each, if you would like to understand more about eSIMs and if they are superior than physical cards.

Google Pixel Watch 5 (45mm)

Cristian Penisoara is a Guides Writer and Android specialist at Droid Tools. An Android user since version 2 and a professional event photographer, he combines technical curiosity with a detail-oriented approach - every guide he publishes is tested step-by-step on a real device before it goes live.

Behind a two-tap recharge sits a surprising amount of plumbing. Every prepaid network has its own rules about what can be topped up, in which denominations, and how quickly credit posts to a SIM. MobileTopUP hides that complexity behind a single form: pick a country, enter a number, choose an amount. What the coverage map actually covers […]
Knowing how to turn off Safe Mode on Android comes in handy, since Safe Mode is a built-in troubleshooting tool that disables every third-party app on a phone and switches on Airplane Mode, making it easier to isolate an app causing lag, battery drain, or other issues. It's also useful for safely deleting a suspected […]
Opening a brand-new phone has a particular excitement. After removing the plastic, you move your pictures, log into your Google account, and begin taking your first snapshot. However, we frequently overlook a few crucial settings that can improve our phone in all that excitement. I looked at a few options on my current phone, a […]
If your Android phone won’t turn on, connect it to a tested wall charger for at least 30 minutes, then hold the Power button for several seconds. If nothing happens, inspect the cable, adapter, outlet, charging port, and physical buttons before attempting a forced restart. A phone that appears completely dead may actually have a […]
The next story loads as you reach the end. You can also load it using the button.


Comments & Discussions
Join the conversation! We use Disqus to handle comments. Click the button below to load the comment section.