
Even though Wi-Fi tethering is the most practical method for connecting an Android phone to a Mac, you may occasionally need to utilize USB instead.
However, USB tethering between Android and Windows is simple, but depending on the Android device you’re using, connecting it between Android and Mac can be more difficult. Here’s how to configure Mac OS for Android USB tethering.
A contemporary Android device running Android 12 or later may already have built-in support for USB tethering on macOS. To make it work, you might not need any additional strategies. For instance, on a Pixel 7 running Android 13, all you need to do is connect your phone to your computer to get started.
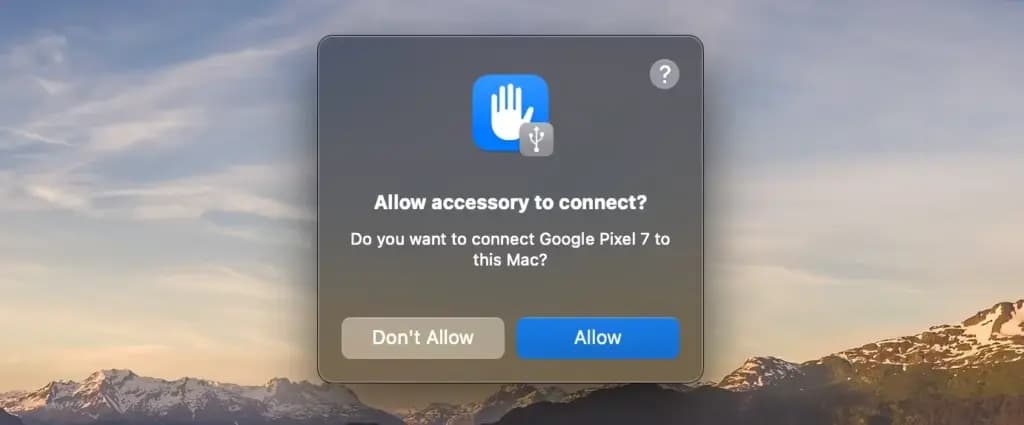

Now that the issue has been resolved, you should be able to use your Mac to access the internet as usual. If you have a limited data plan and are using a 4G or 5G mobile data connection, be mindful of your usage.
If the notification doesn’t appear when you connect your phone, you can instead go to Settings > Network and Internet > Hotspot and tethering and toggle on USB tethering. This option will be grayed out if your phone isn’t connected to a computer using a USB cable, and remember that some of the menus may be slightly different depending on what phone you’re using.
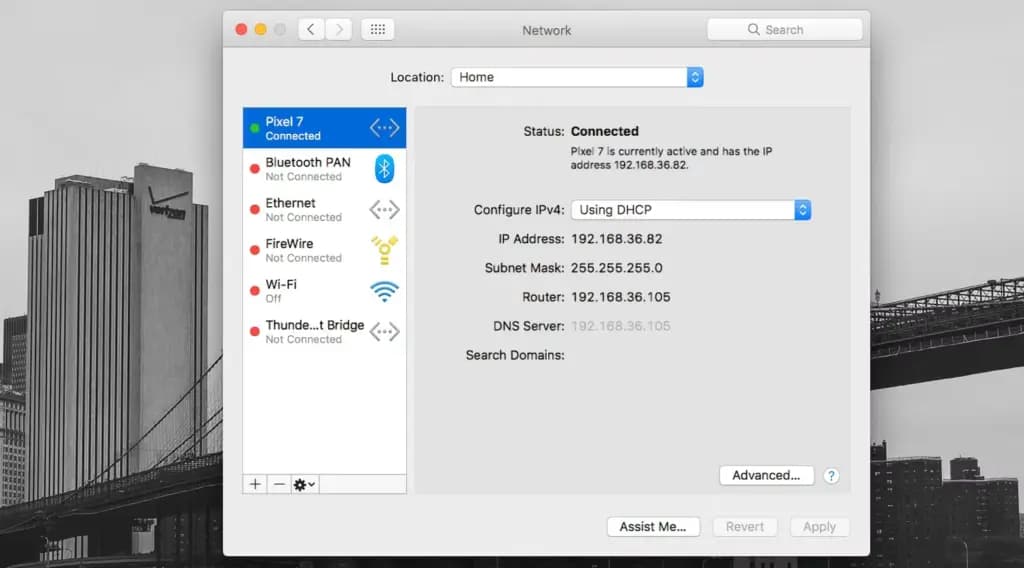
To verify the connection on your Mac, go to System Settings (or System Preferences) > Network, where you’ll see your phone’s name listed with a green dot next to it.
If USB tethering on macOS isn’t supported on your phone and you can’t set up Wi-Fi tethering, you do have another option. However, this comes with a potential snag of its own.
The required driver is not present on older Android devices or those that lack built-in support for USB tethering on a Mac, which prevents the sharing of an internet connection. Fortunately, you can get it working by installing the third-party HoRNDIS driver. All Android devices are compatible with this driver, which is akin to the one used by Windows computers.
HoRNDIS is free and open-source and should work well in many cases. However:
The discussions on the software’s Github page do include some workarounds to get HoRNDIS running on M1 and M2 machines. But it’s a complicated process that involves disabling your Mac’s System Integrity Protection, so is not suitable for most users.
Assuming the caveats don’t apply to you, here’s how to set up HoRNDIS on your (Intel-based) Mac.
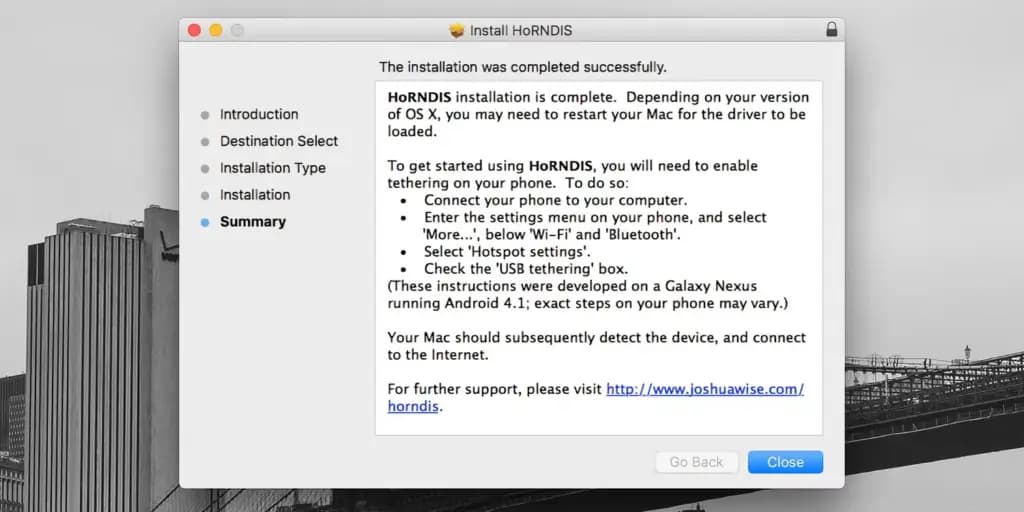
You should now be able to connect to the internet. Go to System Preferences > Network, where you should see your phone listed with the green dot alongside it. This confirms that the connection is active.
To uninstall HoRNDIS, check the /System/Library/Extensions/ and /Library/Extensions/ folders and delete HoRNDIS.kext. Then reboot your Mac.
Using HoRNDIS is easy enough if your Mac is compatible. However, we’d only choose to use it if wireless tethering is not an option. You can troubleshoot your Android mobile hotspot to see if that helps.
If your Android phone doesn’t support USB tethering with a Mac natively, you’ll need to install a driver, but it’s simple to accomplish and functions as expected.
Sharing a data connection with a desktop or laptop from your phone is practical. However, you may share the connection from your Mac to other devices as well, so it doesn’t stop there.
Google Pixel Watch 5 (45mm)

Cristian Penisoara is a Guides Writer and Android specialist at Droid Tools. An Android user since version 2 and a professional event photographer, he combines technical curiosity with a detail-oriented approach - every guide he publishes is tested step-by-step on a real device before it goes live.
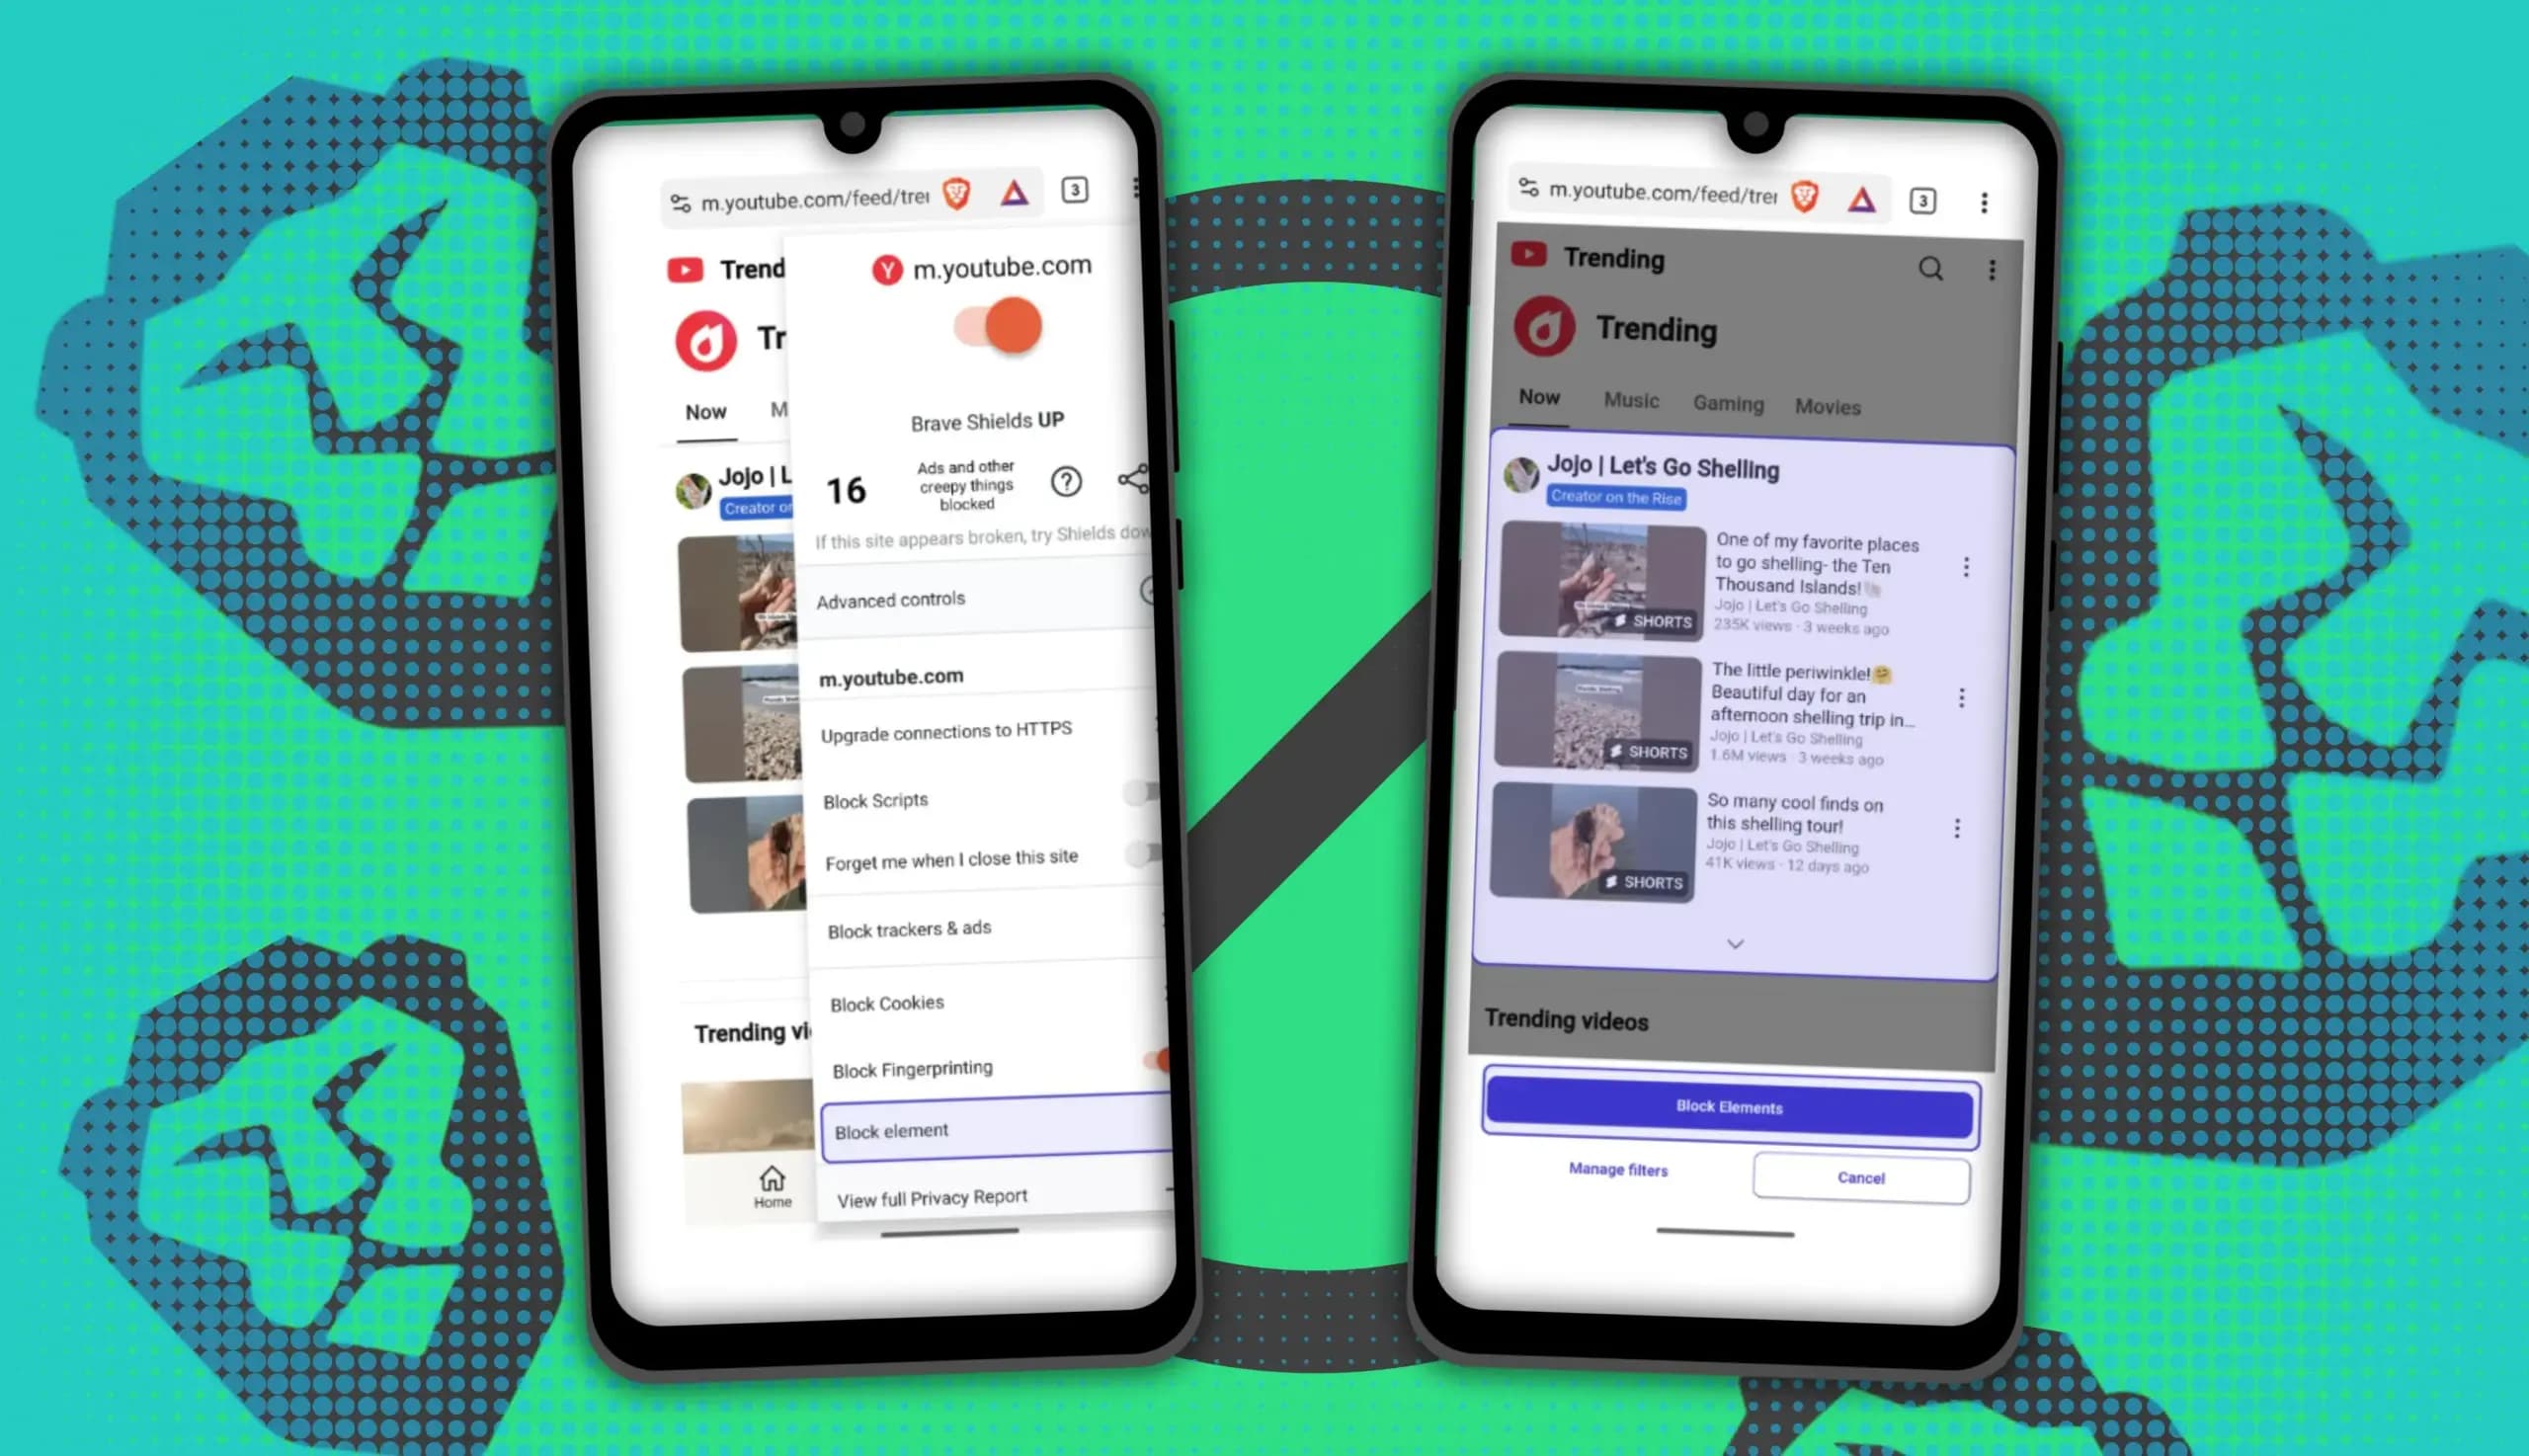
You can block ads on Android more effectively by pairing Brave’s Aggressive Shields setting with the system’s Private DNS feature. The setup filters ads at both the browser and system levels, takes only a few minutes to configure, and avoids the battery drain and VPN conflicts that come with dedicated ad-blocking apps. Why one ad […]

Behind a two-tap recharge sits a surprising amount of plumbing. Every prepaid network has its own rules about what can be topped up, in which denominations, and how quickly credit posts to a SIM. MobileTopUP hides that complexity behind a single form: pick a country, enter a number, choose an amount. What the coverage map actually covers […]
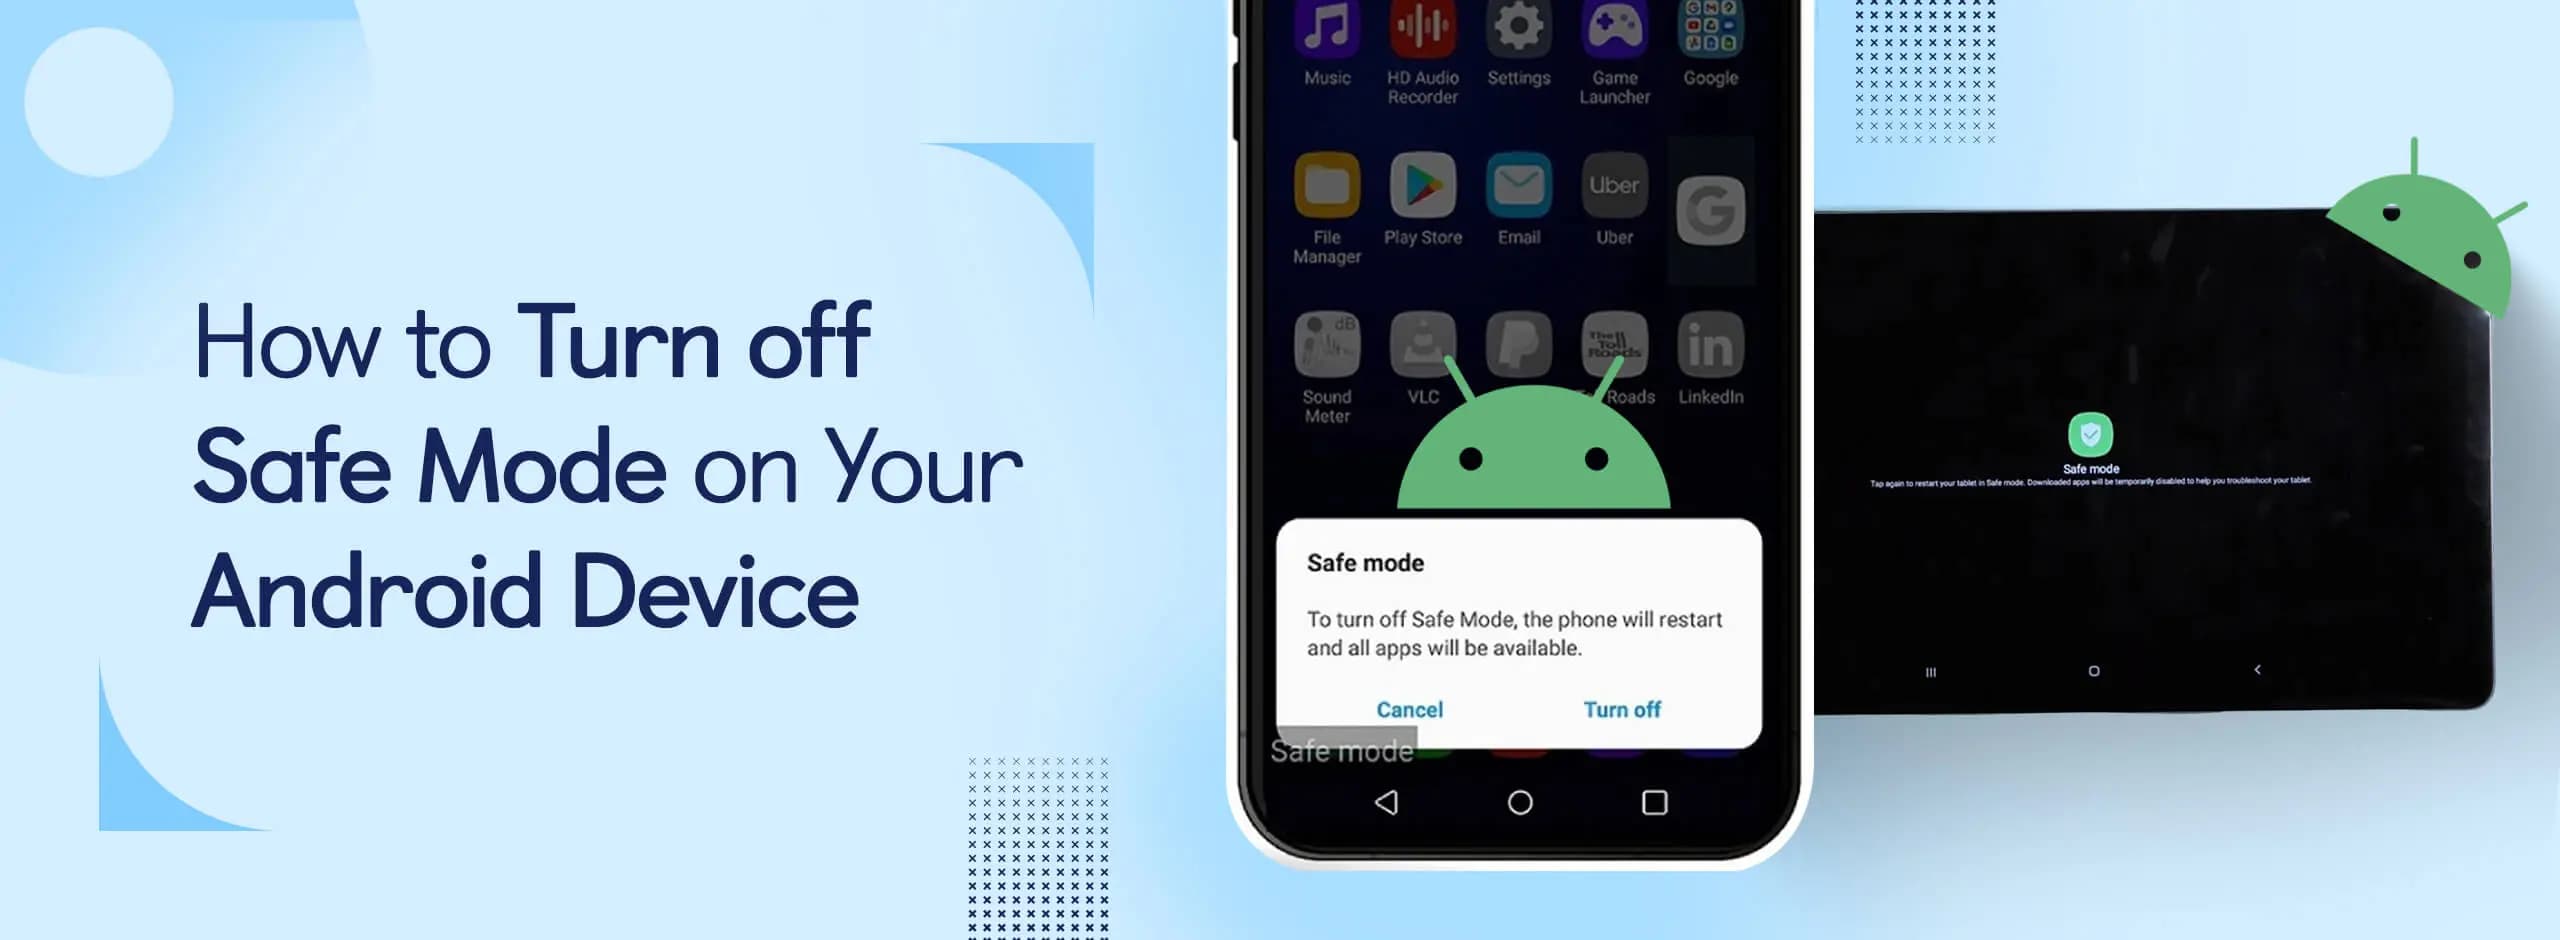
Knowing how to turn off Safe Mode on Android comes in handy, since Safe Mode is a built-in troubleshooting tool that disables every third-party app on a phone and switches on Airplane Mode, making it easier to isolate an app causing lag, battery drain, or other issues. It's also useful for safely deleting a suspected […]
Opening a brand-new phone has a particular excitement. After removing the plastic, you move your pictures, log into your Google account, and begin taking your first snapshot. However, we frequently overlook a few crucial settings that can improve our phone in all that excitement. I looked at a few options on my current phone, a […]
The next story loads as you reach the end. You can also load it using the button.


Comments & Discussions
Join the conversation! We use Disqus to handle comments. Click the button below to load the comment section.